Table of Contents

Summary of Contents for MATRIX PNEUMATIC MX-370P
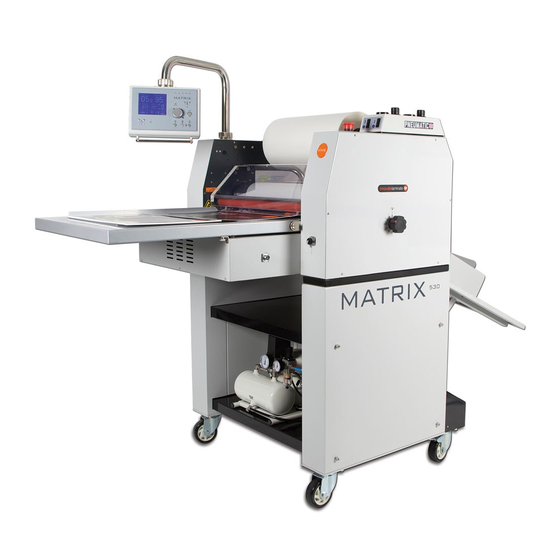
- Page 1 Product instruction manual Matrix Pneumatic Laminating Systems The Matrix has been designed to be user friendly, however we strongly recommend you take a few minutes to read through this manual to ensure correct operation. Keep this manual safe for future reference.
-
Page 2: Specifications
Page 5 - Control panel and display screen Pages 6 - 7 - Operation & installation of laminating films Page 8 - Setting the angles of the wheels Page 9 - Threading Diagrams and Warranty & incorrect use MX-370P MX-530P Specifications Max. Laminating Speed (m/ft/min) - Page 3 Introduction Thank you for purchasing the Matrix Pneumatic laminator. Pneumatic can run up to twice the speed of our standard systems. Printers can laminate work even faster to get the job finished and back to the customer. Pneumatic pressure rollers allow you to laminate certain substrates up to 50% quicker, saving both time and cost.
-
Page 4: Safety Instructions
Safety Instructions • Please ensure that the voltages of power supply you are using match with rated working voltages before operating the system • The power supply should be close to the system for convenient use • The power supply should provide reliable protective earthing connection •... -
Page 5: The Control Panel
The Control Panel Display screen Function key 5 Memory keys Temperature Setting** Speed setting dial Stop key Paper Fine tune key for Anti-curl setting Forward drive Crawl Key* Reverse length cutting position rotation key* setting * Functions with foot pedal only ** Temperature settings are also used to scroll through setup screen information The Display Screen Memory... - Page 6 Set-Up & Installation of Laminating Films 1. Position the machine near a suitable 13 2. Turn the power on. 3. Screen displayed, see large screen amp socket and plug into the mains. diagram for functions on page 5. 4. Set temperature, sheet length 5.
- Page 7 13. Slide the second blank print around 14. Run the film under the idler bar and 15. Press second set-up print onto the the steel laminating roller, through the drape over the steel laminating roller. film. anti-curl device and into the pull rollers. 16.
- Page 8 21. Lower the laminating and pull rollers. 22. Set the anti-curl to the desired 23. Set the perforation wheel, lock in Press pull roller switch. Roller will lower setting - suggested starting position 2-3, place on the edge of the film which and light should illuminate.
- Page 9 Setting the angles of the wheels For successful sheet separation, it is important the rear angle wheels are set correctly. Various paper sizes and thicknesses will require different settings. 1. Position the wheels on each edge of the laminated sheet as shown.
-
Page 10: Threading Diagram
1. Top paper feed roller. 2. Guide paper (end). 3. Front guard. 4. Steel laminating roller. 5. Idler bar. 6. Lamination roller film. 7. Top pull roller. Place where the 8. Perforation wheel. 9. Top splitting roller. paper core is stuck to the film 10. -
Page 11: Troubleshooting
Troubleshooting ANTI-CURL If your sheet curls up once If your sheet curls down it has left the laminator, once it has left the laminator you need to apply more you need to apply less anti-curl. anti-curl. If you are unable to adjust the anti-curl lever, try releasing the pressure on the pull rollers. Always ensure the manual setting on the lever matches the display on the screen. - Page 12 Warranty & Incorrect Use IMPORTANT INFORMATION Your Matrix Laminator should reach you in perfect condition and is guaranteed for 1 Year from date of purchase covering defective parts and general wear and tear; this does not cover film jams, misfeeds or other operator related errors, which would be chargeable.
Need help?
Do you have a question about the MX-370P and is the answer not in the manual?
Questions and answers