Advertisement
Quick Links
Test instruction
i
Prior to testing read carefully the safety instruc-
tions.
Safety information
WARNING
Only qualified skilled personnel with specific system
knowledge are authorized to perform the device
testing at the test bench.
Never start testing until you have read and under-
stood all the information required for the test.
Test the device on a calibrated test bench only.
In case of doubt, use test values specified by the ve-
hicle manufacturer.
While testing the device, always adhere to the con-
tents of this test instruction.
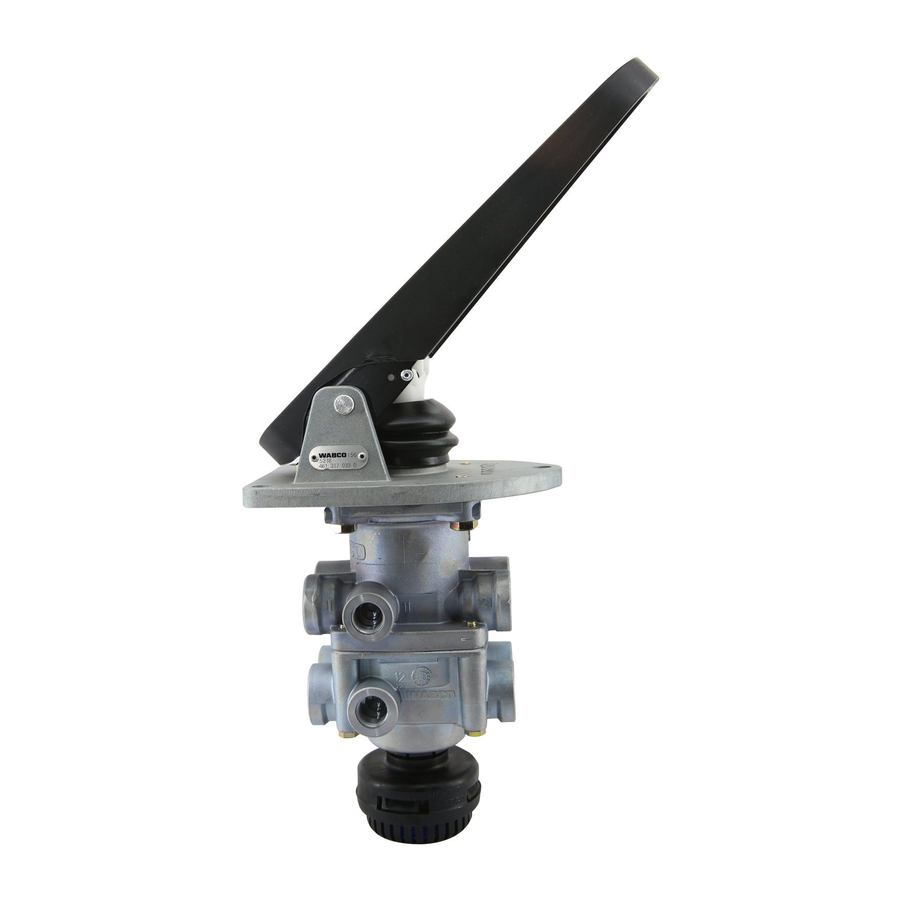
Test instruction for device 461 317 ... 0
000
002
003
004
005
006
007
Symbols and Signal Words
WARNING
Possible hazardous situation. To disregard this may lead to seri-
ous or fatal personal injuries.
CAUTION
Possible hazardous situation. To disregard this may lead to per-
sonal injuries.
© 2005 American Standard All rights reserved 461 317 961 3/09.2005
Brake Valve
008
036
009
037
011
038
012
039
020
041
024
044
025
045
461 317
1/2
CAUTION
Comply with the company and national accident
prevention/health & safety regulations
Unlock screws, hoses and equipment parts only
when the respective lines of the test bench are vent-
ed.
046
047
048
049
050
051
053
–
Handling
•
List
i
Instructions, explanations, information, tips
Gauge indication
054
055
056
1/3
Advertisement

Subscribe to Our Youtube Channel
Related Manuals for WABCO 461 317


Summary of Contents for WABCO 461 317
-
Page 1: Safety Information
Possible hazardous situation. To disregard this may lead to seri- Instructions, explanations, information, tips ous or fatal personal injuries. Gauge indication CAUTION Possible hazardous situation. To disregard this may lead to per- sonal injuries. © 2005 American Standard All rights reserved 461 317 961 3/09.2005... - Page 2 INFORM • Test Bench - Operating Instructions: Fig. 1 + 2 Brake valve 461 317 ... 0, functional symbol 435 197 000 0 • General Repair and Test Hints: Necessary equipment/tools 815 010 109 3 en •...
- Page 3 Adjust pedal to G2. have vented the device to 0 bar. Gauge 3 must indicate P3. – Remove device from fixture. Gauge 4 must indicate P4. – Clean device. © 2005 American Standard All rights reserved 461 317 961 3/09.2005...
Need help?
Do you have a question about the 461 317 and is the answer not in the manual?
Questions and answers