Table of Contents
Advertisement
Quick Links
Advertisement
Table of Contents

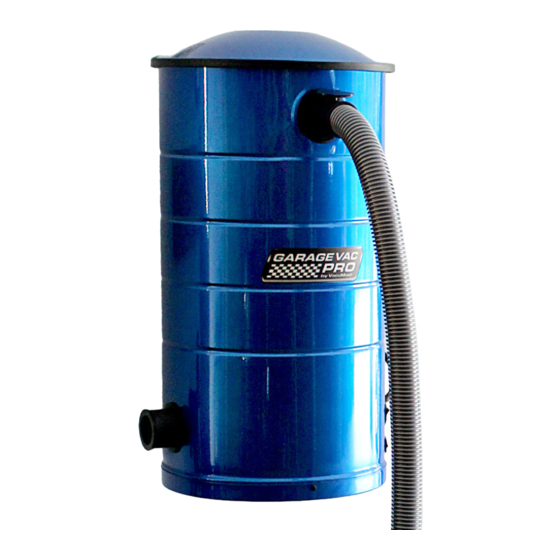
Summary of Contents for VacuMaid GARAGE VAC
- Page 1 OWNERS MANUAL ® READ BEFORE OPERATING YOUR SYSTEM...
-
Page 2: Important Safety Instructions
IMPORTANT SAFETY INSTRUCTIONS When using an electrical appliance, basic precautions should always be followed, including the following: Read all instructions before using this appliance. WARNING: To reduce the risk of fire, electric shock or injury: Always follow these safety instructions •... -
Page 3: Grounding Instructions
CAUTION: Do not use when rug (or floor) is wet. ATTENTION: Ne pas utiliser lorsque le tapis (ou le plancher) est moduille. SAVE THESE INSTRUCTIONS * THIS IS NOT A WET VAC * -WARNING- ELECTRIC SHOCK COULD OCCUR IF USED ON WET SURFACES GROUNDING INSTRUCTIONS FOR CORD CONNECTED APPLIANCE This appliance must be grounded. - Page 4 & plastic or • Rubber Mallet • 1/8” drill bit lead anchors - not provided) Other items included with this system... Tool kit for standard Garage Vac Tool kit for Garage Vac PRO 1. Hose 2. Hose Hanger 3. Dusting Brush 4.
- Page 5 (Fig. 2) ATTACHING UNIT TO MOUNTING BRACKET Mount the VacuMaid® Garage Vac by sliding the attached unit bracket onto the wall bracket (Fig. 3) and slide it down until the unit rests securely into the bracket.
-
Page 6: First Time Use
FIRST TIME USE Before using your system for the first time, follow these 3 steps. Protector plate must be installed properly for the vacuum to work 1 Make sure the PP101 Protector Plate is in place. This is necessary for proper suction. Upon receiving your vacuum system, lift off the lid. -
Page 7: Using Your System
USING YOUR SYSTEM Vacuuming Inserting the hose The hose connects to the system through the utility valve inlet on the front of the unit by lifting the door open and inserting the hose. (Fig. 1) See below for using your attachments & cleaning tools. On/Off Switch Insert the hose before turning the unit on. -
Page 8: Maintenance
MAINTENANCE This system uses a sealed HEPA type bag. The mass of dirt and debris is picked up by your vacuum and depos- ited into the bag inside your dirt canister. Emptying your Dirt Can To remove accumulation, follow these steps: Remove the lid by unhooking the clamps &... -
Page 9: Year Limited Warranty
Lindsay Manufacturing, Inc., for damage to person or property. We do not authorize any person, including any dealer, agent, supplier, or representative of Lindsay Manufacturing, Inc., to make any other warranty or guarantee on our behalf, or assume for us any liability on the GARAGE VAC by VACUMAID Vacuum System other than that contained herein. No oral representations regarding warranty shall be binding upon Lindsay Manufacturing, Inc., whether extended before or after sale of that product. -
Page 10: Troubleshooting
TROUBLESHOOTING Most problems that develop can be fixed easily by following the below suggested solutions: Vacuum cleaner won’t run Low suction or no suction • • Be sure the unit is plugged in. First, see above. • • Be sure you turned the system on. Usually low suction is caused by a full bag. - Page 11 HEPA Bag (3 pk) w/ HC111BL PET PACK PERSONNEL VAC PACK Great addition to your VacuMaid® Garage Vac For on the job personnel cleaning, where when you have pets in the home. Not only they are especially dirty or dusty from their eliminate unwanted fur from your furnishings working environment such as flour at baker- but also your pets.
- Page 12 For replacement bags or to order additional tools or accessories, www.vacumaid.com visit us at or give us a call at 1-800-221-1862 To register your product online, go to www.vacumaid.com/registration PO Box 1708 Ponca City, OK 74602 1-800-546-3729 L6232 10/2016...
Need help?
Do you have a question about the GARAGE VAC and is the answer not in the manual?
Questions and answers