Table of Contents
Advertisement
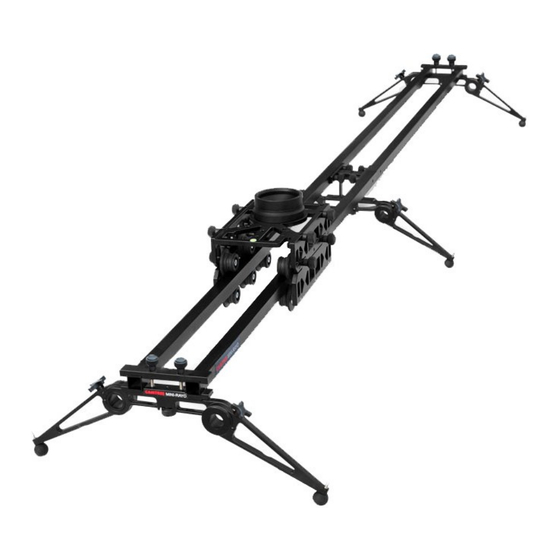
RAYO Mini 8ft track dolly slider
I N S T R U C T I O N M A N U A L
F o r d e m o n s t r a t i o n o n l y
All rights reserved
No part of this document may be reproduced, stored in a retrieval system, or transmitted by any form or by any
means, electronic, mechanical, photocopying, recording, or otherwise, except as may be expressly permitted
by the applicable copyright statutes or in writing by the Publisher.
Advertisement
Table of Contents

Summary of Contents for Camtree RAYO Mini
- Page 1 RAYO Mini 8ft track dolly slider I N S T R U C T I O N M A N U A L F o r d e m o n s t r a t i o n o n l y...
-
Page 2: Table Of Contents
Camtree RAYO Mini 8ft track dolly slider TA B L E O F C O N T E N T S Section Page Introduction In the box Assembling of track & Installing Central Support Attachment Carriage Assembly Installing end feet and attaching to the tripods... -
Page 3: Introduction
Please inspect the contents of your shipped package to ensure you have received all that is pictured and listed below. Note: 1. If you have purchased Rayo Mini (C-RAYO-MINI), you will receive only 1 box that contains the dolly & its parts. -
Page 4: Assembling Of Track & Installing Central Support Attachment
P a c k a g i n g M a t e r i a l o f B o x : 2 Note: You will receive these following parts only in case if you have purchased Rayo Mini motorized slider (C-RAYO-MINI-E). -
Page 5: Carriage Assembly
Camtree RAYO Mini 8ft track dolly slider CARRIAGE ASSEMBLING Insert the four thumb screws loosely into top plate. Slide the two wheel assembly brackets (top) into place and tighten the four thumb screws completely. Attach the wheel assembly brackets (bottom) with the wheel assembly brackets (top) and tighten the thumb screws top and bottom. -
Page 6: Installing End Feet And Attaching To The Tripods
Camtree RAYO Mini 8ft track dolly slider INSTALLING THE END FEET AND ATTACHING TO THE TRIPODS Now open the end foots to attach with track sections. Now attach the end adapters to both ends of the track and secure it with the help of provided knobs. -
Page 7: Attaching The Central Support
Camtree RAYO Mini 8ft track dolly slider ATTACHING THE CENTRAL SUPPORT Now attach the central support attachment with foot and secure it with the help of provided knob. Now attach the foot with central joiner and tighten the screw. - Page 8 Camtree RAYO Mini 8ft track dolly slider Insert the thumb screw from bottom of top plate and screw in the bowl adapter . Now mount your 100mm fluid head on the bowl and secure it properly with the help of knob.
-
Page 9: Attaching The Flat Base
Attach the flat base to the top plate of dolly. M O U N T I N G T H E M O T O R : Note: If you have purchased Rayo Mini Motorized (CH-RAYO-MINI-E), follow these steps to attach the motor. ... - Page 10 Camtree RAYO Mini 8ft track dolly slider Threaded Holes Now, Adjust the motor part as shown in the image in order to attach the belt on to the pulley. Then insert the belt through the pulley. For this, insert the belt from one side, overlap it on the pulley &...
-
Page 11: Attaching Wire With Motor
Camtree RAYO Mini 8ft track dolly slider After that attach the hinge clamps at both the ends of the track. Loosen the thumb screw & insert the belt. Tighten the thumb screw to tighten the belt properly. Now, pull the motor upwards as shown in the image and tighten the screws. -
Page 12: Warranty
Camtree RAYO Mini 8ft track dolly slider CAMTREE RAYO MINI 8FT TRACK DOLLY SLIDER ALL DRESSED UP AND READY TO GO SHOWN WITH OPTIONAL ACCESSORIES WARRANTY: We offer a one year warranty for our products from the date of purchase. - Page 13 Camtree RAYO Mini 8ft track dolly slider Replacement parts of the product will be provided at nominal cost (covering the cost price of the replacement parts only) to the customers after the Warranty Period has expired. We will cover the complete cost of sending replacement parts within the warranty period.
Need help?
Do you have a question about the RAYO Mini and is the answer not in the manual?
Questions and answers