
Subscribe to Our Youtube Channel
Related Manuals for Easy@Home 8361


Summary of Contents for Easy@Home 8361
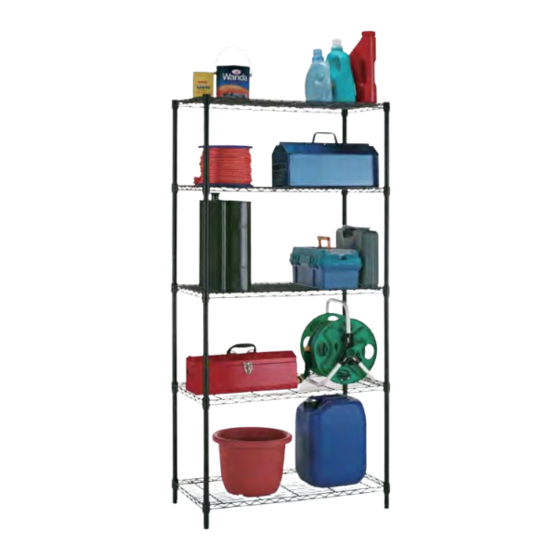
- Page 1 User Manual Manual De Usuario HEAVY DUTY BLACK SHELVING ESTANTERÍA REFORZADA DE COLOR NEGRO English... Page 2 Español... Página 9...
-
Page 2: Table Of Contents
Contents • Contenido Contents..................2 Warnings/ Warranty...............3 Parts List..................4 Assembly..................5 Warranty Card................15 Contenido.................2 Advertencias/ De garantía..........9 Listas de piezas...............10 Ensamblaje................11 Tarjeta de garantía..............15... -
Page 3: Warnings/ Warranty
Some states or provinces do not allow some exclusions or limitations, so the above statement may not apply to you. This warranty gives you specific legal rights. Additional rights vary by state or province. AFTER SALES SUPPORT www.aldi.us 1-561-372-4151 MODEL: 8361 PRODUCT CODE: 8361 12/2014... -
Page 4: Parts List
(4) Bottom Support Poles Section is missing a rib on pole (4) Top Support Poles Small threaded opening is the top (4) Pole Connectors (40) Shelf Support Clips 20 pairs Leveler Feet AFTER SALES SUPPORT www.aldi.us 1-561-372-4151 MODEL: 8361 PRODUCT CODE: 8361 12/2014... -
Page 5: Assembly
THE BOTTOM SHELF MUST GO ON FIRST, THEN WORK YOUR WAY UP. 4. Screw lever feet (F) into the bottom of each pole (these are used to adjust the shelf when on uneven surfaces). AFTER SALES SUPPORT www.aldi.us 1-561-372-4151 MODEL: 8361 PRODUCT CODE: 8361 12/2014... - Page 6 Heavy Duty Black Shelving Assembly Step 2 Slide all four poles through shelf. Once you have verified that all support clips are aligned push shelf firmly down until snug. AFTER SALES SUPPORT www.aldi.us 1-561-372-4151 MODEL: 8361 PRODUCT CODE: 8361 12/2014...
- Page 7 Begin by identifying the top and bottom of pole support sections (C&B). See illustration above. 2. Next insert support pole connector (D) between support pole sections and screw together. 3. Repeat for all 4 support poles. AFTER SALES SUPPORT www.aldi.us 1-561-372-4151 MODEL: 8361 PRODUCT CODE: 8361 12/2014...
- Page 8 Repeat steps from pages 5 and 6. Locate clips at desired height for second shelf from bottom. 2. After attaching clips on each of the 4 poles,slide shelf into place. 3. Repeat for the rest of the shelves until unit is completed AFTER SALES SUPPORT www.aldi.us 1-561-372-4151 MODEL: 8361 PRODUCT CODE: 8361 12/2014...
-
Page 9: Advertencias/ De Garantía
Algunos estados o provincias no permiten algunas exclusiones o limitaciones, por lo que la cláusula anterior puede que no sea aplicable a usted. Esta garantía le otorga derechos legales específicos. Los derechos adicionales varían según el estado o provincia. SERVICIO POSVENTA www.aldi.us 1-561-372-4151 MODELO: 8361 CÓDIGO DEL PRODUCTO: 8361 12/2014... -
Page 10: Listas De Piezas
(4) Postes superiores de apoyo La abertura roscada pequeña es la parte superior (4) Conectores de los postes (40) Sujetadores de soporte de los estantes 20 pares (4) Patas de nivelación SERVICIO POSVENTA www.aldi.us 1-561-372-4151 MODELO: 8361 CÓDIGO DEL PRODUCTO: 8361 12/2014... -
Page 11: Ensamblaje
DEBE PONER EN PRIMER LUGAR EL ESTANTE INFERIOR Y CONTINUAR EN SUCESIÓN HACIA ARRIBA. 4. 4. Atornille las patas de nivelación (F) en la parte inferior de cada poste (estas se utilizan para nivelar al estante en caso de superficies irregulares). SERVICIO POSVENTA www.aldi.us 1-561-372-4151 MODELO: 8361 CÓDIGO DEL PRODUCTO: 8361 12/2014... - Page 12 Deslice los cuatro postes a través del estante. Una vez que haya verificado que todos los sujetadores de soporte están alineados, empuje al estante firmemente hacia abajo hasta que quede firme. SERVICIO POSVENTA www.aldi.us 1-561-372-4151 MODELO: 8361 CÓDIGO DEL PRODUCTO: 8361 12/2014...
- Page 13 2. A continuación, inserte el conector del poste de soporte (D) entre las secciones del poste de soporte y atorníllelos. 3. Repita el procedimiento para los 4 postes de soporte. SERVICIO POSVENTA www.aldi.us 1-561-372-4151 MODELO: 8361 CÓDIGO DEL PRODUCTO: 8361 12/2014...
- Page 14 2. Después de colocar los sujetadores en cada uno de los 4 postes, deslice el estante en su lugar. 3. Repita para el resto de los estantes hasta que complete la unidad. SERVICIO POSVENTA www.aldi.us 1-561-372-4151 MODELO: 8361 CÓDIGO DEL PRODUCTO: 8361 12/2014...
-
Page 15: Warranty Card
Return Your Completed Warranty Card To/ AFTER SALES SUPPORT • SERVICIO POSVENTA Devuelva su tarjeta de garantía completada a www.aldi.us 1-561-372-4151 Kingsun US Inc. MODEL • MODELO: 8361 PRODUCT CODE: 8361 12/2014 PO Box 80491 Boca Raton. Fl 33488-0491 Monday-Friday:... - Page 16 DISTRIBUTED BY • DISTRIBUIDO POR: ALDI INC., BATAVIA, IL 60510 www.aldi.us AFTER SALES SUPPORT • SERVICIO POSVENTA 1-561-372-4151 www.aldi.us Monday-Friday 10am-5pm EST Lunes a viernes: 10am-5pm EST JAHRE year warranty GARANTIE años de garantía MODEL • MODELO: 8361 PRODUCT CODE: 8361 12/2014...
Need help?
Do you have a question about the 8361 and is the answer not in the manual?
Questions and answers