Advertisement
Quick Links
Advertisement

Subscribe to Our Youtube Channel
Related Manuals for JVC LT-32N370Z


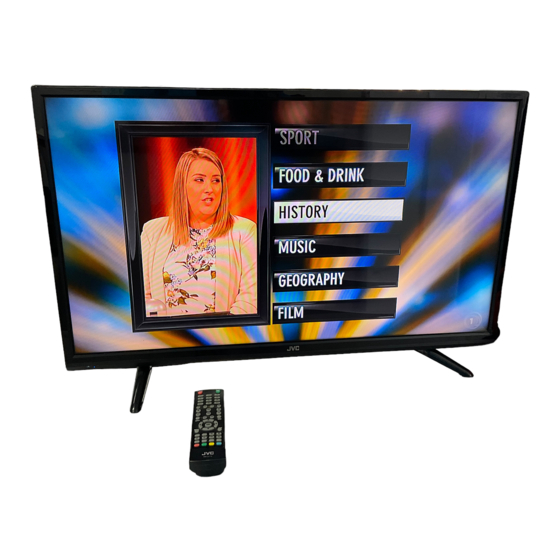
Summary of Contents for JVC LT-32N370Z
- Page 1 LT-32N370Z INPUT...
- Page 2 Safety warning Important Safety Instructions Wall Mount Specifications Electronic Program Guide Lock Menu PVR File System...
-
Page 5: Aaa Batteries
AAA BATTERIES TV STAND SCREWS SCREWS M4 x 16mm, 4pcs INPUT TV STAND BASE... - Page 6 Model No.LT-32N370Z M6 screws, length 10mmx2pcs* VESA 100*200 M6 screws, length 16mmx2pcs* * The length of the screw specified is only a recommendation; actual length required can vary depending on the type of wall mount used. M6 Screws, length 10mm...
- Page 7 Step One IMPORTANT: Place a soft cloth on a table and place the TV face down on the cloth. This is to prevent the panel from being cracked or damaged. The panel can be scratched easily, so please: 1. Choose an absolutely flat surface to place the TV on. 2.
- Page 8 CVBS HDMI1 HDMI2 Audio HDMI1, 2, 3: (High-Definition Multimedia Interface) It provides an uncompressed digital connection that carries both video and audio data by way of an integrated mini-plug cable. YPbPr: Connect a device that has component video jacks, such as a DVD player. PC Audio in: Use to obtain sound when a PC is connected to TV.
-
Page 9: Front Panel
If you cannot locate your Front Panel... - Page 11 MIX/T-SHIFT: MIX/T-SHIFT...
- Page 12 Input Source YPbPr HDMI1 HDMI2 HDMI3 Media Select Exit Move ENTER EXIT...
- Page 13 , Lock or Setup Press MENU on the remote. Select CHANNEL from the Main menu. Press the ENTER button to proceed to CHANNEL menu. Auto Tuning ATV Manual Tuning DTV Manual Tuning CHANNEL Programme Edit Schedule List Signal Information Move Return Select Exit...
- Page 14 • Channel tuning: search channel automatically. Channel Tuning You can stop searching with MENU button. 0 Programme 0 Programme Radio 0 Programme Data 0 Programme 2%... 422.00 MHz Please press MENU key to exit • ATV Manual tuning: search the channel manually. ATV Manual Tuning You can customise the color/sound system, frequency of channel.
- Page 15 Programme Edit • Programme Edit: via color buttons you can edit the programme, functions include delete, skip channel, etc. You can also add or erase the channel to the favorite channel list via FAV button on remote control. Delete Move Skip ENTER Select...
-
Page 16: Osd Menu Operations
OSD Menu Operations EPG stands for Digital Electronic Program Guide. It is supplied by the program providers and offers information about the programs to be broadcast. Y ou can access it in digital mode by pressing the EPG button on the remote control. 1.Press the EPG button to bring up the EPG interface (below). - Page 17 Picture Mode Standard Contrast Brightness PICTURE Colour Tint Sharpness Colour Temp Normal Noise Reduction Middle Move Return Select Exit MENU ENTER EXIT...
- Page 18 Sound Mode Standard Treble Bass SOUND Balance Auto Volume SPDIF Mode AD Switch Move Return Select Exit MENU EXIT ENTER This limits the volume fluctuation between different channels. SPDIF: Select three modes area available including Auto, PCM and Off. AD Switch: Enter the AD Switch sub-menu, then select this option to adjust AD volume.
- Page 19 Clock 20/Jul 13:12 Time Zone GMT+1 TIME Sleep Timer Auto Standby OSD Timer 15 S Move Return Select Exit MENU ENTER EXIT Clock: Set the TV clock. Time Zone: Showing the country’s time zone. Auto Standby:...
- Page 20 LOCK MENU Lock System Set Password LOCK Block Program Parental Guidance NO BLOCK Key Lock Move Return Select Exit MENU ENTER EXIT Lock System press ENTER button to enter, input password, default password is 0000. Password: To set your own password, first enter the old password, and then enter your new password twice. Block Program: To enter “Block Program ”...
- Page 21 English OSD Language TT Language west Audio Languages English Subtitle Language English SETUP Hearing Impaired PVR File System Aspect Ratio Auto Blue Screen First Time Installation Reset Software Update(USB) Move Return Select Exit MENU ENTER EXIT OSD Language Select your desired OSD language. TT Language/Audio Language/Subtitle Language Select your desired teletext language/ the primary audio language /the primary subtitle language.
-
Page 22: Pvr File System
PVR File System To Check and format your USB Disk to be compatible with the PVR file system of this model. Select "Check PVR File System" to check your USB Disk. Select "Format" to format your USB Disk to be compatible with this model. Select "Free Record Limit"... - Page 23 Maximum size of USB device that can be connected :1TB USB file systems supported: FAT32, Hi Speed FS, NTFS(NTFS compressed file is not supported), File formats that can be played: AVI, MPEG, TS, MKV, MP3, AAC, JPG, JPEG PHOTO photo...
- Page 24 1366x768 5000 733x494x201mm(LxHxW)) 200x100mm(WxH) 4.7kg...
Need help?
Do you have a question about the LT-32N370Z and is the answer not in the manual?
Questions and answers
is LT-32N370Z 32" class a smart tv?
The document mentions the model LT-32N370Z as a 32" TV but does not specify whether it is a smart TV. There is no information about internet connectivity, apps, or smart features.
This answer is automatically generated