Advertisement
Advertisement
Table of Contents

Subscribe to Our Youtube Channel
Summary of Contents for Pulsar CORE FXQ38
- Page 1 CORE FXQ38 FXQ50 THERMAL IMAGING SCOPE - FRONT ATTACHMENT...
- Page 2 L'exportation des modèles 76453/76459 avec un taux de rafraîchissement de 50 Hz peut avoir des restrictions à l'exportation, selon la législation de votre région. THERMAL IMAGING SCOPE - 2-17 FRONT ATTACHMENT CORE FXQ38/50 Achtung! CAMÉRA - ATTACHMENT 18-33 Export von Modellen 76453/76459 mit 50 Hz...
-
Page 3: Specifications
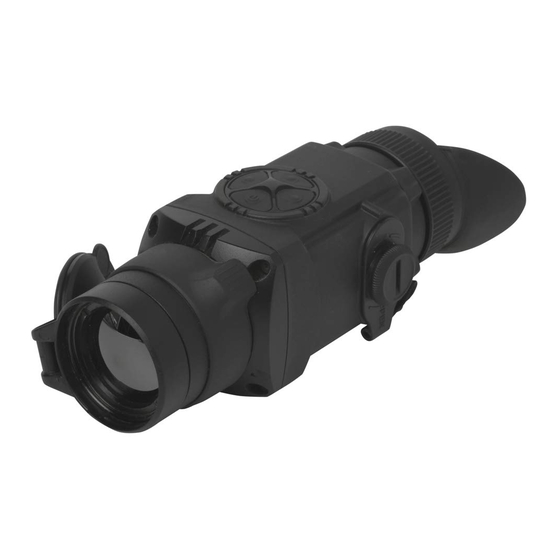
PACKAGE CONTENTS Monocular CORE Attachment’s eyepiece SPECIFICATIONS: Carrying case Hand strap 76453 76459 External power adapter* Model Core FXQ38 Core FXQ50 USB cable* Microbolometer characteristics: Wireless remote control Uncooled Uncooled Detector type User manual Resolution, pixels 384x288 384x288 Cleaning cloth Pixel size, µm... -
Page 4: Components And Controls
Menu operation First short Next short Long press press press Short press Long press COMPONENTS AND CONTROLS Unit calibration, Powering confirmation of the unit off Lens cap Powering “ON/OFF” Powering Unit calibration defective pixel the unit on the unit off elimination –... -
Page 5: Guidelines For Operation
EXTERNAL POWER SUPPLY GUIDELINES FOR OPERATION The unit has been designed for long-term use. To ensure sustainable The supplied external power adapter allows you to use the following as performance, please adhere to the following: external power supply: - power bank (output voltage 5V, USB plug) or Before use make sure that you have mounted and adjusted the unit according - EPS3I or EPS5 Battery Pack (output voltage 12V;... -
Page 6: Operation
54.7-55.6 - Locate the attachment’s eyepiece so that the lock (B) is parallel to the 55.7-56.6 56.7-57.6 Pulsar logo (L) on unit’s body (Fig. ). 57.7-58.6 - Insert the attachment’s eyepiece into unit’s body until stop and secure it 58.7-59.6... -
Page 7: Operation. Calibration
It is recommended that you degrease the objective lens of your day device and the inner side of the insert before installing the cover adapter. OPERATION. CALIBRATION. Power on the unit with “ON/OFF” (9) button. In case of low battery icon will start flashing on the status bar. - Page 8 To switch to contrast control, press briefly the “MODE” (12) button Calibration modes (icon appears). Press briefly navigation buttons - “LEFT” (10) (decrease) Please see section 8 “Operation” for details. and “RIGHT” (11) (increase) to select contrast level (from 0 to 20). Brightness setting of menu icons Corresponding contrast level appears next to icon in the top right corner of the display.
-
Page 9: Troubleshooting
Press and hold down the “MODE” (12) button for two seconds to enter the menu. TROUBLESHOOTING Press briefly navigation buttons - “LEFT” (10) and “RIGHT” (11) to select icon , press “MODE”. Listed below are some potential problems that may occur when using the Select icon in the pop-up submenu and press “MODE”. - Page 10 NOTES While holding the reticle in the aiming point, move the auxiliary cross to the point of impact with buttons “LEFT” or “RIGHT” (or RC buttons (22),(24). To switch movement direction from horizontal to vertical, press button “MODE” or (23) RC button. Horizontal/vertical travel range of the auxiliary cross relative to the limiting frame is +/-10.
Need help?
Do you have a question about the CORE FXQ38 and is the answer not in the manual?
Questions and answers