Advertisement
Quick Links
Advertisement

Summary of Contents for D.R. Heater DR-122
- Page 1 Bedbug Heater Model No.: DR-122 Owner’s Manual PLEASE READ AND SAVE THESE INSTRUCTIONS...
- Page 2 Important Safety Information To reduce the risk of fire, electric shock, or personal injury, read all the instructions before using this heater. This appliance is intended for household or personal use only as described in this manual. Any other use including but not limited to commercial, agricultural, or outdoor use, is not recommended by the manufacturer.
- Page 3 • Do NOT use heater in areas where gasoline, paint, or flammable liquids are use or stored. Do not place flammable objects or aerosols inside the Bedbug Toaster™. • Some items may be damaged during heat treatment. Use EXTREME CAUTION when heat treating fragile items such as books, items made of wood, and other heat-sensitive items.
- Page 4 THE Bedbug Heater • Heat is an effective way to kill bed bugs, but the temperature must be at least 120°F in order for the heat treatment to be effective. • Always turn the heater on before placing potentially infested items inside the Bedbug Toaster™.
-
Page 5: Components Included
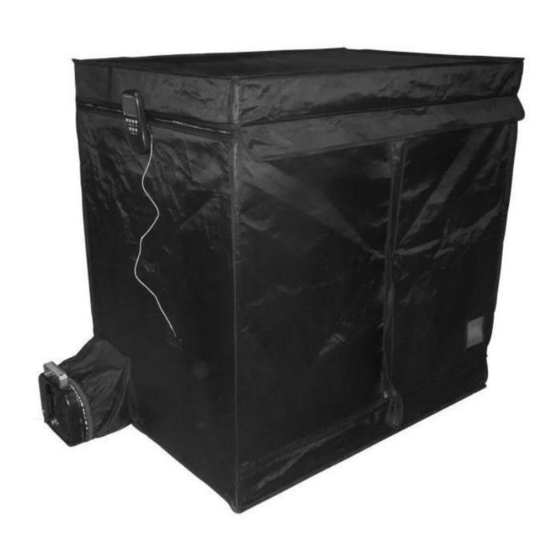
Components Included The following components are required for proper use of this product. Please contact Dr. Infrared Heater if you did not receive all of the components listed below. Some components may appear different from the illustrations below: Bedbug Toaster™ Thermometer &... - Page 6 Tube C (Qty: 4) Support Rack (Qty: 2) Operating instructions: 1. Assembling the rack:...
- Page 7 2. Insert four hooks in to the bottom holes of Tube C. 3. Hang the first support rack by using four hooks. Install the second support rack in the same manner. You may adjust the height according to your needs. 4.
- Page 8 WARNING: Failure to follow the below instructions will damage the heater and cause it to overheat. Use of the support racks is optional. However, if you choose not to use the support racks during the heat treatment, YOU MUST still ensure that items in the Bedbug Toaster are at least 12 inches from the heat outlet.
- Page 9 7. Press °C / °F button on the back of the thermometer to switch between Celsius and Fahrenheit. 8. Adjust the alarm temperature to 120℉ by pressing the UP and DOWN button. 9. Turn the power knob of the heater to ON position. Put the heater into the ventilation tube of the Bedbug Toaster™...
- Page 10 The cord has a plug as shown in (A) in the image below. An adapter as shown in (C) is available for connecting three-prong grounding-type plugs to two-slot receptacles. The green grounding lug extending from the adapter must be connected to a permanent ground such as a properly grounded outlet box. The adapter should not be used if a three-slot grounded receptacle is available.
-
Page 11: Warranty Information
Parts of the heater, such as the Bedbug Toaster’s™ metal zippers can remain hot long after heat treatment and cause burns. Use extreme caution. Heater Specifications Model:DR-122 Voltage:120V, 60Hz Current:Maximum continuous draw:12.5 amps; Minimum draw: 0.2 amps (fan only) Output:5200 BTUs... - Page 12 Feedback Love it? Help us make the product more for you. Let us know with a customer review. Please visit: https://www.amazon.com/review/review-your-purchases# Dr. Heater USA, we are committed to bringing top quality alternative & supplemental heating products to our customers. Dr. Heater USA 9293 Beatty Dr, Sacramento, CA 95826 Tel: 1-800-317-1688...
Need help?
Do you have a question about the DR-122 and is the answer not in the manual?
Questions and answers