
Related Manuals for Aobosi HL20L-GS

Summary of Contents for Aobosi HL20L-GS
- Page 1 Air Fryer Steam Oven INSTRUCTION MANUAL MODEL: HL20L-GS 120V 60Hz 1250W HOUSEHOLD USE ONLY IMPORTANT SAFETY INSTRUCTIONS...
-
Page 2: Table Of Contents
CONTENTS Precautions for Safety Use …………………………………………………… 2 Getting to Know Your New Air Fryer Steam Oven ………………………..3 Before Using Your AIR FRYER STEAM OVEN …………………………... 4 How to Use the Oven …………………………………………………………. 5 Select Auto Menu ……………………………………………………………... 5 Use DIY menu …………………………………………………………………. 8 Use Steam Function ……………………………………………………………... -
Page 3: Precautions For Safety Use
PRECAUTIONS FOR SAFETY USE When using your Digital Oven, basic safety precautions should always be observed, including the following: Please read all instructions. 15. Over-sized foods or metal utensils must not be inserted 1. Do not touch hot surfaces. Always use handles or in a toaster oven as they may create a fire or risk of knobs. -
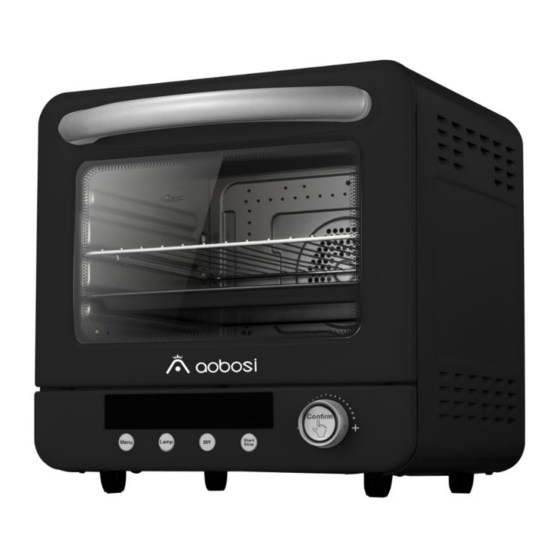
Page 4: Getting To Know Your New Air Fryer Steam Oven
SAVE THESE INSTRUCTIONS FOR HOUSEHOLD USE Getting to Know Your New Air Fryer Steam Oven MAIN COMPONENT Pizza pan Frying Basket Illustrations may differ from actual product. -
Page 5: Before Using Your Air Fryer Steam Oven
Read all the sections of this booklet and follow all the instructions carefully. Before Using Your AIR FRYER STEAM OVEN ▲Before using your air fryer steam oven for the first time, be sure to: 1. Read all the instruction included in this manual. 2. -
Page 6: How To Use The Oven
HOW TO USE THE OVEN CONTROL PANEL: SELECT AUTO MENU: Air Fry 1、Push the “ ” button to the “Air fry” function, the “Air Fry” function light and the default temperature “400°F” will start to twinkle, and the default time “0:10”... - Page 7 start to twinkle, and the default time “0:30” will light at the same time. 2、After confirming the function, you can rotate the “ ” knob to adjust the default temperature, and push again the knob to adjust the default time. 3、After confirming the temperature and time, press the “Start/Stop”...
- Page 8 1、Push the “ ” button to the “Pizza” function, the “Pizza” function light and the default temperature “450°F” will start to twinkle, and the default time “0:10” will light at the same time. 2、After confirming the function, you can rotate the “ ”...
-
Page 9: Use Diy Menu
Proof 1、Push the “ ” button to the “Proof” function, the “Proof” function light and the default temperature “90°F” will start to twinkle, and the default time “0:45” will light at the same time. 2、After confirming the function, you can rotate the “ ”... -
Page 10: Use Steam Function
USE THE STEAM FUNCTION: Fill water into the tank, hang on the cavity of the oven, steam will come out during cooking. The steam function is suggested to use for BAGEL and TOAST function, which can humidify the skin of the bagel and toast, to enhance the taste. Default Temp. -
Page 11: How To Use Accessories
HOW TO USE ACCESSORIES: 1. Bake tray: used when making cakes, broiling or roasting meat, poultry, fish and various foods. It can be placed on cavity Position A, B, or C. 2. Wire rack: used when broiling and roasting meat, poultry, fish and various foods. It can be placed on cavity Position A, B, or 3. -
Page 12: Care & Cleaning
then press it again to confirm 3. Press “ ”knob, turn clockwise to increase the cooking time, then press it again to confirm ingredients fried 1. Certain types of ingredients need to be 1. During halfway of the cooking time, unevenly in the air oven turn up-side-down halfway during the press “STOP”... -
Page 13: Warranty
12 months from the date of purchase against manufacturing faults. All Aobosi warranties are automatically kept track of in our system, so there is no need to register your product. For 6 month extra free of charge warranty, please register at website www.iaobosi.com or fill in and take picture of bellow Warranty Card sending to info@iaobosi.com.
Need help?
Do you have a question about the HL20L-GS and is the answer not in the manual?
Questions and answers