
Summary of Contents for Digitech Audio Visual AP4002
- Page 1 Distributed by: TechBrands by Electus Distribution Pty. Ltd. 320 Victoria Rd, Rydalmetre NSW 2116 Australia Ph: 1300 738 555 Int’l: +61 2 8832 3200 Fax: 1300 738 500 www.techbrands.com...
- Page 2 Product Profiles Please use power supply indicated on the projector. Do not look into the lens while the projector is switched ON to avoid inconvenience to the eye. Do not place the projector on articles which may User Guide obstruct ventilation. Function Operation To avoid electric shock keep it away from rain and any dampness.
-
Page 3: Product Profiles
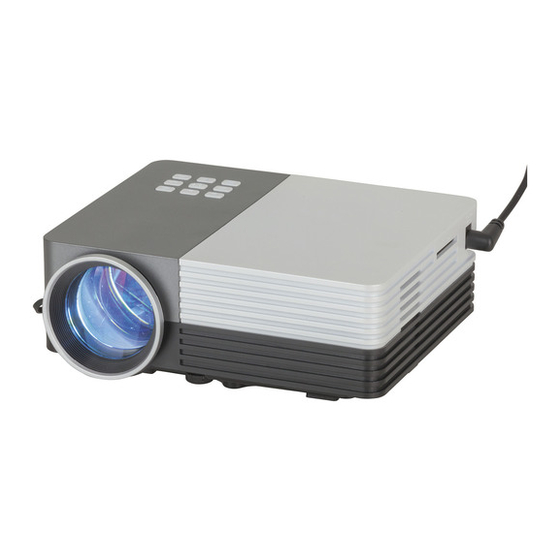
Product Profiles 1.1 Product Features AP4002 TFT LCD All sealed & high efficient cooling design, enhance AV、VGA、USB、SD、 product stability and life time. HDMI、Micro USB Long life 30,000 hours RGB-LED lamp providing a 12V-2.5A/5V-2A colorful and detailed viewing experience. English, Chinese, etc. - Page 4 User Guide Connection Channel Power DC IN 12V 2.5A Left C h e c k Right Menu Down Back Headphone U S B HDMI DC IN 5V 2A Keystone...
-
Page 5: Function Operation
Menu Use Guide Function Operation 2.2.1 On connecting and switching ON the power adapter the projector enters Standby mode. To Switch ON the projector press the power button on the projector or the remote control once. To Switch OFF the projector press the power button on the projector or the remote control once. - Page 6 1. Connect laptop Prior to connecting to laptop validate presence of VGA card drive. Adjust laptop settings to duplicate screen. If through PC HDMI no need to change settings. Connect using a VGA cable (not provided). U SB U S B connect mobile VGA cable to connect projector with computer.
- Page 7 4. USB SD connection D.Projector image reverse Put the USB or SD card Press MENU button and enter MENU insert corresponding slot, screen. Choose left_right reverse in then choose corresponding image button. Press OK to confirm. channel in the signal B.
-
Page 8: Remote Control
Remote Control Troubleshooting Input On encountering the following faults please perform corresponding checks. Mute Power Fault check Menu Play/Pause Out of power/can't Check if the power supply is connected Previous Next open the projector properly Left Right Check the input signal source and No image and sound connection again.
Need help?
Do you have a question about the AP4002 and is the answer not in the manual?
Questions and answers