Advertisement
Quick Links
FINGERSAFE MK1A & MK1B
Fingersafe is easy to fit and very reliable when installed correctly. It is essential that these instructions
are followed carefully. We can accept no liability or responsibility for incorrect installation. Fingersafe
can be installed in 95% of doors, however, it is not suitable for the following types of doors; double
swing doors; doors with rising or declining butt hinges; sliding doors.
There are many ways to fit our finger guards. All fitting instructions are contained on the technical
page of our website www.fingersafe.com.au. We suggest you review all fitting instructions to ensure
you fit the finger guards in the manner most appropriate to your door.
> Cordless drill (or screwdriver)
> Stanley knife (always keep the blade sharp)
> Strong scissors, tin snips, or hacksaw
> Posidrive bit
> Pencil
> Self-drilling screws for wood, steel and aluminium doors (provided)
The screws provided are for wood and metal doors; if installing in wood, make sure
the electric screwdriver is set to a low tension.
1. Check the stability of the door and hinges by opening the door at a 45 degree angle and gently but
firmly exerting lateral and vertical pressure. This will show any instability or damage in the door or frame
which must be repaired before you start. If the door has a closer attachment, you must check its
effectiveness. If the door closes easily without Fingersafe, it will continue to do so once Fingersafe is
installed.
2. After any necessary door maintenance, bring all the tools to the side of the door that swings away from
you, and pull the door closed tight.
3. Measure from the bottom of the door to the bottom side of the frame at the top. Subtract 3/4 inch (20
mm) for clearance and cut the fixing strip and pleated panel square to length if necessary.
NO LIABILITY WHATSOEVER ACCEPTED IF THESE INSTRUCTIONS ARE NOT FOLLOWED
FITTING INSTRUCTIONS
www.fingersafe.com.au
4 Craig Road, Donvale 3111
Tel: +61 3 9885 8009
Email: enquiry@fingersafe.com.au
TOOLS REQUIRED FOR FITTING FINGERSAFE
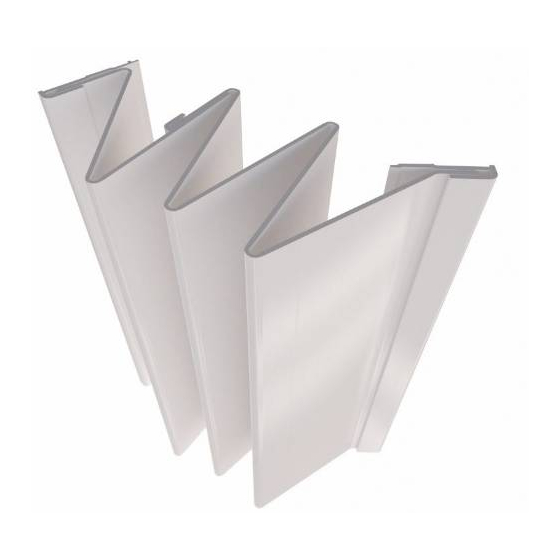
COMPONENTS OF FINGERSAFE
Advertisement

Summary of Contents for FINGERSAFE MK1A
- Page 1 Tel: +61 3 9885 8009 Email: enquiry@fingersafe.com.au Fingersafe is easy to fit and very reliable when installed correctly. It is essential that these instructions are followed carefully. We can accept no liability or responsibility for incorrect installation. Fingersafe can be installed in 95% of doors, however, it is not suitable for the following types of doors; double swing doors;...
- Page 2 BIRDS EYE VIEW shows Fingersafe fitted with the door closed. THESE INSTRUCTIONS MUST BE FOLLOWED PRECISELY IN ORDER TO VALIDATE THE 2 YEAR GUARANTEE...
- Page 3 MK1B INSTALLATION FOR STANDARD HINGED DOOR Butt L shaped edge to the door Roll the MK1B over the hinges side of hinges while aligning with and butt the T shape to hinges on top and bottom of the door. Secure frame side.
Need help?
Do you have a question about the MK1A and is the answer not in the manual?
Questions and answers