Table of Contents
Advertisement
Quick Links
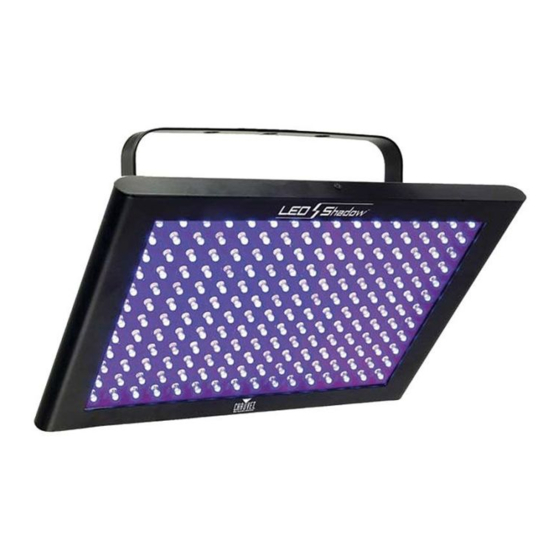
1. Product Name
LED Shadow™
2. Product Code
20714
3. Colour
Black
4. Brief Description
Voice-activated LED UV black light
5. Contents
1 x LED Shadow™ light unit
1 x power cable
2 x flush mount brackets with screws
6. Snoezelen® Stimulations
Sight
7. Best Use
Use with fluorescent products in a darkened environment.
Advertisement
Table of Contents

Summary of Contents for Rompa LED Shadow
- Page 1 3. Colour Black 4. Brief Description Voice-activated LED UV black light 5. Contents 1 x LED Shadow™ light unit 1 x power cable 2 x flush mount brackets with screws 6. Snoezelen® Stimulations Sight 7. Best Use...
-
Page 2: Detailed Description
8. Compatible ROMPA® Products ROMPA® offers a range of fluorescent and UV reactive products – please visit www.rompa.com for more information. 9. Starting Up Because of the nature of this black light, it is not advisable to take any short-cuts when installing or using this product. -
Page 3: Technical Specification
12. Technical Specification Size: 36L x 25W x 17cmH Weight: 2.2kg Voltage: 100V-240V 50/60Hz... -
Page 5: Installation
Any fixture used must be capable of supporting the weight of the product and must appropriate to the construction of the surface the product will be attached Use a safety cable/chain to further secure the LED Shadow. If linking multiple products, ensure these are close enough together for power linking cables to reach. - Page 6 Insert the fuse holder back in place and reconnect power. Configuration (DMX Linking): The LED Shadow can work with a DMX controller. Set the product in DMX mode to control with a DMX controller. Connect the product to a suitable power outlet.
- Page 7 Press <ENTER>. DMX Channel Assignments and Values: You will require a suitable DMX controller and appropriate serial data link cables. Fixtures on a serial data link must be daisy-chained on one single line. Cabling must have a male XLR connector at one end and a female XLR connector on the other end.
- Page 8 Standalone/Master-Slave Fixture Linking: Connect the male 3 pin connector of the DMX cable to the female output 3 pin connector of the first device. Connect the end of the cable coming from the first device (which will have a female 3 pin connector) to the input connector of the next device (a male 3 pin connector).
- Page 9 Use <UP> or <DOWN> to increase or decrease the programme speed. Press <ENTER>. To run the LED Shadow™ in sound activation mode, follow the instructions below: 1. Press <MENU> repeatedly until Sou shows on the display. 2. Press <ENTER> Soud will show on the display 3.
-
Page 10: Care And Maintenance
The Master/Slave mode allows a single LED Shadow product (the “master”) to control the actions of one or more LED Shadow products (the Slaves) without the need of a DMX controller. The master product will be set to operate in either Automatic mode or Sound- Activation mode, while the slave products will operate in unison with the master product. -
Page 11: Troubleshooting
Check the product is plugged in Check the fuse Further copies of these instructions can be downloaded at www.rompa.com We hope you find our instructions invaluable. If you have any suggestions for improving them further your comments will be greatly received – please contact us at producthelp@rompa.com...
Need help?
Do you have a question about the LED Shadow and is the answer not in the manual?
Questions and answers