Advertisement
Available languages
Available languages
512 KB SRAM Memory Expansion
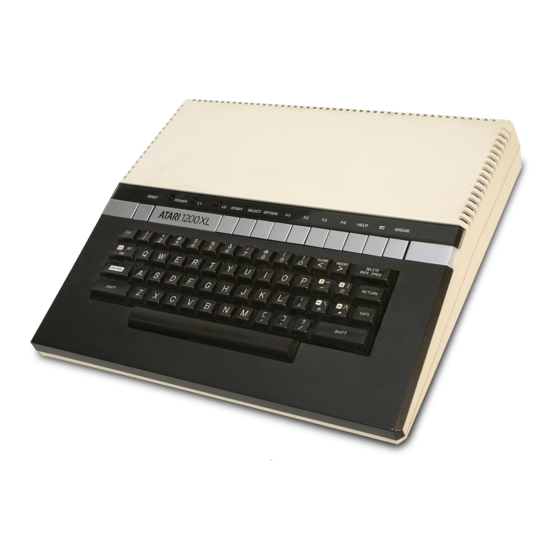
"Standard" for all Atari XL, XE and XEGS except the Atari 600XL
Hi Atari fan,
thanks for your purchase of this item. Please check the scope of delivery:
-
Prebuilt ready-to-use PCB 512 KB SRAM Memory Expansion
-
3 pol plug attached cable with open end wires
Attention:
The following instructions don´t require professional skills in soldering, but if you´ve never
desolder an IC before, it´s a good idea to ask a friend or any person with good skills in
electronics and soldering.
Hint:
This expansion works technically in all Atari XL/XE computers and the Atari
XEGS, but will
not fit in the Atari 600XL!
two machine-head precision sockets to lift up the ANTIC´s socket for more distance.
If you ever want to remove the expansion,
it out of the ANTIC socket! Use a flat screwdriver or similar and leverage the front part
where the ANTIC is placed on the left and right gently until you can easily pull out the
whole expansion.
Desoldering any IC may result in a damaged mainboard regarding the partly very low quality
of some Atari XE models, for example. This instruction doesn´t contain any solder guide or
"how to" – you have to had the skills ☺
Please follow these steps:
Open your computer and locate the ANTIC. Its partnumber is „CO21698" or
1.
„CO14887" for PAL (and SECAM) and „CO21697" or „CO12296" for NTSC. This
memory expansion works with all variants of ANTIC!
Desolder the ANTIC if needed. Please use precision (machine head) sockets to make
2.
a secure and strong fit of the PCB
Locate the MMU. This ist the one and only IC with 20 pins. Its partnumber is
3.
„CO61618" (used in all XL/XE computers except the 1200 XL, then it´s „CO60609")
oder „C101686" (XEGS, XE Game System). If the MMU is not already socketed,
desolder it
Remove any residues / sparks of solder from the ANTIC´s and MMU´s pins
4.
Plug in the ANTIC into the free socket on the memory expansion PCB. Pin 1 (notch)
5.
points to the left (see alignment of socket). Now take the whole expansion and plug it
into the socket where the ANTIC was placed in before.
Bend up pin 6 and 16 from the MMU, so that these both pins don´t touch the socket.
6.
Plug the MMU into its socket. Pin 6 and 16 must be outside the socket!
Deutsche Version: Seite 3 und 4!
Installation instructions
(only for version V4.4)
For all other machines you may need one or
DON´T
lift the greater part of the PCB to pull
Advertisement
Table of Contents

Subscribe to Our Youtube Channel
Related Manuals for Atari XL Series


Summary of Contents for Atari XL Series
- Page 1 Desoldering any IC may result in a damaged mainboard regarding the partly very low quality of some Atari XE models, for example. This instruction doesn´t contain any solder guide or “how to” – you have to had the skills ☺...
- Page 2 ICs (remember: Pin 1 or the notch of the IC must always point to the left in all Atari computer models). After you´ve done that, power your computer on – best with no peripherals attached. After a few seconds the usual “READY” prompt should appear (or rainbow-effect in 1200 XL, game in XEGS).
- Page 3 Installationsanleitung (nur für Platinenversion V4.4) 512 KB SRAM Speichererweiterung “Standard” für alle Atari XL, XE und XEGS mit Ausnahme des 600XL Hallo Atari-Freund, vielen Dank für den Erwerb dieses Artikels! Im Lieferumfang findest Du folgende Bestandteile: Fertig aufgebaute Platine „512 KByte SRAM Speichererweiterung“...
- Page 4 Kabel oben am Pin des Chips mit anlöten. Kontrolliere nun die Lötarbeiten auf Zinnbrücken etc. und richtigen Sitz der Bauteile. Nochmal zur Erinnerung: Alle Bausteine zeigen mit Pin 1 nach links (alle Atari Modelle). Ist alles in Ordnung, kann der Atari eingeschaltet werden (am besten ohne jegliche Peripherie).
Need help?
Do you have a question about the XL Series and is the answer not in the manual?
Questions and answers