Table of Contents
Advertisement
Quick Links
Advertisement
Table of Contents

Summary of Contents for KACHINA 505DSP
- Page 2 FCC regulated equipment. Kachina recommends that you observe the following safety standards: DO NOT operate a fixed or mobile radio transmitter when someone is within two feet of the antenna.
-
Page 3: Table Of Contents
Table of Contents PAGE # I ntroduction ................... Specifications ..................System Requirements ................Unpacking the 505DSP ................. Location ....................General ....................Transce ive ..................Control Head ..................Control Head and Hardware Installation ..........Installing the Control Head lnto Your Computer ........ -
Page 4: Introduction
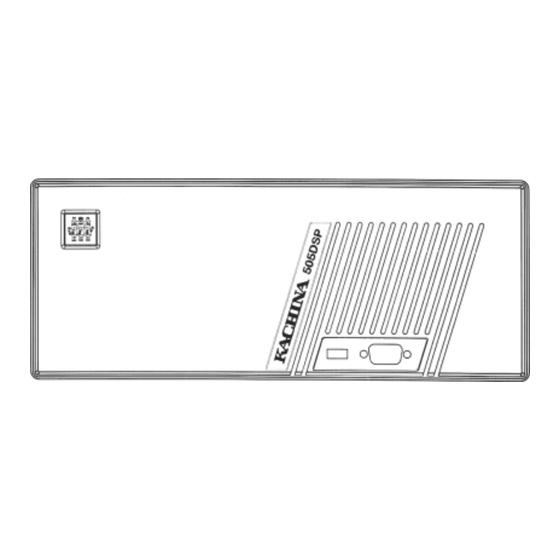
Figure I Transceiver Front Panel Introduction 505DSP HF 505DSP Congratulations on your purchase of the Kachina Transceiver. The designed to be controlled entirely from your personal computer. By com bining a state-of-the-art transceiver with the processing power and graphics capabilities your... -
Page 5: System Requirements
The 505DSP Transceiver operates from I 2 Volts D.C. Your power supply must be capable of delivering at least 25 amps continuous duty. Use of small power supplies may result in distorted audio, low power output, erratic operation the above. -
Page 6: Unpacking The 505Dsp
Dealer immediately. carton is 5. Location The 505DSP must be used indoors or in an enclosed vehicle. The transceiver and General control head are not weatherproof and not be exposed to the elements or... -
Page 7: Control Head And Hardware Installation
Install the 2-port junction panel into an empty stot on the rear panel of your computer and plug the cable into the connector on the rear panel of the control head. ft.) 505DSP control head cable from the front panel of the Connect the 2.5m... -
Page 8: Using The Control Head Outside Of Computer
For external use of the control head, connect the 2.5m ft.) control head cable (included with the 505DSP) and the optional RJ I 2 cable (supplied with the 505ECH kit) according diagram below: RADIO MOUNTED UP TO METERS) AWAY. -
Page 9: Control Head Front Panel Connections
5 to 20 millivolts of Figure 4 Control Head Front Panel output. The microphone supplied with the 505DSP is prewired. Wire your microphone according t o Figure if using another brand of microphone. Paddle, Morse Key Input Jacks... -
Page 10: Speaker Jack
Speaker Jack To connect to the control head, your external speaker must be wired to the tip and outer portions of a mm stereo phone jack. The speaker amplifier is designed to accommodate or 8-Ohm speakers. The 4-Ohm speaker will give twice the audio output, assuming both speakers are equally efficient. -
Page 11: Acc3 External Power Amplifier Connector
The mating cable to connector is not supplied outside the computer (see Figure with the transceiver but is available from Kachina as part of the 505ECH kit. standard Antenna Ports antenna ports, labeled A and ed on the rear panel transceiver. - Page 12 PIN # FUNCTiON FUNCTION PIN # ATU INiT +12v ATU KEY ACC 3-EXTERNAL POWER AMPLIFIER CONNECTOR FUNCTION FUNCTION PIN # PIN # EXTALC +12v FIGURE 1 O- TABLE, ACCESSORY CONNECTOR PIN FUNCTIONS Page I I Kmkina 505DSP Installation and Operation Guide...
-
Page 13: Power Connector
The installation software Will install three programs in the Kachina Communications Group. These include the 505DSP radio control program (KC505), radio call-sign logging program (KCLOG), and an uninstall program, should decide remove the Kachina software from your computer. -
Page 14: Current Settings Window
Clicking on the mode button Will toggle the transceiver between USB, LSB, AM, Mode Button and CW modes. Shortcut Keys After becoming familiar with the 505DSP, many users prefer use the keyboard “shortcut” keys instead of the mouse. Shortcut keys are keys that are permanently assigned specific functions. -
Page 15: Backspace Key
(The number keys on the keyboard may also be used), You Will find you can very quickly call up the filter menu and select a filter this way. The 505DSP User Guide provided on-screen. To view the User Guide or help files on Help the radio’s features, select Help from the main menu. -
Page 16: Font Setting
Desktop area. Click the OK button. Computer and Monitor Noise The 505DSP radio is well shielded. However, like any other noise via the antenna. To radio operated near a computer, may pick up computer or... -
Page 17: Control Problems
The 505DSP is provided with control cables approximately 2.5m (8 ft.) long, but 7.6m (25 ft.) and 23m (75 ft.) cables available optionally from Kachina. If using your own cables, they must be 100% shielded and not longer than 23m (75 R.). - Page 18 After decreasing the computer display resolution, some of the control software’s pop- Problem: up windows do not appear on the screen. Solution: The control software remembers the screen Iocation of the Band Sweep Display, Smith Chart, Log Call sign and Guide pop-up windows.
Need help?
Do you have a question about the 505DSP and is the answer not in the manual?
Questions and answers