
Related Manuals for Intellian MIM


Summary of Contents for Intellian MIM
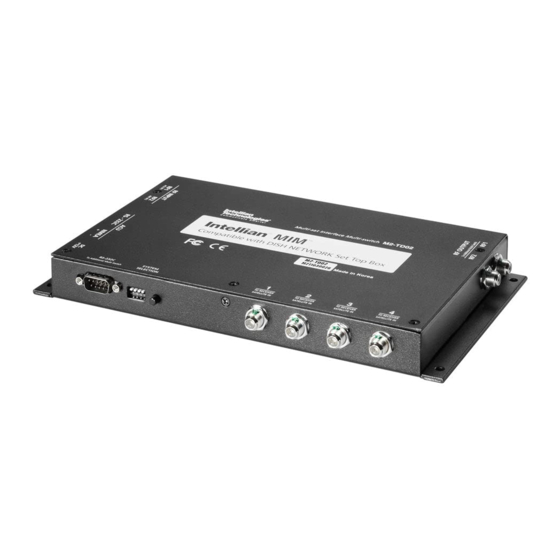
- Page 1 Multi-satellite Interface Module(MIM) Installation and Operation User Guide Doc. No. UM-MM-170331-V1.3...
- Page 2 Intellian Technologies, Inc., and should not be appropriated without permission by Intellian Technologies, Inc., and the information contained in this manual is the property of Intellian Technologies, Inc. Any and all parts of this manual shall not be reproduced and distributed in any form without written prior consent by Intellian Technologies, Inc.
-
Page 3: Table Of Contents
Contents INTRODUCTION INSTALL THE MIM CONNECT THE CABLES TO THE MIM SELECT THE MASTER CONTROL FUNCTION FOR CONNECTED RECEIVERS SETUP THE ANTENNA CONTROL UNIT SETUP THE RECEIVER AND TEST “CHECK SWITCH” TECHNICAL SPECIFICATIONS WARRANTY... -
Page 4: Introduction
Dish Network DP-34 multi-switch. installation steps. The following instructions and configuration diagram The user oriented design of the MIM offers Dish Network subscribers will explain how to modify your system for MIM use. access to their favorite high-definition (HD) programs and switches automatically between Dish Network 110°W, 119°W, and 129°W... - Page 5 Installation Site Power Requirements The MIM should be installed below deck, in a location that is: • Dry, cool, and ventilated. • Easily accessible from your main TV viewing area. 1000mm (39.37”) • DC plug cable : Connect the DC plug cable to use DC power source from the i-Series ACU.
-
Page 6: Connect The Cables To The Mim
5. Connect the RF cable from any “TO RECEIVER SATELLITE IN” on the rear of the MIM to the “Satellite In” on the rear panel of the receiver. 6. Push the “Select” button on the front panel of the MIM to setup the... - Page 7 DIP Switch setting for i2/i3/i4/i5/i6 ACU Configuration with i2 / i3 / i4 / i5 / i6...
- Page 8 1. Connect the RF cable from any “TO RECEIVER SATELLITE IN” on the “ANT.RF” connector on the rear panel of the Antenna Control Unit (ACU). rear of the MIM to the “Satellite 1” on the rear panel of the receiver. 2. Connect the RF cable from the “RECEIVER” connector on the rear 2.
- Page 9 Configuration with Multi-Receiver & Dual Tuner Receiver...
- Page 10 10. Connect the RF cable from any “TO RECEIVER SATELLITE IN” on the rear of first MIM to the “Satellite In” on the rear panel of the receiver. 4. Connect the RF cable from the “RF2” connector on the antenna to the “RF INPUT-RF2”...
- Page 11 Configuration with Multi-Receiver (more than 4)
-
Page 12: Select The Master Control Function For Connected Receivers
1. When you have a receiver connected to “TO RECEIVER SATELLITE IN” MIM will be the “Master” receiver by pressing the “Select” button on the number 1 of the MIM, the STB1 light turns on when you push the but front panel of the MIM. -
Page 13: Setup The Antenna Control Unit
Setup the Antenna Control Unit In order to configure the correct set of satellites for MIM to use, follow 1. Enter SETUP MODE and SET SAT PAIR MENU. the instructions below on the ACU. 1. Press YES to enter setup mode. - Page 14 Intellian MIM - Installation and Operation User Guide 2. Follow this procedure to select the 61 ° satellite instead of the 129 ° satellite. 6. Set satellite C 8. Set satellite C Press PREV to show previous satellite name. Press PREV to show previous satellite name.
-
Page 15: Setup The Receiver And Test "Check Switch
Setup the Receiver Setup and Test “Check Switch” After all cables are connected completely, turn on the power for the ACU. In order to load the information from the Intellian MIM into the receiver, When the ACU indicates “Tracking” from the target satellite, turn on the you will need to complete the “Check switch”. - Page 16 Intellian MIM - Installation and Operation User Guide 2. Select “Check Switch” button and select “Test”. Be sure that “Super- 3. Wait until the message “Currently doing test #3 of 3” appears. This DISH” and “Alternate” are NOT checked. indicates the test is completely done. If the message is different, check your connections again.
- Page 17 4. After the test is finished, you will see the message with “OK” for all 5. Select the “Done” and “Cancel” button to exit menu. three satellites dishes 110 °, 119 ° and 129 ° (or 61 °). With dual tuner receivers, you will see the same results for “Satellite Input 2”.
- Page 18 Intellian MIM - Installation and Operation User Guide 6. At this point, the receiver begins the procedure to download the 7. If you have other receivers connected to the MIM, set each receiver program guide information. When the message below displays, follow as a Master (Refer to Page 10) and repeat these procedures from 1 to 6.
-
Page 19: Technical Specifications
Technical Specification Physical Dimensions(WxDxH) 10.2”(26cm) x 5.7”(14.6cm) x 1.1”(2.8cm) Weight 1.4 Ibs. (0.64 kg) Environmental Operating temperature range 5°F ~ 130°F (-15°C ~ 55°C) Storage temperature range -13°F ~ 158°F (-25°C ~ 70°C) Approvals CE/FCC Warranty 3 Years Interface RF Port 2 x 4 Multi S/W and Expansion 2RF Ports PC Interface RS232 - DB9... -
Page 20: Warranty
It is required to present a copy of the purchase receipt issued by Intellian Technologies, Inc. that indicates the date of purchase for after-sales service under the warranty period.
Need help?
Do you have a question about the MIM and is the answer not in the manual?
Questions and answers