Advertisement
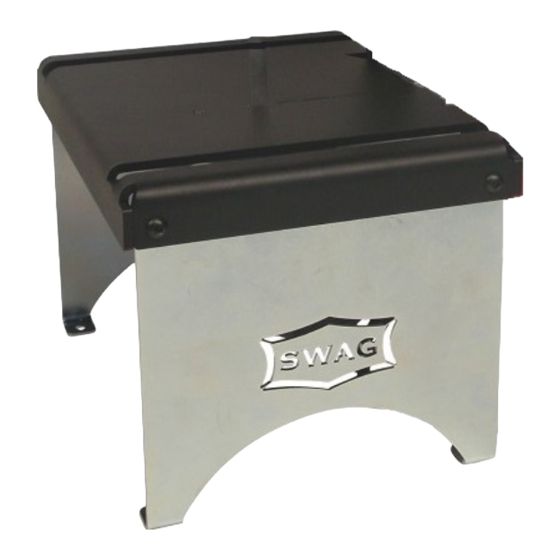
SWAG Portaband Table V4.0 Installation
1) Install bolt on side legs:
Attach the bolt on side legs using the supplied 5/16" bolts
and nuts.
2) Hardware Kit Assembly:
Using the supplied 5/32" hex key and a ½" wrench, install the 5/16" jam nut so it is
flush with the bottom of the 5/16" set screw.
3)Set Screw Installation:
Install the 7/8" long set screw from the bottom of the table so the top of the fastener
protrudes through the top of the table ~3/16".
Instructions
"DOING ORDINARY EXTRAORDINARY"
WWW.SWAGOFFROAD.COM
Advertisement
Table of Contents

Summary of Contents for SWAG V4.0
- Page 1 SWAG Portaband Table V4.0 Installation Instructions 1) Install bolt on side legs: Attach the bolt on side legs using the supplied 5/16” bolts and nuts. 2) Hardware Kit Assembly: Using the supplied 5/32” hex key and a ½” wrench, install the 5/16” jam nut so it is flush with the bottom of the 5/16”...
- Page 2 4) Blade Guard: Push the button on the side of the blade guard (red arrow shown above) to extend the guard in the in the farthest outward position as shown in the 2 picture above. 5) Saw Installation: Install the saw into the portaband table, so the table slides into the air vent of the saw. Then install the provided 5/16”...
- Page 3 We recommend using an 8” Velcro strap or a 2.5” spring clamp to hold down the trigger on the saw. These options can easily be removed when the saw is not mounted in the SWAG Portaband table. 8) Hex Key Retention.
Need help?
Do you have a question about the V4.0 and is the answer not in the manual?
Questions and answers