Thank you for buying this product. We hope you will be satisfied with it.
If you have any questions, please contact your local dealer or with us directly.
Contact information can be found on www.brewtools.com
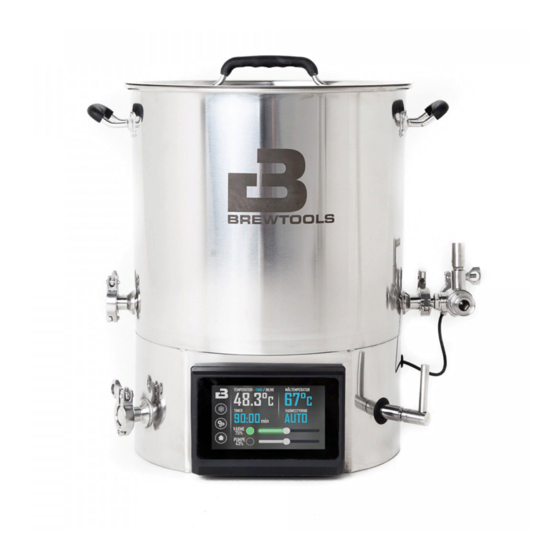
User manual
7712206-User Manual-EN-2019-9
1 | 22


Need help?
Do you have a question about the Pro Series and is the answer not in the manual?
Questions and answers