Advertisement
Installation Instructions
Thank you for purchasing this quality Lucci product. To ensure correct function and safety, please read and follow all
instructions carefully before using the product. Please keep instructions for future reference.
Warranty
•
This light fitting is covered by a 3 year warranty.
•
Warranty will be void if there is any damage due to improper usage or modification to the fitting.
•
This fitting is not suitable for use with dimmer switches.
•
Warranty will be void if the fitting is used on the same circuit which has a dimmer switch.
Installation requirements
•
This light fitting has a 12V AC rating is classified as – ELV (Extra Low Voltage) and does not require any electrical
connection or disconnection. The service of a licensed electrician is NOT required. The assistance of a technical
person with the correct tools may be required to complete the install.
•
Do not exceed the maximum wattage rating.
•
Select a suitable location for installation;
This product has an IP54 rating, and is suitable for indoor or outdoor use.
-
Ensure the fitting is not installed next to any air vents and is not in any permanent moist/damp areas.
-
This LED light fitting requires a "LEDlux 12V 80VA Driver "to provide 12V power with dedicated connectors to
-
the LED light fitting. Using 12V power supply not recommended will void warranty.
•
Lay out all the components on a smooth surface and make sure there are no components missing before
assembling.
•
Check whether the fitting has been damaged during transport. Do not operate/install any product which appears
damaged in any way. Return the complete product to the place of purchase for inspection, repair or replacement.
•
Ensure power to the circuit you are working on has been switched OFF.
Installation directions
Remove all packaging material from the product.
A.
B. Select a suitable place for installation and check the surrounding ground/soil environment that will provide a solid
foundation to install the base of the light fitting.
Step 1. Remove all plastic packaging and layout all the parts.
Step 2. Remove the mount base plate from the bottom by releasing the two side screws. Pull the cable and
connectors inside the upper body. (Shown in diagram 1.)
Step 2. Prepare the mounting base by inserting the L-shade thread rods as shown in diagram 2, secure the
L-shape rods using the lock nuts.
Step 3. Dig a hole in soil deep enough to place the L-shape rods section of the mounting base into the hole. Fill the
hole with concrete and allow to-set to strengthen the mounting base foundation. While the concrete begin to set,
adjust mounting base to sit two centimeter above the top of the concrete. This will allow clearance for cabling to
under the mounting base and attaching the upper body onto the mounting base. (Shown in diagram 2 & 3.)
Step 4. When the concrete have set, route the cable and connector under the mounting base and out to the side to
allow access to power connection. Place the upper body onto the mounting base and secure with screws. (Shown
in diagram 3 & 4.)
1 | P a g e
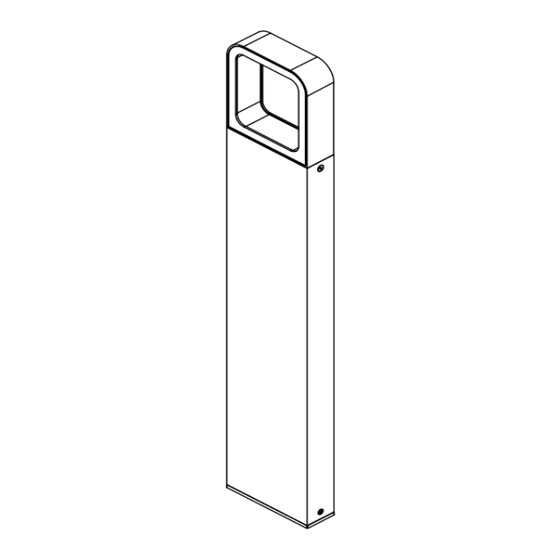
Deta – 12V LED Bollard
Medium - SKU# 230261
Large – SKU# 230262
Rated Voltage 12V AC
Advertisement
Table of Contents

Subscribe to Our Youtube Channel
Summary of Contents for Beacon Lighting Lucci LEDLux Deta
- Page 1 Installation Instructions Deta – 12V LED Bollard Medium - SKU# 230261 Large – SKU# 230262 Rated Voltage 12V AC Thank you for purchasing this quality Lucci product. To ensure correct function and safety, please read and follow all instructions carefully before using the product. Please keep instructions for future reference. Warranty •...
- Page 2 Installation Instructions Step 5. Connect cable and with bi-pin plugs to the bi-pin socket of the Ledlux 12V 80VA driver (not included), and switch ON. (Shown in diagram 3.) Safety tips • Always ensure the power is OFF and the fitting has cooled down before performing any maintenance, cleaning, changing the globe or adjustment to the fitting.
- Page 3 Installation Instructions INSTALLATION DIAGRAM: Deta – 12V LED Bollards 3 | P a g e...

Need help?
Do you have a question about the Lucci LEDLux Deta and is the answer not in the manual?
Questions and answers