Advertisement
Quick Links
Advertisement

Related Manuals for Elastix NLX-miniUCS Appliance


Summary of Contents for Elastix NLX-miniUCS Appliance
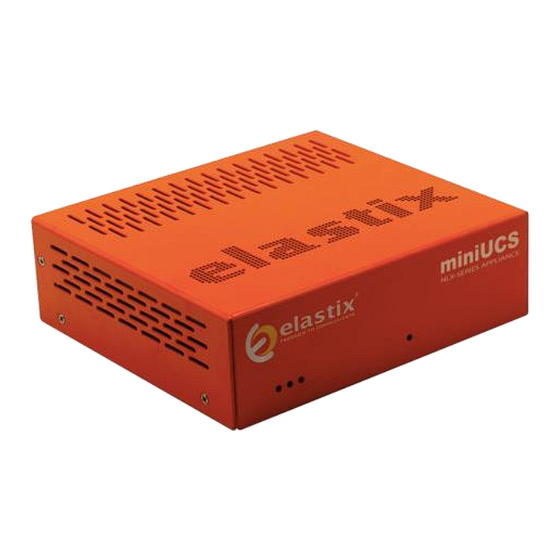
- Page 1 Quick Start Guide V.02.10 NLX-miniUCS APPLIANCE Unified Communications Server...
- Page 2 Introduction Default Settings The Elastix NLX-miniUCS appliance puts at your fingertips all the tools you need to Table 1 below lists the default configurations each NLX-miniUCS comes pre- handle your communications requirements: from telephony, to email, fax, IM, and installed with.
-
Page 3: Getting Started
After logging in, place your mouse cursor over the silhouette icon at the top 2. Connect the AC Adapter to a wall outlet and then the other end to the right corner of the Elastix’s web UI and click on “Change Elastix Password” appliance (Figure 1) 3. - Page 4 If needed, change the IP address of your appliance so that it matches the miniUCS restored back to a clean/default installation: address scheme of your local area network (LAN). At the Elastix web user interface go to: System Network , here you can configure the global 1.
-
Page 5: Limited Warranty
All Elastix Appliances come with a limited warranty. Please contact your local reseller for more information and instructions on how to claim it. © 2013 PaloSanto Solutions. All rights reserved. Elastix, the Elastix logo, and NLX-miniUCS are all trademarks of PaloSanto Solutions.
Need help?
Do you have a question about the NLX-miniUCS Appliance and is the answer not in the manual?
Questions and answers