
Related Manuals for Neol ePowerSwitch D4

Summary of Contents for Neol ePowerSwitch D4
- Page 1 ePowerSwitch Power Management and Server Supervision Quick Start Guide V.01/2004...
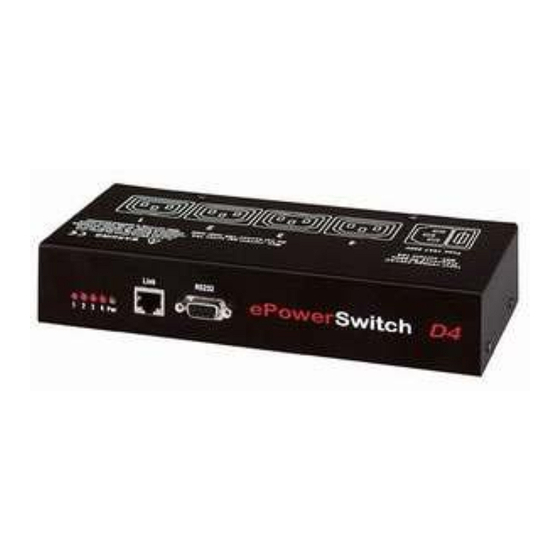
- Page 2 Quick Start Guide ePowerSwitch D4 is a power control unit with a built-in Web server, an Ethernet and a serial RS232 connection. It enables to control individually the power supply of 4 power outlets either remotely through a Network (Intranet or Internet) or locally through its serial RS232 connection.
-
Page 3: Safety Instructions: To Be Read Before Use
∇ Always plug ePowerSwitch D4 into a properly grounded power outlet (two poles plus ground). ∇ The electrical power outlet used to plug the power cord of the ePowerSwitch D4 must be ∇ close to the ePowerSwitch and easily accessible. - Page 4 2. Configuration of the ePowerSwitch To use the ePowerSwitch on your network you must first configure its network parameters. To know the parameters to use ask your network administrator. There are three different methods to configure the ePowerSwitch: Method 1 : Through a network using the ePowerSwitch Finder Program (on the delivered CD).
-
Page 5: Configuration Using The Epowerswitch Finder Program
3. Configuration using the ePowerSwitch Finder program Remarks: The ePowerSwitch and the PC used to configure it, have to be connected on the same ∇ segment of the network. The protocol of this program can not be routed an so it can not be used to configure the ePowerSwitch through a WAN or the Internet. - Page 6 Tab General This tab is used to configure all the network parameters (IP address, Subnet Mask, Gateway and Port) and also to authorise or deny the configuration of the ePowerSwitch either using the Finder program or over HTTP. Tab Labels This tab is used to attribute a name to the device and it’s 4 controlled power outlets.
-
Page 7: Configuration Using A Web Browser
4. Configuration using a Web browser Remarks: To be able to access to the Web server of the ePowerSwitch you must before have ∇ configured its network parameters (ask your network administrator for the parameters to use). the Web server of the ePowerSwitch works with Internet Explorer Version 6.0 or higher and ∇... - Page 8 Tab Home This tab is used to switch on, off and restart the controlled power outlets and to configure the ePowerSwitch. Tab General This tab is used to : - attribute a label to the ePowerSwitch and its 4 controlled power outlets, - define all IP parameters (IP Address, Subnet mask, Gateway and Port number), - authorise or deny the use of the ePowerSwitch Finder program, - authorise or deny the configuration of the ePowerSwitch through HTTP.
-
Page 9: Configuration Using A Terminal Connection
The RS232 serial port of the ePowerSwitch can be used to control its power socket and to configure its Web server. To configure the Web server: 1. Use the delivered RS232 serial cable to connect the ePowerSwitch D4 to an available serial port of your PC. 2. Run a terminal program such as Windows HyperTerminal. -
Page 10: Security Parameters Configuration
6. Security parameters configuration Explanations about the setting of the masks: Each mask can be a IP Address or a range of IP Addresses. ∇ Each mask allows to permit or deny the access to the Web server of the ePowerSwitch to ∇... - Page 11 Example 3: ⇒ Permit only access to IP addresses beginning with 192 ⇒ Deny access to IP address 192.168.001.010 Masque IP Address Permit Deny Activated 192.168.001.010 192.255.255.255 255.255.255.255 Example 4: ⇒ Permit access to IP addresses beginning with 192 ⇒ Deny access to address 192.168.001.010 ⇒...
-
Page 12: Serial Port Pinout
7. Serial port Pinout The serial connection uses a SUB-D9 connector with following pinout: Pin 2 = TxD (transmit data to the PC) Pin 3 = RxD (receive commands) Pin 5 = GnD Parameters: 9600,n,8,1 without flow control. ePowerSwitch-D4 Quick Start Guide V.01/2004... - Page 13 8. Command the state of the socket through a Web browser 1. Start your Web browser Type the IP address of your ePowerSwitch The browser displays the authentication dialog box 2. Enter a user name and its corresponding password. − If you enter the administrator name (default value = admin) and the administrator password (default value = admin) and click on the button OK you will be able to control all the power outlets and also to configure all the parameters of the ePowerSwitch.
- Page 14 9. Command the state of the socket through a serial connection All the power outlets of the ePowerSwitch D4 can also be controlled using a simple ASCII protocol over a RS232 serial connection. To control the power socket: 1. Use the delivered RS232 serial cable to connect the ePowerSwitch D4 to an available serial port of your PC.
- Page 15 Examples: Switch power outlet 1 to On: p1=1 Switch power outlet 2 to Off: p2=0 Restart power outlet 1: p1=r Restart power outlet 4: p4=r Toggle power outlet 3: p3=t Switch all power outlet to on: p0=1 Restart all power outlet: p0=r The ePowerSwitch accepts lower case and upper case commands.
-
Page 16: Technical Characteristics
10. Technical characteristics Network standards IEEE 802.3, 10BASE-T TCP/IP, HTTP Network protocols Network connection RJ-45 connector for UTP CAT5 100 meters (not included) Max. network cable length RS232, SUB-D 9 female Serial connection Nominal input voltage 230 V/50Hz IEC-320 Input power socket 230 V/50Hz Output voltage Output power socket... -
Page 17: Statement Of Conformity
NEOL SA 4 Rue Nationale 67800 BISCHHEIM -FRANCE Type of Equipment: Power Control Unit Type Designation: ePowerSwitch D4 Reference: EPS D4 Years of Manufacture: 2003 We, the undersigned, hereby declare that the equipment specified above conforms to the above directives.
Need help?
Do you have a question about the ePowerSwitch D4 and is the answer not in the manual?
Questions and answers