
Summary of Contents for Prem-Air PREMSW
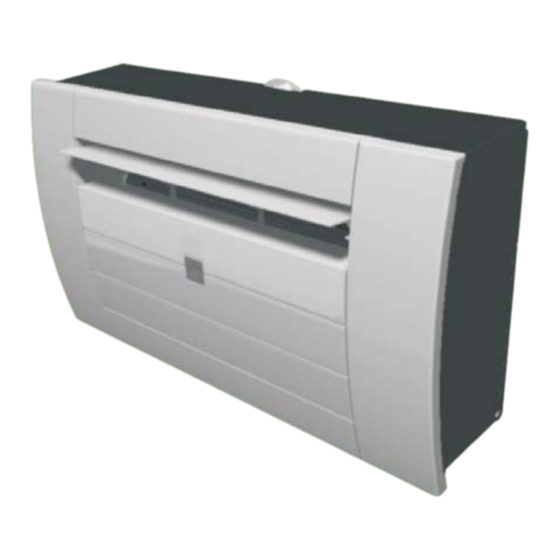
- Page 1 High Wall / Low Wall Air Conditioner Model: PREMSW IMPORTANT SAFETY INSTRUCTIONS PLEASE READ ALL INSTRUCTIONS CAREFULLY BEFORE INSTALLING & OPERATING...
-
Page 2: Table Of Contents
CONTENTS GENERAL INFORMATION INTRODUCTION BS PLUG WIRING IMPORTANT SAFETY INSTRUCTIONS RECIVING THE GOODS HANDLING PART LIST TECHNICAL FEATURES INSTALLATION POSITIONING OF THE AIR CONDITIONER PAPER TEMPLATE DRILLING THE WALL FASTENING THE BRACKET INSTALLATION OF AIR PIPES AND GRATINGS FITTING THE GRATINGS FITTING THE UNIT ON BRACKET DRAINAGE LINE USE AND MAINTENANCE... -
Page 3: General Information
GENERAL INFORMATION INTRODUCTION PLEASE NOTE. Do not dispose of any packaging until the installation of the equipment is completed. After having removed the packing, check that all the content is intact and complete. (See list of accessories). In the event of missing parts, contact your retailer. This unit has been designed to cool or heat the air of a room and should only be used for this purpose. -
Page 4: Important Safety Instructions
IMPORTANT SAFETY INSTRUCTIONS When using electrical appliances, basic safety precautions should always be followed: Do not place objects on the product or allow objects to obstruct the inlet or outlet openings. Extreme care should be taken when any product is used by, or near children and pets, and whenever the product is left operating and unattended. -
Page 5: Handling
HANDLING · Be fully aware of the weight of the unit before attempting to lift it. Take all necessary precautions to avoid damaging the product or causing personal injury. · It is advisable to remove the packing only when the air conditioner has been located in the point of installation. -
Page 6: Technical Features
TECHNICAL FEATURES PREMSW Model 3220 Cooling capacity * (W) 3220 Heating capacity * (W) Rated voltage (V) 220-240 1220 Absorbed power in cooling* (W) Absorbed current in cooling* (A) Absorbed power in heating* (W) 1060 Absorbed current in heating* (A) -
Page 7: Installation
INSTALLATION POSITIONING THE AIR CONDITIONER To maintain the best performance from your unit, prevent breakdowns or hazards, you must position it correctly. Please follow the guidelines and instruction below in full, as failure to do so could cause potential installation problems. The air conditioner must be installed on an exterior wall that has access to the out side with a minimum of 2 metres clearance to the outside. -
Page 8: Paper Template
PAPER TEMPLATE Fasten the template to the wall once the following guidelines have been thoroughly checked. Do not drill any holes until you are 100% confident that there are no obstacles in the area you wish to drill and there are no obstructions, which could be hidden by the construction of the wall, for example: Electrical wiring water &... -
Page 9: Fastening The Bracket
FASTENING THE BRACKET Drill the holes for anchoring the fastening bracket to the wall using preferably the 6 holes showed in black on the paper template. If the wall is not sturdy enough it is advisable to use extra anchor bolts using the holes showed in grey on the paper template. -
Page 10: Fitting The Gratings
FITTING THE GRATINGS To fit the external two gratings please proceed as follows: Familiarise yourself with the fitting of the grating to the tube, before installation. Insert the cords through the centre of the grating. One grating fits on the outside of the tube and the other fits inside. -
Page 11: Fitting The Unit On Bracket
2.7 FITTING THE UNIT ON BRACKET After checking again that the fastening bracket is securely fastened to the wall, and that any necessary preparations for electric connection and condensate drainage have been made, please remove the compressor holders (remove plastic belt A and unscrew holder B and fasten the air conditioner to its supporting bracket, A and B can be discarded ). -
Page 12: Drainage Line
2.8 DRAINAGE LINE To complete the drainage line fit the drainage pipe on the drainage hole and push firmly into place (C). A further extension pipe (D) with an internal diameter of 16 mm can be fitted if necessary. If the line drains into a vessel (tank or other recipient), this container should not be sealed and the drainpipe should not remain immersed in the water. -
Page 13: Use And Maintenance
USE AND MANTENANCE 3.1 REMOTE CONTROL All the air conditioners functions are controlled, set or adjusted through the infrared remote control. You cannot fully operate the unit without the remote control, so please ensure you replace the remote after use in the provided holder. If the remote control is misplaced, switch the unit off via the mains socket. To switch the unit on, plug back into the power socket. -
Page 14: Cooling Function
3.4 COOLING FUNCTION - Press the MODE button until the cooling mode is set. - Press the buttons to set the required room temperature. When you set the temperature in cooling mode, the LCD on the front of the unit shows the set point, then after a few second the LCD display will then revert to room temperature and will decrease by 1 degree C in turn until the unit reaches your desired temperature. -
Page 15: Maintenance
AUTOMATIC SWITCHING ON - With the unit switched on, select the desired function by pressing the MODE button. - Switch off the unit. - Press the button. - Set up the switching time pressing the buttons (hours) and (minutes). - To confirm the operation, press again the button. -
Page 16: Problem Solving
3.12 PROBLEM SOLVING PROBLEM POSSIBLE CAUSE / REMEDIES The air conditioner does not work. - Wrong setting of the timer / Check it. - Problems on the power supply/Verify the Presence of voltage. The air-conditioner does not refrigerate the room - The filter could be dirty / Clean it.
Need help?
Do you have a question about the PREMSW and is the answer not in the manual?
Questions and answers