Advertisement
Quick Links
Advertisement

Subscribe to Our Youtube Channel
Summary of Contents for ELEPHAS RD606
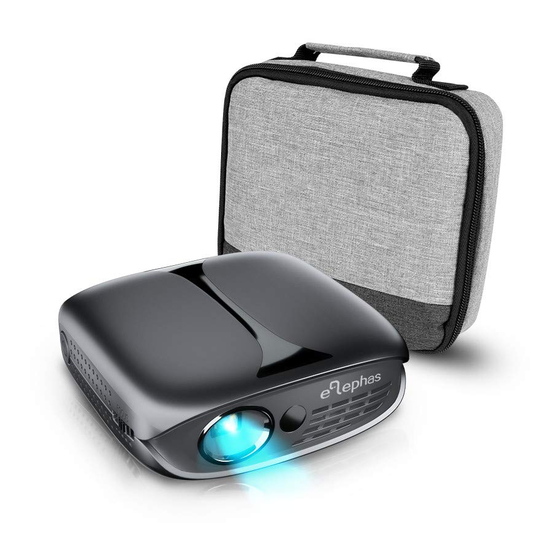
- Page 1 INSTRUCTION MANUAL Mini DLP Projector...
- Page 2 ●Projector Overview 1. Speaker 2. IR Remote control receiver 3. AUX cord jack (Earphone jack) 4. HDMI port 5. USB port 6. Master Switch 7. Micro USB Charging port 1. Power on / o button 5. Ventilation slots Warning tips: 2.
-
Page 3: Specifications
●Specifications ●Remote Control Optical Parameters: Display chip: 0.2" DMD RGB-LED 1. Power Lens: High light transmittance coating glasses 2. Menu Brightness uniformity: 3. Arrow keys NTSC: ≥120% Resolution: Max support 1080p 4. Mute 3D display: 5. Volume Down 6. Aspect Ratio Physical Parameters: 7. - Page 4 ●Focusing ●Powering ON/OFF Adjust the focus ring front or back lightly until the image is clear. Powering ON Step1: Plug the DC terminal of the power adaptor into “Micro USB Charging port” terminal of projector. Step2: Move the master switch right to “ON”, press the power key. Powering OFF Step1: Press the power key, the projector is o .
- Page 5 ●Using the HDMI Interface ●Using the USB Interface Please select the HDMI, the projector could be connected with DVD player, Game Step1: Connect the USB disk to the projector's USB port, then select “Media” box, HDD player etc. Step2: To project images and other content after connected, You can choose Connecting to PC “Movie”...
- Page 6 ●WiFi Connection ●iOS Cast Step1: Choose “Setup” on the right of the interface, then nd “Network”. Step1: Select “iOS Cast” of the home page. Step2: iOS devices and projectors must be connected to the same network, or Step2: Find “WiFi”. connect the iOS device to the wireless network issued by the projector.
- Page 7 ●Miracast ●Setup Step1: Select the “Miracast” of the home page. Step2: Open the “wireless display ”function of your device. Step3: Select the corresponding projector device name“ZYCAST-****” Attention: Note that di erent Android devices have di erent ways to open the “wireless display”. For details, please refer to the instructions for Android devices.
- Page 8 ●How to Charge ●Safety Instruction 1. To charge when the projector is o : Installation When the projector is connected with the power adapter, put the You can place the projector on almost any at surface to enjoy your movie switch in the “OFF”...
Need help?
Do you have a question about the RD606 and is the answer not in the manual?
Questions and answers
Showing jpg images from a usb stick it seems to automatically show them in slideshow mode. How do I show them one at a time?
To display JPG images one at a time on the ELEPHAS RD606 projector instead of in slideshow mode, follow these steps:
1. Connect a USB disk containing JPG images to the projector’s USB port.
2. Select “Media” from the projector’s menu.
3. Choose “Photo” from the list of available media types.
4. Manually navigate through the images using the projector's remote or controls instead of allowing automatic slideshow mode.
This allows you to view JPG images individually without slideshow mode.
This answer is automatically generated
Projector turns on briefly then shuts down even when connected to power
Downloading Driver Help Model RD-606