Advertisement
Advertisement

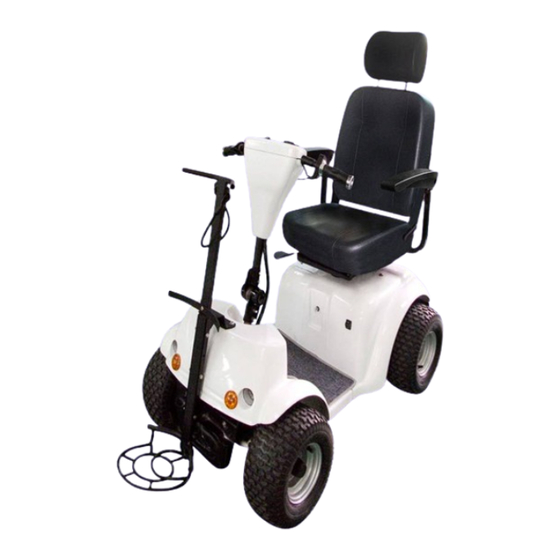
Summary of Contents for MARSHELL DG24800
- Page 1 DG24800 Manual...
-
Page 2: Table Of Contents
contents 1. Electrical system summarize……………………………………….….3 2. Function explain………………………………………………………….4 3. Daily maintenance……………………………………………………….6 4. General trouble service………………………………………………..10 Appendix 1( Trouble diagnose chart)……………………..……………12... -
Page 3: Electrical System Summarize
1. Electrical system summarize The electrical system includes battery, DC magnetoelectricity motor, controller, electric control wiring harness, electricity capacity display, direction switch, function bar, speed bar and charger; Additional parts are front lights, turning lights and rear lights. Attention: the life of the car related to the status in earlier using. Please charge the battery full before using the cart in right way. -
Page 4: Function Explain
1.3 Controller Controller is the main parts of the cart. Our cart use a PG24V/120A programmed controller. Setting the parameter to meet different guests. The controller has self-protect function For example, when there are troubles the controller can display work state on the light emitting diode. - Page 5 2.5 Function bar Contains horn button, turning switch and front light switch Front light switch horn button turning switch (Photo 5, function bar) 2.5.1 Horn button When press the button, the horn will work. 2.5.2 Turning switch Turning switch is a button to choose the direction, when press L( turn left), the front and rear turning light will shine with ringing.
-
Page 6: Daily Maintenance
bottle life when over charge), can adjust voltage and current self-regulation, with the charge time, the electric bottle voltage will raise gradually. If adopt the charger with the cart, it will extend the battery use life. ▲Please use the brainpower charger provide by our company, the battery will come to float charge when full, so it will not over charge when charge long time. - Page 7 3) Remove the battery connect weir, take out the battery 4) Put in 2 pcs same model battery (please note the direction keep same as before) 5) Connect the battery weir (please note the don’t connect the anode&cathode in reverse, or else will damage the battery, controller or circuit) 6) Fit on the rear body and seat in turn 3.2 Use and maintenance of the controller...
- Page 8 5mm inner hexagon spanner 8mm open-end spanner Replace the process (as pictures shown at right side): 1) Turn off the electric ignition key 2) Disassembly the seat and the rear cover (be careful to avoid pulling the cables hard) 3) Disassembly the power cable, motor output cable and 14p connector plug. 4) Get out the controller.
- Page 9 3.3.3 Motor change Tools required: Large Phillips screwdriver 5mm inner hexagon spanner 8mm open-end spanner 17mm club spanner 1) Turn the ignition key at the “OFF”position: disassemble the seat and cover, take off the motor connector wire; disassemble the 4 M10*45 column hut screws on the fixed frame of rear spring, then take off the fixed frame.
-
Page 10: General Trouble Service
20 hours. 1) Charger can only be used for DG24800 series of electric car, can’t be used as the other power. 2) The input voltage of the charger is limited to the frequency voltage. When higher than the city voltage (more than 10% of the nominal voltage) and industrial frequency voltage the charger is strictly prohibited. - Page 11 cause of the fault components are: battery connecting wire loose, overload protection device for large current and protection (disconnect) and electronic lock connection wire loose or damage etc. Maintenance procedures: First, check the current recovery insurance, and press the white plastic cover on the reinstatement of the insurance, if pop-up indicates that the insurance has returned to function.
-
Page 12: Appendix 1( Trouble Diagnose Chart)
Attach List Trouble diagnose guide LED code Trouble phenomenon Reason analyse Resolvent 1. Temperature >97 C or < -25 C. 2. Excessive load on vehicle. over-/under-temperature THERMAL CUTBACK 3. Operation in extreme environments. cutback 4. Electromagnetic brake not releasing properly. 1. - Page 13 CURRENT SENSE 1. Short in motor or in motor wiring. current sense fault FAULT 2. Controller failure. 1. Motor voltage does not correspond motor voltage fault tothrottle request. HW FAILSAFE (hardwarefailsafe) 2. Short in motor or in motor wiring. 3. Controller failure. EEPROM FAULT EEPROM fault 1.
Need help?
Do you have a question about the DG24800 and is the answer not in the manual?
Questions and answers