Table of Contents
Advertisement
Quick Links
Advertisement
Table of Contents

Related Manuals for SKYTRONIC 351.148

Summary of Contents for SKYTRONIC 351.148
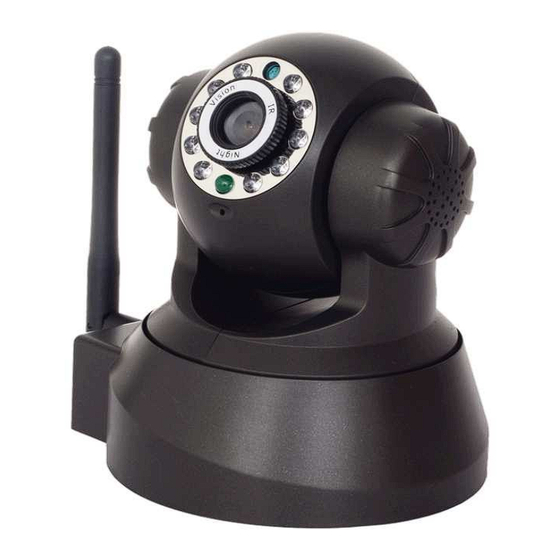
- Page 1 351.148 IP Camera with Pan/Tilt User Manual...
- Page 2 Safety Please read this manual first before using the product. Follow the instructions on otherwise the guarantee expire. Always take all security measures to fire and/or electric shock. It is also advisable to repairs/modifications etc. to qualified personnel to prevent an electric shock.. Save this manual for future use. 1.
- Page 3 PCAM is an integrated wireless IP camera. It combines a high quality digital video camera with network connection and a powerful web server to display a clear picture of a desired location on your local network or over the internet. The basic function of IPCAM is sending video images remotely on the IP network. The high quality video recording can be sent with a speed of 30 fps on the LAN/WAN by using MJPEG hardware compression technology.
- Page 4 1.2 Packaging Check the package contents: ● Wireless IP Camera × 1 ● Wi-Fi antenna × 1 ● DC Adapter × 1 ● Manual × 1 ● CD × 1(Includes wireless IP Camera,IP camera tool Driver) ● Network cable × 1 ●...
-
Page 5: Pc System Requirements
1 RJ-45/10-100 Base T 2 DC5V: 5V/2A power supply 3 RESET BUTTON: press and hold the RESET button for 5 seconds and the IP camera comes back in the factory default setting. 1.4 PC system requirements System configuration requirements: (e.g. to the IP Camera view) CPU: 2.06 GHZ or higher memory: 256 m or higher Network card: 10 m or higher Display Card: 64 m or higher Recommended operating system: Windows2000 or Windows XP... -
Page 6: Software Control
Fig 1.5 Fig 1.6 The computer reboots after completion and an icon will appear automatically. NB: before installing and using is started, please first read the following measures. Use only the power adapter that came with the camera malfunction. The IP Camera should be installed indoors. - Page 7 Fig 2.1 Note: the software searches IP Servers automatically in LAN. There are 3 possibilities: 1 No IP Camera found in LAN. After about 1 minute searching appears "not found". The IP Server and log off automatically 2 Installed IP Cameras found in LAN. All IP Cameras are displayed in Fig 2.1. 3 Not the installed IP Cameras in LAN share the same subnet.
- Page 8 Network Configuration Configure the network parameter. Fig 2.4 DHCP checkbox: the device obtains IP of the DHCP server (to make sure that the Router, which is connected to the unit, a DHCP function). IP address: Enter the assigned IP address and make sure it is in the same subnet as the gateway (e.g. the first three sections are the same) Mask: The default subnet mask is: 255.255.255.0 Gateway: make sure this IP address in the same subnet as the PC.
-
Page 9: Camera Login
Fig 2.5 ● Refresh Camera list: empty/refresh the Camera list manually. ● Flush Arp Buffer memory: if cable-network and wireless network a fixed IP address. A problem might arise if camera IP is found but the camera webpage cannot be opened. Use Flush Arp Buffer. 2.2 Camera Login You can access the camera through IP Camera Tool or IE. -
Page 10: For Visitor
2.3 for Visitor Fig 2.7 E.g.: when lit, the motion detection enabled (Motion Detection). OSD: display date and time. You can turn off this feature. (OSD: on-screen display) Insert date: When checked, the time display in the right down corner of the video recording are displayed. Audio buffer: set the audio buffer in: seconds Audio switch: Click to open and the icon changed to audio in audio... -
Page 11: For Administrator
Direction control: click on an arrow let see the corresponding direction. Vertical search/view orientation Horizontal search/view orientation Stop search/view orientation Flip: to view a flipped image. Mirror: in order to view the image. Resolution: VGA (640 x 480)/QVGA (320 x 240) Color parameter: Click to the brightness and contrast to regulate. -
Page 12: Network Settings
Restore Factory Settings: going back to factory setting. Reboot Device: restarting the appliance. Back: go back to the Monitoring Mode. 2.5.2 network settings ● Basic If the router running the IP camera is connected a DHCP function, you can choose "Obain IP from DHCP Server", fill in the different network parameters. -
Page 13: Ddns Service Setting
Fig 2.15 2.5.3 DDNS Service setting DDNS Service: the system supports protocols of some DDNS providers: Dyndns.org. (User name and Password for domain name registration). DDNS Host: Domain Name DDNS or Proxy Server: If you approach the DDNS host through a proxy, you need to enter the Proxy IP. - Page 14 7 The server knows the message is not. presumably by the anti-spam privacy of the server 8 The server supports the Authentication Mode (authorization) not provided by it is used Report Internet IP by Mail: If the ipcam to State or Internet IP has changed, it will be the internet IP send it via mail.(eg: IPCAM's url is http://119.123.207.96:9002).
-
Page 15: Motion Detection
Fig 2.18 2.5.5 motion detection Go to the Alarm Service Settings page to configure the Motion Detection function. Motion Detect Armed When movements are detected (motion detect armed), the camera is triggered to send email alerts and video recordings. In the camera monitoring page, the green icon red and an alert buzzer is activated, Motion Detect Sensibility (sensitivity) The sensitivity can be set using numeric values 1 to 10, where 10 is the most sensitive. -
Page 16: How To Use
Fig 2.19 3 HOW to USE 3.1 step by step: After the proper installation is the IP camera is switched on, the head turns itself around and stops in the middle. 1) Use a network cable to connect the IP Camera with LAN to connect. 2) Go to "IP Camera Tool"... - Page 17 Fig 3.1 4)Wait at least 30 seconds to remove the ethernet cable, turn off the power supply. 5) Turn off the power supply in, make sure that the ethernet is not connected. 6) After about 30 seconds, if the LED flashes, the wifi mode enabled. 7) Camera login.(details: 2.2) 3.3 connection to Internet via ADSL Fig 3.2 1) Use a network cable to connect the IP Camera with the PC...
-
Page 18: Static Ip User
Fig 3.3 1) use a Lan cable to connect the IP Camera with LAN to connect. 2) go to "IP Camera Tool" to the basic configuration to do.(details: 2.1) 3) Login on the Camera homepage as Administrator. 4) go to DDNS Settings Page for "DDNS service".Click <Submit> and the unit restart.(details: 2.5.3) 5) you can come in "Camera via the Internet"... -
Page 19: How To Use Ddns
Fig 3.4 Access to IP Camera over the Internet Enter WAN IP address + port number in IE, eg Http://116.25.51.115: 85 Note: make sure that the "Port mapping" is correct. This mapping can be done in 2 ways: 1 Go to the Setup page of the router that is connected to the ipcamera UPNP mode. Ipcamera "Upnp Settings" give in and make sure the status is "Upnp success". - Page 20 Fig 3.5 End-of-life articles!! Consult www.wecycle.nl and/or www.vrom.nl v.w.b. het afdanken van elektronische apparaten in het kader van de WEEE-regeling. Vele artikelen kunnen worden gerecycled, gooi ze daarom niet bij het huisvuil maar lever ze in bij een gemeentelijk depot of uw dealer. Lever ook afgedankte batterijen in bij uw gemeentelijk depot of bij de dealer, www.stibat.nl All (faulty) articles should during the guarantee period, always return to be sent in its original packaging.
-
Page 21: Ce - R&Tte Declaration Of Conformity
7602 KM - ALMELO Tel : 0031546589299 Fax : 0031546589298 The Netherlands 351.148 Product number: Skytronic IP Camera WiFi Product Description: Regulatory Requirement: EN 60950 EN 55022 EN 55024 EN 301489 EN 300440 The product meets the requirements stated in the above mentioned Standards. - Page 22 Specifications and design are subject to change without prior notice.. www.tronios.com Copyright © 2011 by TRONIOS the Netherlands...
Need help?
Do you have a question about the 351.148 and is the answer not in the manual?
Questions and answers