Advertisement
Quick Links
Setting up your LeakSmart System is as simple as launching
the LeakSmart App and pairing your devices.
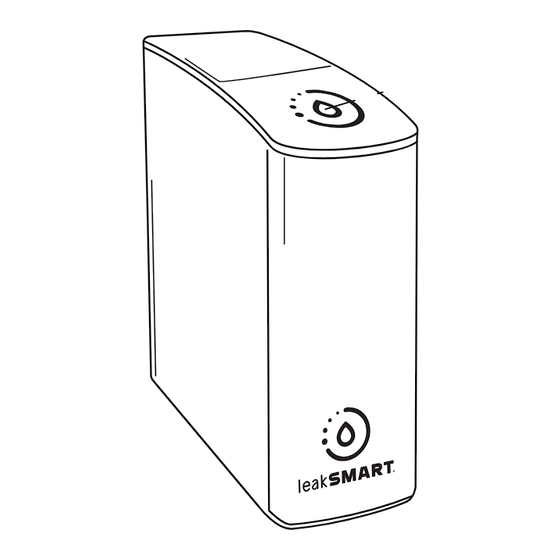
User Interface
A. Wi-Fi Button – To Reset the Wi-Fi credentials of the LeakSmart Hub 3.0.
B. Power ON/OFF – A Switch to turn ON/ turn OFF the LeakSmart Hub 3.0.
Note: Battery is only backup supply. User must use power adapter in order to switch ON the device.
C. Factory Reset – Factory reset the LeakSmart Hub 3.0.
Note: All the paired sensor devices will be removed after factory reset.
D. User Indication LED – Single RGB color LED is used to provide user indications to show system status.
LED User indications are de ned as per below table:
•
Primary Supply – 5V DC adapter supply.
•
Secondary Supply – Battery supply.
page 1
Hub 3.0 Installation
Instructions
User LED
Indication
_
+
Item# 8850830
Wi-Fi Button
Power On/O
Factory Reset
5v Power
Adapter Jack
Battery Compartment
(18350 Lion)
Advertisement

Subscribe to Our Youtube Channel
Summary of Contents for LeakSmart Hub 3.0
-
Page 1: User Interface
A. Wi-Fi Button – To Reset the Wi-Fi credentials of the LeakSmart Hub 3.0. B. Power ON/OFF – A Switch to turn ON/ turn OFF the LeakSmart Hub 3.0. Note: Battery is only backup supply. User must use power adapter in order to switch ON the device. -
Page 2: Setup And Operation
Abnormal Condition Setup and Operation CAUTION: Read installation instructions BEFORE installing your LeakSmart Hub. The setup instructions below show IOS application screen examples. The setup process is the same on an Android device, but the app screens will appear di erent on an Android device. - Page 3 Click the link in your email to launch the LeakSmart app, then sign in. 6. On the home page of the LeakSmart app, tap on add hub. The app will then walk you through the set up procedure.
- Page 4 If the LED light does not appear solid red, reset the Wi-Fi con gurations by holding the hub’s Wi-Fi button for 5 seconds. 8. Switch over to phone settings, network Wi-Fi settings. Keep the LeakSmart app open in the background during this process. page 4...
- Page 5 Hub Installation Instructions Setup and Operation 8. In your Wi-Fi settings, the LeakSmart Hub will appear within the list of available Wi-Fi networks as leakSMART– XXXX Note: the 4 digit XXXX code is the last four digits of the MAC address tied to your LeakSmart Hub.
- Page 6 Hub Installation Instructions Setup and Operation 10. Once you’re back into the LeakSmart App, select your home Wi-Fi network that you would like to connect your LeakSmart Hub to. The screen will display all the available Wi-Fi networks detected by the Hub 3.0.
-
Page 7: Power Switch
12. When the hubs LED indicator light turns blue, the hub has been successfully activated to your account. 13. You are now ready to pair all other devices to your LeakSmart System. Simply tap on add devices and follow the in app instruction screens. Visit www.leaksmart.com/installation to download the valve or sensor instruction sheet for next steps on how to pair a speci c device.
Need help?
Do you have a question about the Hub 3.0 and is the answer not in the manual?
Questions and answers