
Summary of Contents for Akva-Stabil Effect-Line
- Page 1 Aquarium Racks assembly instructions Akva-Stabil • Ole Roemersvej 12 • 6100 Haderslev • Denmark • +45 7352 4242 • akvastabil@eldorado.dk...
-
Page 2: Dear Customer
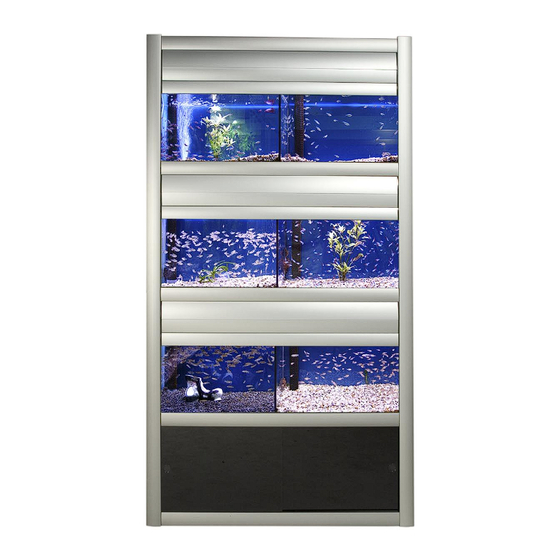
Dear customer Thank you for choosing an Akva-Stabil Effect-Line Aquarium shelving unit. We are sure you will be completely satisfied with your choice. Before starting assembly, read these instructions thoroughly so you have a good idea about what assembly entails. Follow- ing the sequence of operations in these instructions will give you a correct result for the least effort. - Page 3 Tricon: PVC pipe for connecting 3 outlet pipes. Used for sections containing aquariums with 2 glass partitions. The hoses are used for the pump. Filter: Box with filter, various PVC fittings, float valve, hoses and heating element. Slid: Pack with 2 sliding doors and slide rails for mount- ing in front of filter.
- Page 4 Knock the rear horizontal rails into position. Middle ladder rack. Side of unit. front rear rear (bottom) Front of shelving unit. Bottom rear horizontal rail. The holes in the rear hori- zontal rails must face away There are 3 types of hori- from the shelving unit.
- Page 5 Screw the pipe holders to the rear of the shelving unit with a crosshead screwdriver. Bring the next ladder rack (middle or end ladder) into position. Remember to follow your layout plan, Mount the pipe holders according to your layout plan. In and tap it onto the rails.
- Page 6 Pull out the mounting strip Place light-fittings over the and insert the light-fitting. three upper bays of each section. Mount all inlet pipes. In sections of aquariums without glass partitions, use the pipe with 3 taps. In sections of aquariums with one glass partition, use the pipe with 6 taps.
- Page 7 1-2mm. screws the base must be flush Lay all bottom shelves in with the position. rear edge of the rail Make sure the bases are correctly adjusted. Position the shelving unit. Adjust both along and Make sure there is approx. across.
- Page 8 Insert the heating element Adjust the floats to a Simply press the hoses into At the end of the shelving in the filter. It must lay on middle position. the T-piece. unit, mount either a plug or the bottom. a hose to the water tap. How to prepare pumps for Mounting of hoses in sec- sections with 2 glass parti-...
- Page 9 If no pipe system is mount- The rubber gasket and cap ed, seal the holes with the Remove the protective paper from the double-sided tape. will sit inside the aquari- plugs. Remove the nut and the There may be 2 gaskets on Clean the plastic sheets carefully and mount them on the white washer from the certain bushings.
- Page 10 Tighten the nuts well. Mount the end pieces onto Place a washer on the steel Screw the overflow pipes the doors. peg. into the bushings. Place the perforated pipes Mount the O-rings on the down over the overflow unions at the bottom of the Insert the doors in the shelving unit.
- Page 11 Mount the set with the 2 low slide rails at the bottom of the shelving unit. On unit sides which are to be fitted with an end panel, stick the two angles to the base of the shelving unit. Mount the high slide rail over the filter. For covered unit sides, mount a vertical cover strip Place the end panel on the...
- Page 12 short long Mount the lower horizontal The profiles fit tightly. Use cover strip with the short your hand to knock them side upmost. into place. Finally mount the sliding doors. Mount the rear door first by pushing it up into the top rail track and then letting it fall back into the bottom rail.
Need help?
Do you have a question about the Effect-Line and is the answer not in the manual?
Questions and answers