
Related Manuals for EO Mini Pro


Summary of Contents for EO Mini Pro
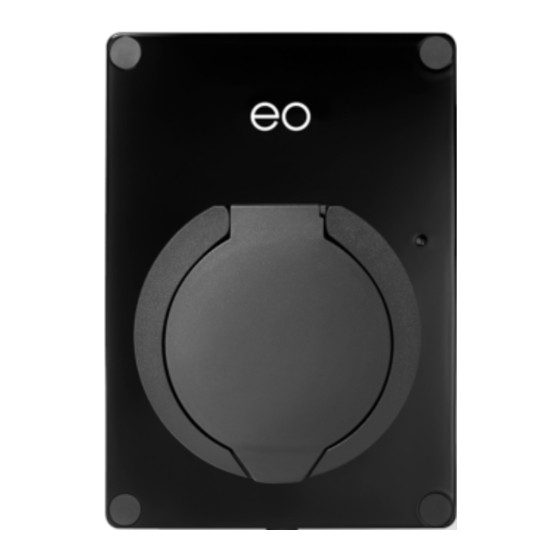
- Page 1 EO Mini Pro Installation Guide V1.1 © 2019 Juuce Ltd t/a EO Charging. All rights reserved.
-
Page 2: Table Of Contents
Installation Instructions the EO Mini Pro ..................4 Physical Installation Instructions..................... 4 Important Installation Information ..................8 Connecting the EO Mini Pro to the Internet ................... 9 Connecting the EO Mini Pro to the Internet ................9 Further Technical Support ......................13 EO Mini Pro Installation Guide V1.1... -
Page 3: Introduction
How to connect the EO Mini Pro to the internet The EO Mini Pro is a joint product made up of a standard EO Mini and the communication infrastructure (called Juicenet) from eMotorwerks. Therefore this document details how to set up and configure both parts. -
Page 4: Installation Instructions The Eo Mini Pro
2 Installation Instructions the EO Mini Pro 2.1 Physical Installation Instructions 1) Remove the EO Mini Pro from the packaging. Undo the 4 screws in the corners and place the front of the EO Mini Pro in a safe place. - Page 5 5) Cut the correct size hole in the bottom of the EO Mini Pro back to take the cable gland. Note that cable entry must be from below to ensure weathertightness of the enclosure. 6) Fit the cable gland and clean out the EO Mini Pro for dust.
- Page 6 7) Use the rotary switch on the EO Mini to select the correct current rating 8) Fit the EO Mini Pro back to the wall the correct way up; make sure the EO Mini Pro back is not twisted. Strip and prepare your power cable –...
- Page 7 9) Connect the three sets of cables from the front of the EO Mini Pro to the circuit board in the base of the EO Mini Pro. 10) Position all cables so that you can close the EO Mini Pro front to the EO Mini Pro back, making sure that no cables are trapped.
-
Page 8: Important Installation Information
The installer must select the RCD and earthing configuration in accordance with local regulation & best practice. Where the EO Mini Pro includes DC leakage protection a Type A RCD can be fitted at the supply. Otherwise a Type B RCD or equivalent should be used. -
Page 9: Connecting The Eo Mini Pro To The Internet
3) Configure the EO Mini Pro to join a wifi network with access to the internet At this point it is possible to view the status of the EO Mini Pro using either the app or through the dashboard on a personal computer. - Page 10 5) Have the WiFi network password ready, then turn off the circuit breaker for the EO Mini Pro. In the app, select Next. 6) Turn on the circuit breaker for the EO Mini Pro. In the app, select Next Note: After powering the EO Mini Pro, steps 7 through 9 must be completed within 2 minutes.
- Page 11 8) In the EV JuiceNet app, select the preferred local WiFi network. 9) Enter the WiFi network password, if necessary, then select Connect JuiceNet device to WiFi. The app connects the JuiceBox to the WiFi network. EO Mini Pro Installation Guide V1.1 Page 11 of 13 24 September 2019...
- Page 12 For a complete video walkthrough of the app, refer to http://docs.juice.net/Videos/AppWalkthrough.html. For details on how to use and configure the EO Mini Pro then please refer to the EO Mini Pro User Guide. However, for now the EO Mini Pro is installed and operational. Congratulations! EO Mini Pro Installation Guide V1.1...
-
Page 13: Further Technical Support
4 Further Technical Support All EO Charging technical documentation is published in the EO Resource Centre, this is found at: https://www.eocharging.com/service-support/ The EO Support team can be reached at: • Email: support@eocharging.com • Phone: +44 (0) 333 77 20383 EO Mini Pro Installation Guide V1.1...
Need help?
Do you have a question about the Mini Pro and is the answer not in the manual?
Questions and answers