
Summary of Contents for DB Drive EUPHORIA EDSP4-31BT
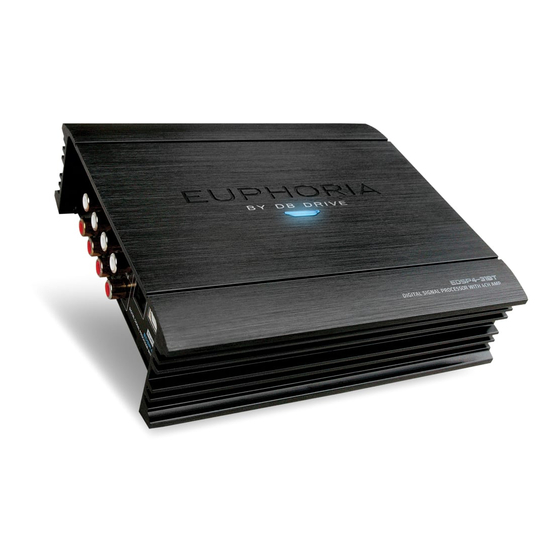
- Page 1 EUPHORIA EDSP4-31BT 31 Band Digital Sound Processor with Built-In Amplifier USER MANUAL...
- Page 2 Congratulations on your purchase of a DB Drive state-of-the- we recommend using 100% authentic DB Drive electronics and Sound Processor. Your selection of a DB Drive car audio product DB LINK wiring and accessories. Matching DB Drive amplifiers indicates a true appreciation of true musical reproduction.
-
Page 3: Table Of Contents
Contents 1. Features..................6 1.1 Product Characteristics ............6 1.2 Input & Output Side Panels ...........7 1.3 Software Introduction .............8 2. System Connections ..............8 2.1 Unit Configuration ..............8 2.2 Unit Connection ................9 2.3 Low Level RCA input/output Indication ......10 2.4 USB2.0 Port ................10 3. -
Page 4: Features
1. Features 1.2 Input & Output Side Panels 1.1 Product Characteristics • OEM System integration sound processor • Perfect for OEM factory speaker tuning • 48-bit DSP with floating point processing • Low and/or High-level inputs • Sources: Bluetooth, High level input, Stereo RCA Analog inputs •... -
Page 5: Software Introduction
1.3 Software Introduction Connection options illustrated above in Figure 2.1.1 1. Connect aftermarket radio to the EDSP4-31BT using the EDSP4-31BT PC Software Setup RCA low level input connection. (Check Section 3 for complete Software Operation information) • You can also stream music from your mobile phone to the EDSP4-31BT using a Bluetooth connection. -
Page 6: Low Level Rca Input/Output Indication
• REM input: While the switch is set to ACC the unit will 3. Software Operation turn on when the12V accessory source is connected to the ACC+ input; When switch is set to HOST and the unit detects the audio signal from the factory radio outputs 3.1 Software Installation connected to the two high level input lines of FL+/FL- the unit power will on. -
Page 7: Software Interface
As shown above in Figure 3.3.1, the software interface of the Note: EDSP4-31BT can only be connected to a computer with a USB cable. EDSP4-31BT GUI is divided into 6 areas: 1. Input Signal Selection and Connection Status. • Ensure that EDSP4-31BT is powered on while the USB 2. -
Page 8: Output Channel Settings
Note: The crossover and equalization parameters for each • Phase: Select the phase button to alternate between channel will vary depending on the specific channel and positive phase (0°) and inverted (180°). adjustments made in respect to the equipment used. Figure 3.6.2 •... -
Page 9: Output Delay Adjustments
3.7 Output Delay Adjustments The Output Delay Adjustments area is located left of the Output Channel Configuration area. To make adjustments to delay settings select the desired channel in the Output Channel Configuration area then input a value for the delay to be added to the corresponding speaker. -
Page 10: Signal Equalizer & Crossover Operation
Frequency: You can make adjustments to this setting via direct input value or by scrolling up and down with the mouse wheel Channel Selection: You can choose to adjust the EQ of a to adjust low-cut or high-cut frequency. The adjustment range specific channel by slecting a channel from the Output Channel is 20Hz ~ 20KHz. -
Page 11: Software Operation
Lock Output: This button is uesed to lock or unlock the output Step 3: Assign the preset a name. This must be done before map all channels from CH1 to CH8. While the channels are disconnecting the EDSP4-31BT USB connection from locked, the Lock Output button will be highlighted blue and computer. -
Page 12: Restore Saved Settings
4.1.4 Deleting EDSP4-31BT Presets Step 1: Select the Secne button located in the top-right to open the drop-down menu in order to delete preset settings and a menu box will appear. Figure 4.4 Step 5: Once the preset has been renamed, select the “Save” button on the bottom of the pop-up menu and wait until the Data transmission progress bar finishes. -
Page 13: Operation Settings
4.2.2 Options Menu: Step 3: Once you select “Yes“ to confirm the operation, the preset setting that you chose to delete will no longer have a Click the options button located in the Main Menu area up in preassigned name. the top right of the interface to reveal the options drop-down menu. -
Page 14: Troubleshooting
• Ensure that no outputs or channels have been To obtain service under warranty please contact your muted retailer or visit our website at www.dbdrive.net for more If issues persist please contact your authorized DB Drive details. Euphoria Dealer or email us at support@dbdrive.net. - Page 15 EUPHORIA DB Research L.L.P. • 302 Hanmore Industrial Parkway • Harlingen, TX 78550 Ph: (877) 787-0101 • Fax: (956) 421-4513 find help at suppport@dbdrive.net Designed and Engineered in the U.S.A.
Need help?
Do you have a question about the EUPHORIA EDSP4-31BT and is the answer not in the manual?
Questions and answers