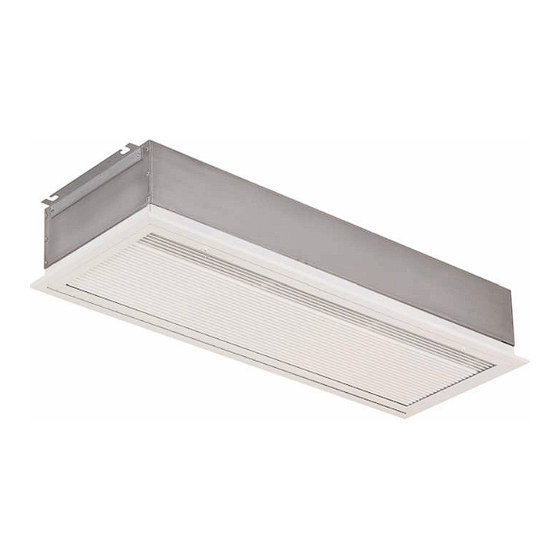
Summary of Contents for Airbloc ACR100SW09
- Page 1 ACR RECESSED AIR CURTAINS AMBIENT & LPHW STANDARD AND HIGH CAPACITY Installation and operating manual...
- Page 2 Index Technical specification & safety details Air curtain installation details Rotor and motor replacement removal General user instructions Fitting coils Fault finding Spare parts...
- Page 3 73/23/EEC low voltage; 89/336/EEC and 98/68/EEC electromagnetic compatability. Airbloc units should be installed horizontally directly over the door opening. It is recommended that the air curtain is installed on the inside of the building, within the open room space against a wall or ceiling.
- Page 4 Wiring Diagram ACR100SW9, ACR150SW12, ACR100SA & ACR150SA Drawing Number 900095...
- Page 5 Wiring Diagram ACR200SW18 & ACR200SA Drawing Number 900213...
- Page 6 Wiring Diagram ACR120HW, ACR180HW, ACR120HA & ACR180HA Drawing Number 900220/R1...
- Page 7 Step 4 Figure 1 - LPHW ONLY 2 Air Curtain installation details It is the sole responsibility of the installer to ensure that the points of attachment to the building are sound. Consultation with the consultant/architect or owner of the building is recommended to ensure that a sound, mechanically stable installation is achieved.
- Page 8 Step 5 Either 10mm or 12mm drop rods or catenary wire (available from manufacturer) can be used to fasten the air curtain to the ceiling support structure. Note When using drop rods the casing mounting brackets are slotted and the mounting plates provided must be used on assembly.
- Page 9 Step 4 3 Rotor & motor replacement & removal Step 1 Disconnect rotor from motor shaft. Remove fastening holding rotor support bracket Step 2 Step 5 Move rotor support bracket towards outside of case. Ensure on replacement of rotor that the flat on the rotor bearing aligns with the flat on the motor shaft.
-
Page 10: Fault Finding
4 General user instructions Figure 3 Coil Fitting (Note Side supports omitted for clarity) Prior to installation decide if you require left hand or right hand exit of the flow and return pipes from the product and then fix the coil in position using the screws provided. -
Page 11: Spare Parts
7 Spare parts Part Numbers Photograph Description ACR100SW09 ACR150SW12 ACR200SW18 ACR120HW12 ACR180HW18 & ACR100SA & ACR150SA & ACR200SA & ACR120HA & ACR180HA Motor 100003 100003 100012 100535 100535 Relay 900000 900000 900000 Contactor 900078 900078 Rotor LH 100001 100006 100010... - Page 12 DY5 1QA United Kingdom we reserve the right to change product Telephone 01384 489700 specification without due notice. Facsimile 01384 489707 Airbloc is a registered trademark of UK sales e-mail: sales@ambirad.co.uk Ambi-Rad Limited. Website: www.ambirad.co.uk Document reference number : GB/AIR/016/1006...


Need help?
Do you have a question about the ACR100SW09 and is the answer not in the manual?
Questions and answers