
Related Manuals for Google Nest Protect


Summary of Contents for Google Nest Protect
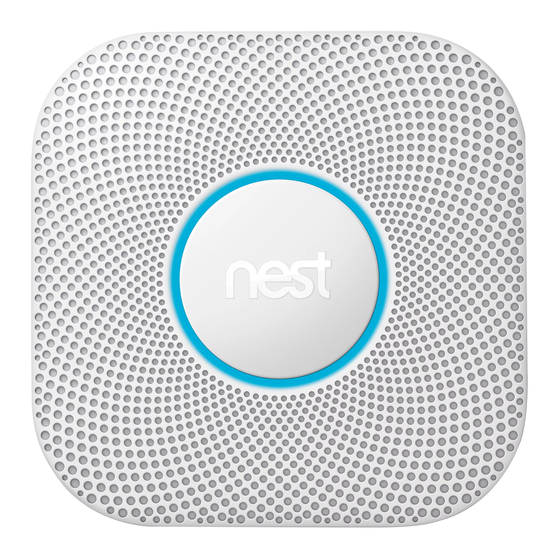
- Page 1 Let’s get started Google Nest Protect (Wired 230 V ~ 50 Hz) Smoke and carbon monoxide alarm User Guide...
- Page 3 • ensure all Nest Protects are wirelessly interconnected and • give you a quick demo and answer your questions. Find a Nest Pro installer near you at g.co/nest/install The installation of Nest Protect should be carried out in accordance with the latest regulations.
-
Page 4: Table Of Contents
Table of contents Meet your Nest Protect .................... -
Page 5: Meet Your Nest Protect
You need Wi-Fi, an iOS or Android phone or tablet, and a free account in order to use some Nest Protect It has multiple sensors to help it understand what’s happening in your home, including a Split-Spectrum features: spoken room names, wireless mobile notifications, and software updates. - Page 6 The horn enables Nest Protect to alert you with a loud emergency sound. The speaker allows Nest Protect to speak with a human voice. Push the button to silence 13.5 cm alarms or run a test. (5.3 in) The light ring changes colour to alert you.
-
Page 7: Setup And Installation
The Nest app will guide you through each step: scanning this alarm should be made in accordance with national the Nest Protect QR code, connecting it to the Internet, regulations. Installation should be done according and connecting it to other Nest Protects in your home. - Page 8 Push the button on one Nest Protect and follow the are installing Nest Protect, or remove the fuse from instructions. All your Nest Protects should speak the fuse box.
-
Page 9: Location In Your Home
Location in your home We recommend placing a smoke alarm on every Nest Protect should be installed at least 3 m (10 ft) floor and a carbon monoxide alarm in every room away from hobs or cooking appliances. containing a fuel-burning appliance. - Page 10 6. Remove your old smoke alarm 7. Remove the old back plate To prevent electric shock, make sure that the green Unscrew the back plate from the ceiling or dry lining power light is off on the alarm. You may have to twist box.
-
Page 11: Placement On The Ceiling Or Wall
If you have a sloping, pitched or cathedral back plate as a guide to mark where the screws ceiling, Nest Protect should be 90 cm (35 inches) will go. Make sure that it’s at least 30 cm (12 inches) from the highest peak. - Page 12 8. Attach the Nest connector Each cable coming from the ceiling or wall will have Match the live wires coming from the ceiling to the three or four differently coloured wires. Their colours live wire in the 230 V AC connector and put them into may vary based on their age.
- Page 13 Make sure that the screws are driven all the way in wires (if present). and snug against the back plate. Terminal block Wire Terminal block Tip: All smoke alarms prefer to live in a dust-free area, so remove any dust before you install Nest Protect.
- Page 14 Tip: If you ever need to remove it (for cleaning or battery replacement), turn off power to your Nest Protect at the fuse box or remove the fuse first. Then turn it anticlockwise until it disconnects from the back plate.
- Page 15 12. Switch mains power back on or replace 13. Press to test the fuse Press the button on one Nest Protect. It will tell you what to do next. Every Nest Protect in the house should speak up, confirming that they’re connected to each other.
-
Page 16: Heads-Up And Emergency Alarms
Heads-Up and Emergency Alarms Alerts Silencing When Nest Protect has something to say, it will speak Heads-Up alerts and Emergency Alarms can be silenced to you and light up instead of just beeping. Nest by using the Nest app or pressing the button. Only... - Page 17 “SMOKE ALARM SILENCED.” YELLOW or You’ve silenced an alert. Make sure you’re safe and RED pulses. Nest Protect will now have put out the source of keep quiet, unless smoke smoke or carbon monoxide. or carbon monoxide remains at critical levels.
-
Page 18: Daily Use And Emergency Preparation
Test procedure: 1. Start a test by pressing the button twice. Nightly Promise 2. Nest Protect will say: “This is only a test. The alarm Nest Protect continuously tests itself, so you don’t will sound.” have to wonder if it’s working. Nightly Promise reports on every Nest Protect in your home. - Page 19 “READY. PRESS TO TEST.” BLUE rotates. To set up or run a Press the button. Nest Protect manual test. will walk you through next steps. WARNING • DO NOT stand close to the alarm when the siren is •...
-
Page 20: General Maintenance
Don’t use soap or solvents. 6. Re-attach the power connector. 4. Place Nest Protect on a soft, dry cloth with 7. Push Nest Protect onto the back plate and turn it the button facing down. Open the battery clockwise until you feel it grip. - Page 21 What You Hear What You See What It Means What To Do “THE SENSORS HAVE YELLOW pulses. Nest Protect has tested Clean according to FAILED IN THE [ROOM its sensors, and there instructions on p.20. If the NAME]. REPLACE NEST is a problem.
- Page 22 Follow the steps below on each Nest Expiry Protect that you want to reset. Like any smoke and CO alarm, Nest Protect has a limited 1. Press and hold the button. Nest Protect will chime life. You will need to replace Nest Protect after 10 years and glow blue.
- Page 23 © Google LLC. Google, Google Nest Protect, Google Play and related marks and logos are trademarks of Google LLC. Apple and the Apple logo are trademarks of Apple Inc., registered in the US and other countries. App Store is a service mark of Apple Inc., registered in the US and other countries.
- Page 24 ATTENTION: Please read carefully and keep this user guide in a safe place. Refer to the included Safety and Warranty document for regulatory information and additional precautions.
Need help?
Do you have a question about the Nest Protect and is the answer not in the manual?
Questions and answers