Table of Contents
Advertisement
Quick Links
Accessories List:
● 1 x Receiver
● 3 x Wall Plugs
● 1 x 3 Volts CR2032 Battery for Transmitter
Technical Specification:
●
Frequency: 433.92 MHz
●
Ring Volume: >85dB (within 0.5m)
●
Transmitting Power: ≤10mW
●
Channel Space: 1 million sets of auto-learning codes
●
Receiver Power Consumption: <200uA
●
Transmitter (Standby Mode): 5uA; Transmitter (Working Mode: <10mA)
●
Power Supply (Receiver): DC3V (2 X 1.5V AA Not Included)
● Power Supply (Transmitter): DC 3V (CR2032)
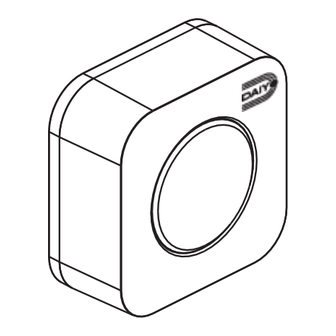
Names for Parts
LED Indicator
Battery Installation(Transmitter):
● Use a screwdriver to ply open the Transmitter cover. Gently twist the screwdriver to open.
● Place the CR2032 battery (included).
● 1 x Transmitter
● 3 x Screws
Receiver
Volume Button
Melody Selector
Sound-and-Flash Switch Button
Auto-Learning Code Button
● 1 x User Manual
● 1 x Double-Sided Adhesive Tape
● Modulation Type: ASK
● Receiver Bandwidth: ± 90 KHz
● Operating Range: <150m (in the open air)
1
INSTRUCTION MANUAL
MODEL NO : DDB 33W
Transmitter
Push Button
CR2032 3V
Lithium
Battery
Advertisement
Table of Contents

Related Manuals for Daiyo DDB 33W

Summary of Contents for Daiyo DDB 33W
-
Page 1: Technical Specification
INSTRUCTION MANUAL MODEL NO : DDB 33W Accessories List: ● 1 x Receiver ● 1 x Transmitter ● 1 x User Manual ● 3 x Wall Plugs ● 3 x Screws ● 1 x Double-Sided Adhesive Tape ● 1 x 3 Volts CR2032 Battery for Transmitter Technical Specification: ●... - Page 2 Transmitter Installation : ● Drill two holes on the wall where desired. The holes are about 6mm in diameter. The distance between the two holes is about 36mm. Insert two wall plugs (included) into both holes. Secure the Transmitter cover with two screws. Insert two screws (included) into the wall plugs.
-
Page 3: Volume Control
1. Receiver Installation: Press the Transmitter, Press the auto-learning code once, to pair up with Power On button the Receiver. 2. Melody Selection: Press the Transmitter, Press and release . Select 1 After selecting, press the auto- once, to pair up with out of the 36 melodies.
Need help?
Do you have a question about the DDB 33W and is the answer not in the manual?
Questions and answers