Table of Contents
Advertisement
Quick Links
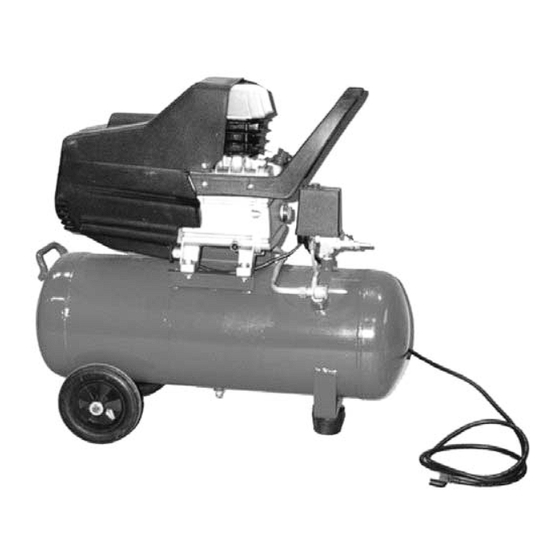
AIR COMPRESSOR
AIR COMPRESSOR
AIR COMPRESSOR
AIR COMPRESSOR
AIR COMPRESSOR
3 HP - 10 Gallon
3 HP - 10 Gallon
3 HP - 10 Gallon
3 HP - 10 Gallon
3 HP - 10 Gallon
ASSEMBLY and OPERATING
3491 Mission Oaks Blvd., Camarillo, CA 93011
Copyright © 1998 by Harbor Freight Tools. All rights reserved. No portion of this
manual or any artwork contained herein may be reproduced in any shape or
form without the express written consent of Harbor Freight Tools.
For technical questions and replacement parts, please call 1-800-444-3353
38795
INSTRUCTIONS
Advertisement
Table of Contents

Subscribe to Our Youtube Channel
Related Manuals for Harbor Freight Tools 38795


Summary of Contents for Harbor Freight Tools 38795
- Page 1 INSTRUCTIONS 3491 Mission Oaks Blvd., Camarillo, CA 93011 Copyright © 1998 by Harbor Freight Tools. All rights reserved. No portion of this manual or any artwork contained herein may be reproduced in any shape or form without the express written consent of Harbor Freight Tools.
- Page 2 Do not force tool. It will do the job better and more safely at the rate for which it was intended. Do not use inappropriate attachments in an attempt to exceed the tool capacity. SKU 38795 Page 2 Rev 01/99...
- Page 3 If there is any doubt, do not operate the tool. 19. Drain compressor every day. Do not allow moisture to build up inside the compressor. Do not allow compressor to sit pressurized for longer than one hour. SKU 38795 Page 3...
- Page 4 Unpacking When unpacking, check to make sure the following parts are included. If any parts are missing or broken, please call Harbor Freight Tools at the number on the cover of this manual as soon as possible. Operation...
- Page 5 The outlet is 1/4” NPT. For easy connection or removal, a quick coupler should be installed on the end of the outlet. Turn the Ball Valve to the appropriate pressure as read on the Pressure Gauge. REV 05/03 SKU 38795 Page 5...
- Page 6 Warning: Do not open the Water Spill Valve so that more than four threads are showing. Push down on the Pressure Power Switch to turn the compressor off. Unscrew the Spill Valve two to three turns. When all pressure is released, close the Water Spill Valve again. SKU 38795 Page 6...
-
Page 7: Parts Diagram
Parts Diagram Part Number Listing n i l n i l n i l n i l c i r y t i n i t n i t n i t SKU 38795 Page 7...
Need help?
Do you have a question about the 38795 and is the answer not in the manual?
Questions and answers