
Subscribe to Our Youtube Channel
Summary of Contents for Paper Bird Studio & Design Tueller Wall Easel
- Page 1 66 INCH TUELLER WALL EASEL INSTALLATION GUIDE FOR 2X4 STUD FRAMED WALLS © 2017 PAPER BIRD STUDIO & DESIGN LLC v016...
-
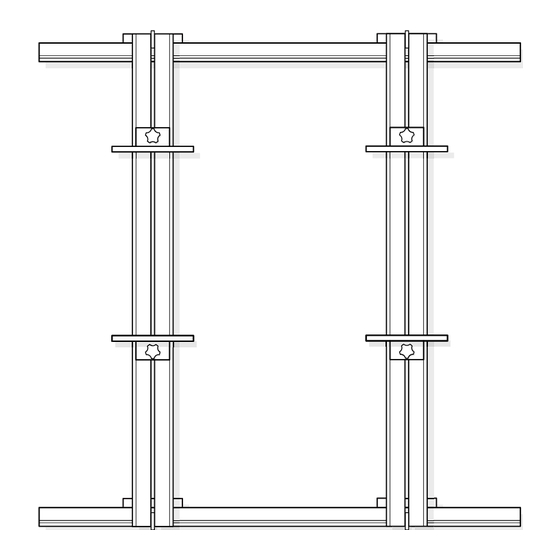
Page 2: Parts List
THOROUGHLY READ ALL INFORMATION BEFORE STARTING Installing a Tueller Wall Easel from Paper Bird Studio & Design should be a relatively easy project. However there are a few things that you should consider prior to beginning. The wall easels have been designed to work with standard 2x4 stud framed walls. This does not mean that they cannot be installed otherwise. -
Page 3: Quick Overview
QUICK OVERVIEW • Measure and mark where the rails will go on the wall • Locate the wall studs and mark the rails where they pass over wall studs • Drill pilot holes through the rails • Fasten the rails onto the wall with screws •... - Page 4 fig 2. Repeat measuring up from the floor to make more marks. Keep your pencil marks light so they are easy to erase later. fig 3. Because floors can be uneven, it’s important to use a level. Be sure to maintain the correct distance between the two lines.
- Page 5 STEP 2 - FINDING AND MARKING STUD LOCATIONS Use a stud finder to locate the studs (or tap on the wall and listen for a "solid" sound). Mark the centers of the studs along the lines you have drawn. Extend the marks down a half inch or so. fig 4.
-
Page 6: Step 4 - Drilling The Holes
While holding the rail in place on the wall, copy the stud locations from the wall into the screw channel. These marks indicate where you will be drilling holes for the screws. fig 6. Transfer the stud locations to the upper wall rail. On a flat surface like a floor or table, place the two wall rails side-by-side. - Page 7 STEP 5 - INSTALLING THE UPPER WALL RAIL Hold the upper wall rail in place on the wall as before, aligning it to the end marks. Use a screwdriver and the supplied 2’’ wood screws to fasten the rail to the wall. Take care to keep the bottom edge of the rail aligned to the horizontal pencil mark as you continue along, adding each screw.
- Page 8 Hold the lower rail in place on the wall with its bottom edge aligned to the lower horizontal line and its ends aligned to the end marks that you just made. Double check to make sure that the distance between the bottom edge of the upper rail and the bottom edge of the lower rail is 62-5/16”.
- Page 9 STEP 8 - HANG THE MASTS ON THE WALL RAILS With the cam levers in the open position, hold a mast up against the wall, a little higher than the rails. Slide the mast down into place on the rail. Close the cam levers. The upper cam lever points up and the lower cam lever points down. Repeat for each additional mast.
Need help?
Do you have a question about the Tueller Wall Easel and is the answer not in the manual?
Questions and answers