Advertisement
Quick Links
INSTRUCTIONS FOR FITTING
OPTIONAL FLOOR STANDING FEET
MODELS:
These feet should only be used when it is not intended to fix the appliance to the wall.
NOTE :- When the feet have been fitted, the appliance MUST be positioned against a wall on
a firm surface before building in the storage heater bricks.
DO NOT ATTEMPT TO MOVE THE HEATER, UNDER ANY CIRCUMSTANCES, ONCE
THE BRICKS ARE FITTED
CONTENTS
2 x Floor Standing Feet
4 x No. 6 x 3/8" Self Tapping Screws
2 x M4 Taptite Screws
1 x 2.6mm Ø drill bit
1.
Remove the outer wrap packing of the heater, ensuring the end packing is left on the heater.
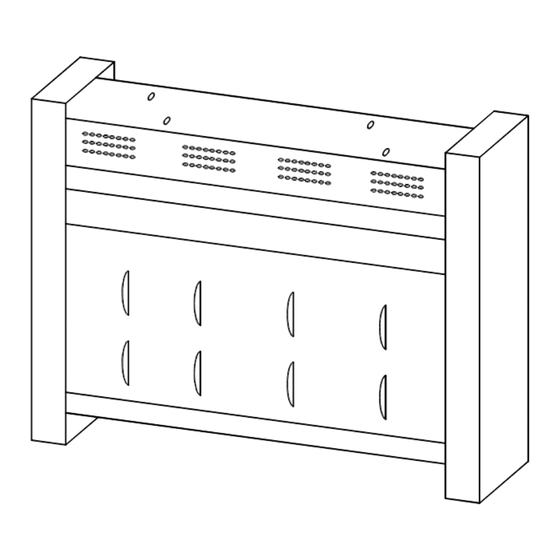
FRONT OF HEATER
FIG. 1
FIG. 2A
FRONT OF HEATER
A
TOP VIEW OF HEATER
WMX/S718N, WMX/S724N, HSX/DA18N & HSX/DA24N ONLY
2.
3.
4.
5.
B
TOOLS REQUIRED
Pozi-drive Screwdriver
Electric Drill
Rotate the heater so as it is upside down and the outer
front is facing away from the installer. See fig 1.
Place an M4 taptite screw as supplied in the fixing kit in
each of the drawn holes A and B.
Tighten both the screws until they are approximately half
way into the base of the heater.
Taking one of the floor standing feet and viewing as
shown in fig 2B, rotate the foot to position Keyhole A
over the taptite screw located in hole A.
FIG. 2B
KEYHOLE A
FRONT OF FOOT
See fig 2A.
TOP VIEW OF HEATER
FRONT OF HEATER
A
TOP VIEW OF FEET
B
KEYHOLE B
Advertisement

Related Manuals for Dimplex WMS718N


Summary of Contents for Dimplex WMS718N
- Page 1 INSTRUCTIONS FOR FITTING OPTIONAL FLOOR STANDING FEET MODELS: WMX/S718N, WMX/S724N, HSX/DA18N & HSX/DA24N ONLY These feet should only be used when it is not intended to fix the appliance to the wall. NOTE :- When the feet have been fitted, the appliance MUST be positioned against a wall on a firm surface before building in the storage heater bricks.
- Page 2 FRONT OF HEATER Slide the foot across until the screw is located in the smaller section of the keyhole. See fig 3A. Using a pozi-drive screw driver, locate the taptite screw through the hole provided as shown in Fig FIG. 3A Note: At this stage the feet must be parallel and pointing for- FRONT OF HEATER...