Table of Contents
Advertisement
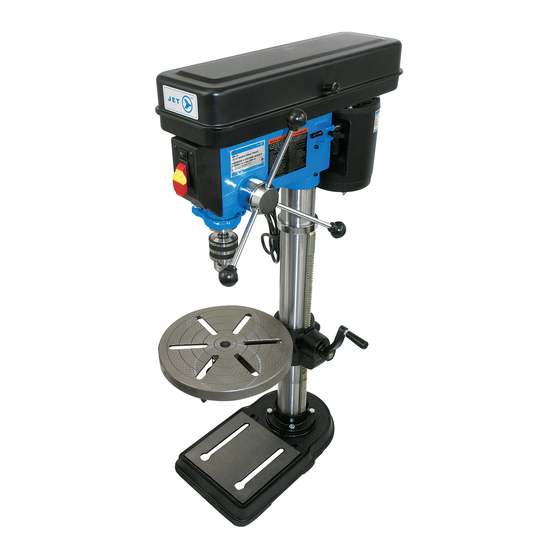
MANUAL
Drill Presses
13-1/2" 3/4 HP
12 Speed Bench Drill Press
Product No. 200225
Mod No. JDP-13
13-1/2" 3/4 HP
12 Speed Floor Drill Press
Product No. 200275
Mod No. JDP-13F
17" 1 HP
16 Speed Floor Drill Press
Product No. 200278
Mod No. JDP-17F
22" 1-1/2 HP
12 Speed Floor Drill Press
Product No. 200357
Mod No. JDP-22F
M18-HT200225-357
Advertisement
Table of Contents

Subscribe to Our Youtube Channel
Related Manuals for Surewerx JET JDP Series

Summary of Contents for Surewerx JET JDP Series
- Page 1 MANUAL Drill Presses 13-1/2" 3/4 HP 12 Speed Bench Drill Press Product No. 200225 Mod No. JDP-13 13-1/2" 3/4 HP 12 Speed Floor Drill Press Product No. 200275 Mod No. JDP-13F 17" 1 HP 16 Speed Floor Drill Press Product No. 200278 Mod No.
-
Page 2: Table Of Contents
Operating Instructions Before operating the unit, please read this manual thoroughly, and retain it for future reference. We thank you for your purchase of a JET Drill Press. It has been designed, engineered and manufactured to give you the best possible dependability and performance. However, we'd like to remind you that faultless running is entirely dependent upon rational use and careful maintenance, which will also spare the user time consuming delays and costly repairs. -
Page 3: Specifications
Warranty Procedure Any JET product for which there is a warranty claim should be returned PREPAID to an authorized JET distributor or service centre. Authorized Warranty Depots are found at www.surewerx.com. Specifications Prod. No. -
Page 4: Safety Rules
Safety Rules KEEP GUARDS IN PLACE and in working order. 12. DON’T OVERREACH. Keep proper footing and balance at all times. REMOVE ADJUSTING KEYS AND WRENCHES. Always check to see that keys and adjusting wrenches are 13. MAINTAIN TOOLS WITH CARE. Keep tools sharp and removed from tool before clean for best and safest performance. -
Page 5: Electrical Requirements
Electrical Requirements Failure to properly ground this power tool can cause WARNING electrocution or serious shock, particularly when To avoid injury from unexpected used in damp locations, or near metal plumbing. If start up, do not use blower or shocked, your reaction could cause your hands to washing machine motors or any hit the cutting tool. -
Page 6: Getting To Know Your Drill Press
Getting to Know Your Drill Press Feed Spring Feed Spring Adjustment Spring Cap Drill “On / Off” Switch Depth Scale Lock Depth Scale Light Socket (Under) Chuck Belt Tension Table Lock Lock Handle Belt Tension Handle (200278, 200357) Support Lock Table Bevel Lock (Under Table) Head Lock... -
Page 7: Assembly Instructions
Assembly Instructions Refer to parts breakdown and/or descriptive pictures for numbers indicated. Some floor models come with the table bracket support already on the column. Place base (1) on flat and level surface. Bolt column (2A) to base (1) using four hex head bolts (5) supplied (position gear rack (22) to right side of base - where applicable). - Page 8 Install crank handle (10) onto previously installed worm pinion (9) and tighten hex head bolt (11) with wrench. Install column lock handle (19) through plain side of bracket (6) into threaded side and tighten. Place head assembly (25) on top of column (2A). CAUTION! Head assembly is heavy - use two people or appropriate material handling equipment when lifting.
-
Page 9: Installing Chuck
Installing Chuck Unplug machine from power source Note: Make sure the arbor nose is clean of any oil or rust protectant before mounting chuck. On models equipped with a Morse taper make sure all rust protectant is cleaned off before inserting arbor. You can inspect this by lowering the quill, using the down feed handles, and rotating the spindle until the knock out hole in the spindle lines up with the... -
Page 10: Depth Stop
Depth Stop To drill multiple holes at the same preset depth, use the depth stop. To set depth stop, simply advance bit to lowest desired depth with the feed handle. Using your other hand, advance nuts (614) on depth stop until they are snug to seat (611). Spindle will now advance only to this preset depth. -
Page 11: Return Spring Adjustment
Basic Operational Hints Always use a back-up piece of material (wood). 53 & 106 This protects the bit and the table. It also prevents splintering of the workpiece. Place material in such a way as to come into contact with the left side of the column. This will prevent the material from spinning. - Page 12 13-1/2" 3/4 HP 16 Speed Bench Drill Press Product No. 200225 Mod No. JDP-13 13-1/2" 3/4 HP 16 Speed Floor Drill Press Product No. 200275 Mod No. JDP-13F...
-
Page 13: Replacement Parts
PDN-JDP-1385 Ordering Replacement Parts Replacement parts may be ordered from your local distributor or directly from SureWerx. When ordering replacement parts always provide the following information: 1. The model number and serial number of the machine. 2. The part number. - Page 14 17" 1 HP 16 Speed Floor Drill Press Product No. 200278 Mod No. JDP-17F...
- Page 15 PDN-JDP-1748 Strain Relief Ordering Replacement Parts Replacement parts may be ordered from your local distributor or directly from SureWerx. When ordering replacement parts always provide the following information: 1. The model number and serial number of the machine. 2. The part number.
- Page 16 22" 1-1/2 HP 12 Speed Drill Press Product No. 200357 Mod No. JDP-22F...
- Page 17 PDN-JDP-22103 Head Ordering Replacement Parts Replacement parts may be ordered from your local distributor or directly from SureWerx. When ordering replacement parts always provide the following information: 1. The model number and serial number of the machine. 2. The part number.
Need help?
Do you have a question about the JET JDP Series and is the answer not in the manual?
Questions and answers