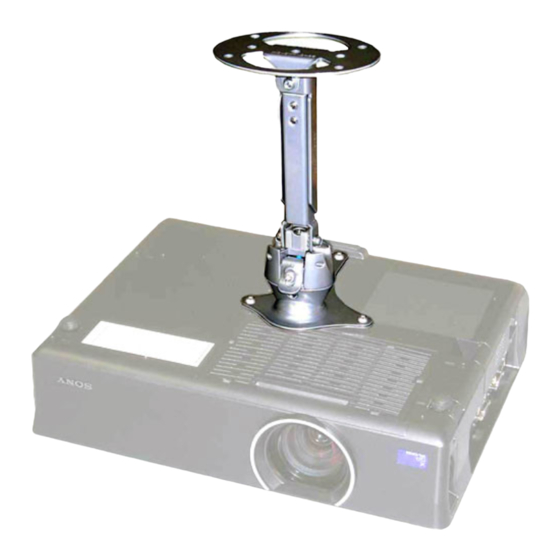
Summary of Contents for Sony PAM-200
-
Page 1: Installation Manual
INSTALLATION MANUAL PAM-200 Universal Projector Mount Sony Electronics 16540 West Bernardo Drive San Diego, CA 92127 www.sony.com IN-PAM200.R0... -
Page 2: Table Of Contents
Height Adjustment ...- 6 - Safety Warning ...- 7 - Concrete Mounting ...- 7 - Technical Specifications ...- 7 - Warranty ...- 8 - Contact Sony Electronics...- 8 - Warning Statements ...- 8 - Page - 2 - Installation Manual... -
Page 3: Parts List
This mount is shipped with all proper installation hardware and components. Make sure that none of these parts are missing and/or damaged before beginning installation. If there are parts missing and/or damaged, please stop the installation and contact Sony Electronics (800) 222-7669. NOTE: Please review all WARNING and CAUTION statements (see Page 8) before beginning the installation of the PAM-200. -
Page 4: Features
The PAM-200 features MagnaGuide™ Technology which assists the installer for quicker installation times and peace of mind. The PAM-200 Projector Mount is height adjustable from 9” to 12” to help achieve the perfect viewing height. -
Page 5: Attaching The Mount
Optional Hardware When mounting the PAM-200 to a Sony projector, it is imperative that the projector plate not cover any access plates that allow the user to access the interior of the projector. The following steps will allow the user to mount the PAM-200 projector bracket to the Sony projector without fear of blocking any ventilation access plates. -
Page 6: Ceiling Installation
Tighten the M5 set screw on both sides using the M5 Allen wrench. Height Adjustment To adjust the height of the PAM-200, hold the weight of the projector and loosen the two (2) M6 x 12mm security screws. Slide the adjustable suspension neck into the desired position. -
Page 7: Safety Warning
NOTE: The PAM-200 can be mounted to a ceiling with a minimum 6” thickness. Concrete wedge anchors must be used for concrete installation. It is recommended that ¼” wedge anchors be used. A 5/16” masonry bit must be used to drill the pilot hole. -
Page 8: Warranty
Warranty All Sony products carry a limited lifetime warranty from ship date against defects in materials and workmanship. Sony is not liable for improper installation that results in damage to mounts, adapters, display equipment or personal injury. Any modification to the existing mount will void the manufacturers’...


Need help?
Do you have a question about the PAM-200 and is the answer not in the manual?
Questions and answers