Table of Contents
Advertisement
Quick Links
Advertisement
Table of Contents

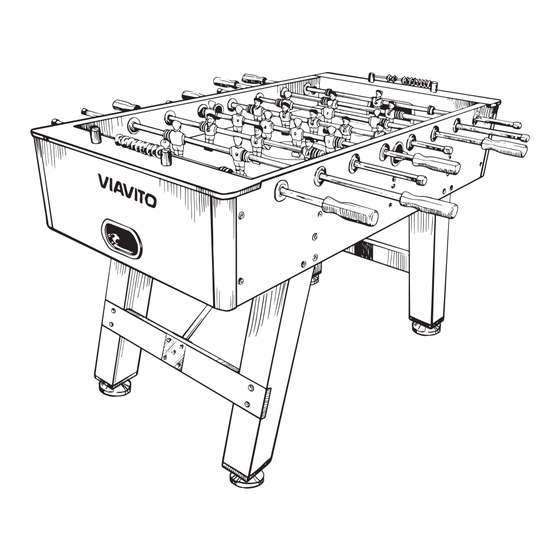
Summary of Contents for Viavito FT500
- Page 1 Owner’s Manual. FT500 Football Table www.viavito.com Manual version 1.0...
-
Page 2: Table Of Contents
Congratulations Manual Contents. on purchasing your Safety Information very own FT500 Assembly 04/17 Football Table. Contents Checklist 04/05 Assembly Instructions 06/17 You have chosen a high-quality, safe and Table Maintenance and Care innovative product, and we are certain it will keep you entertained for hours. -
Page 3: Safety Information
04 This product is for home use only. 05 Warning! Not suitable for children under three years. 06 Choking hazard! Keep small parts and polybags away from children during and after assembly. SAFETY STANDARDS This product meets the requirements of European safety standard EN 71-1/2/3. www.viavito.com... -
Page 4: Assembly
Assembly Frame Support Brace Leg Panel Leg Type A Leg Type B Support Strut Metal Plate with Ring Metal Plate Leg Leveler Stop Ring Rod Bumpers Plastic Rod Washer Players Rod Handle Rod End Cap Ball Entry Cup www.viavito.com... - Page 5 Soccer Ball (Black/ White) Scorer 3-Man Rod 2-Man Rod 5-Man Rod M4X28mm Bolt M4 Nut 1/4” *1-3/4” Bolt 1/4” *1-3/8” Bolt 1/4” Washer 5/16” *1-3/8” Bolt 5/16” Washer 1/4” Nut F3.5X45mm Screw T3.5mmx12mm Screw Allen Wrench Allen Key Soccer Ball (White) Screwdriver www.viavito.com...
-
Page 6: Assembly Instructions
01 Attach (#7) Metal Plates with Ring to the (#2) Support Brace using four (#25) Bolts with #26 Washers. 02 Fasten the support brace and metal plates using (#26) Washers 1/4” *1-3/8” Bolt and (#29) Nuts. 1/4” Washer 1/4” Nut Tools Allen Key Allen Wrench www.viavito.com... - Page 7 Washers. fixed metal rings in the center of the playfield and align with pre-drilled holes in the cabinet’s side panels. Parts Assembly Frame Support Brace with Metal Rings from Step 1 1/4” *1-3/4” Bolt 1/4” Washer Tools Allen Key www.viavito.com...
- Page 8 01 Secure (#4) Leg Type A and (#5) Leg Type B to the table as shown on the drawing below using (#27) Bolts and (#28) Washers. Parts Leg Type A Leg Type B 5/16” *1-3/8” Bolt 5/16” Washer Tools Allen Key www.viavito.com...
- Page 9 Leg Panel using four (#25) Bolts with panel. (#26) Washers. Fasten the leg panels and metal plates using (#26) Washers and (#29) Nuts. Parts Leg Panel Metal plate 1/4” *1-3/8” Bolt 1/4” Washer 1/4” Nut Tools Allen Key Allen Wrench www.viavito.com...
- Page 10 Step Five. 01 Connect Left and Right legs using the panels assembled in the previous step using (#24) Bolts and (#26) Washers. Parts Leg Panel with metal plates from Step 4 1/4” *1-3/4” Bolt 1/4” Washer Tools Allen Key www.viavito.com...
- Page 11 04 Attach one (#9) Leg Leveller to the 02 Hook the other end of the (#6) Support bottom of each leg. Parts Support Strut 1/4” *1-3/8” Bolt 1/4” Washer 1/4” Nut Leg Leveler Tools Tools Allen Key Allen Wrench Allen Key www.viavito.com...
- Page 12 2: Take hold of the table as shown. 3: Turn the table over. 4: Place the table on all four feet at the same time. Take hold of the DO NOT hold the DO NOT lean the table table. table by the legs. on its legs. www.viavito.com...
- Page 13 03 Align Stop Rings and Player with pre-drilled holes in the rod and screw them in place using (#22) Bolts and (#23) M4 Nuts. Now insert the rod through the hole on the opposite side of the table. Rod Bumper Tools 2x11 Player M4X28mm Bolt M4 Nuts Screwdriver www.viavito.com...
- Page 14 (#23) M4 Nuts. 03 Finish the assembly of each rod by sliding on second (#12) Plastic Rod Washer and (#11) Rod Bumper. Once complete thread the rod through the hole on the opposite side. Repeat the above steps for remaining rods. www.viavito.com...
- Page 15 #12 Plastic #11 Rod Bumper #10 Stop Ring Rod Washer #19 Rod #20 Rod #19 Rod #21 Rod #21 Rod #19 Rod #20 Rod #19 Rod #10 Stop Ring #12 Plastic #11 Rod Bumper Rod Washer www.viavito.com...
- Page 16 (#15) End Caps at center hole of each side of the table. Secure it by screwing (#31) Screws. the opposite end. Parts Rod Handles End Cap Parts Ball Entry Cup T3.5mmx12mm Screw T3.5mmx12mm Screw Tools Screwdriver www.viavito.com...
- Page 17 Step Ten. 01 Screw (#18) Slide Scorers into the pre-drilled holes above each goal using (#30) Screws. Parts Slide Scorers F3.5X45mm Screw Tools Screwdriver www.viavito.com...
- Page 18 Damage can occur if the table the table by the rods. When moving the is exposed to water, dampness, high table, lift the table off its legs and place humidity, extreme temperatures, etc. it down on all four feet at the same time. www.viavito.com...
-
Page 19: Customer Support
• Precise description of the issue or defect. IMPORTANT!! - Please retain your sales receipt. Viavito Customer Care may request proof of purchase to validate eligibility for warranty service. Warran- ty cover starts from the date shown on the proof of purchase. -
Page 20: Manufacturer's Warranty
Manufacturer's Warranty Viavito ltd warrants this product to be free Viavito is not responsible or liable for of defects of material and workmanship, direct, indirect, or consequential losses under normal use and conditions, for a arising out of or in connection with the use... -
Page 21: Technical Information
3-Man Rod 2-Man Rod 5-Man Rod M4X28mm Bolt M4 Nut 1/4” * 1-3/4” Bolt 1/4” * 1-3/8” Bolt 1/4” Washer 5/16” * 1-3/8” Bolt 5/16” Washer 1/4” Nut F3.5X45mm Screw T3.5X12mm Screw Allen Wrench Allen Key Soccer Ball (White) Screwdriver www.viavito.com... -
Page 22: Exploded Diagram
Exploded Diagram www.viavito.com...

Need help?
Do you have a question about the FT500 and is the answer not in the manual?
Questions and answers