
Related Manuals for TeeJet BoomPilot


Summary of Contents for TeeJet BoomPilot
- Page 1 B o o m P i l o t ® i n s ta l l at i o n m a n U a l Automatic boom section control installation manual for use with John Deere EL4 Controllers w/Matrix® Pro...
- Page 2 Be sure that the area around the vehicle is clear of people and obstacles before and during engagement. The BoomPilot is designed to support and improve efficiency while working in the field. The driver has full responsibility for the quality and work related results.
-
Page 3: Table Of Contents
Mount & connect SDM .................................... 4 DiSconnect & reconnect harneSSeS & cabLeS ........................5 connect power/can/Data cabLe to booMpiLot harneSS ....................6 SettinG circuLation SySteM type on booMpiLot harneSS ..................... 6 Ring Line Circulation System ................................6 Vacuum Re-circulation System ..............................6 encoDe the Section wiDth in the Matrix pro: ......................... -
Page 4: Required Components
Quantity 90-xxxxx* Matrix Pro guidance controller kit ............................1 45-05845 Power/CAN/data cable ..............................1 198-398 BoomPilot harness, John Deere Sprayers (9 sections + master) ..................1 78-05072 BoomPilot section driver module (SDM) ..........................1 020-040 Installation manual, John Deere EL4 Controllers ......................1 98-05243 Matrix Pro BoomPilot setup guide ...........................1... - Page 5 NOT NEEDED WITH BOOMPILOT 45-05845 3.3 m Power/CAN/data cable (included with FieldPilot and BoomPilot kits) Tilt gyro module (TGM) 78-05072 BoomPilot section driver module (SDM) (15 sections) to RS-232 10A fuse TGM harness Existing John Deere rate controller 198-398 JOHN DEERE...
-
Page 6: Principle Of Operation
The BoomPilot monitors the controller section switches that controls the valves in manual mode. The the Master switch can be used both in automatic mode as well as in manual mode. -
Page 7: Disconnect & Reconnect Harnesses & Cables
3. Connect BoomPilot harness to existing John Deere flow control harness. Figure 5: Disconnect existing connection disconnect existing harness from console Figure 6: BoomPilot harness to flow control harness BoomPilot harness to controller Connect to existing Connect C to Controller flow control harness... -
Page 8: Connect Power/Can/Data Cable To Boompilot Harness
BoomPilot ® connect power/can/Data cabLe to booMpiLot harneSS Connect Power/CAN/data cable to BoomPilot harness (C). Figure 7: Connect power/CAN/data cable to BoomPilot harness POWER IN Power/DATA 45-05626 Power/CAN/Data Cable BoomPilot Harness RLC-System Section Power xxx-xxx xxyyxx SettinG circuLation SySteM type on booMpiLot harneSS... -
Page 9: Encode The Section Width In The Matrix Pro
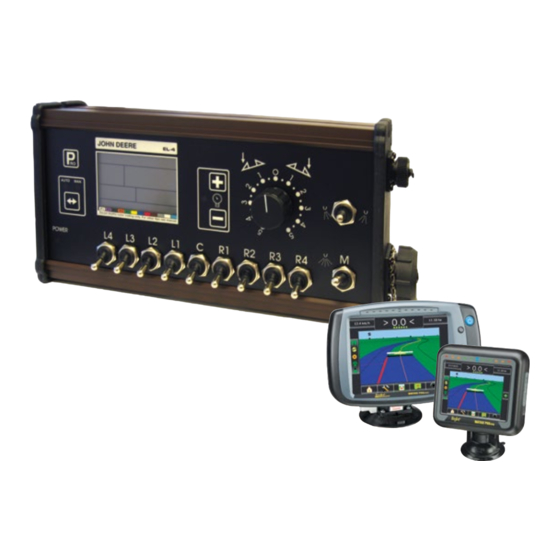
BoomPilot ® encoDe the Section wiDth in the Matrix pro: The John Deere EL4 controller is always equipped with 9 section switches, but the number of sections on the sprayer boom will vary. This combined with the fixed ‘Center section’ on the EL4 controller will influence on how the number of section and the widht’s are encoded in the Matrix Pro. -
Page 10: Recommended Electronics Installation
Refer to the Matrix Pro BoomPilot Setup Guide for further instructions on setting up and using your Matrix Pro for ABSC. If not using a Matrix Pro, please refer to the owner’s manual supplied with the guidance system to complete the electronic installation and setup. - Page 12 ABSC on a John Deere EL4 Controller. Please review this manual thoroughly before beginning the installation process. TeeJet Aabybro Mølhavevej 2 DK 9440 Aabybro Danmark www.teejet.com 020-040-UK R2 EN English © TeeJet Technologies 2013...
Need help?
Do you have a question about the BoomPilot and is the answer not in the manual?
Questions and answers