
Related Manuals for Ellies FBIC3000VA/24V

Summary of Contents for Ellies FBIC3000VA/24V
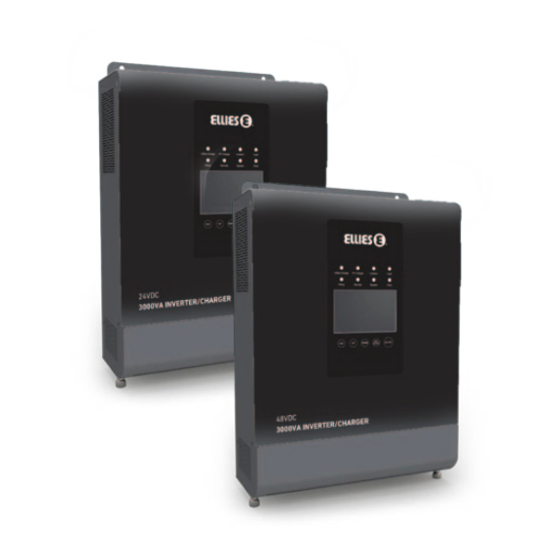
- Page 1 3000VA Inverter Charger FBIC3000VA/24V & FBIC3000VA/48V User Manual Please read this guide carefully before using this product...
-
Page 2: Table Of Contents
CONTENTS Important Safety Instructions 1. General Information 2. Installation Instructions 3. Interface Instruction 4. Protection 5. Troubleshooting 6. Maintenance 7. Technical Specifications Notes Important Safety Instructions Please reserve this manual for future review. • Please reserve this manual for future review. This manual contains all instructions about safety, installation and operation for the inverter/charger. - Page 3 Features • Adoption of the advanced SPWM technology, with pure sine wave output. • Fully digitalized voltage and current double closed-loop control. • Advanced MPPT technology, with e ciency no less than 99.5%. • Four charging mode: Solar priority, utility priority, utility & solar and solar only. •...
- Page 4 1.4 Schematic Diagram for Connections Warning:Confirm the AC load power compatible with the power of the inverter/charger, AC load selected exceeding the maximum output power of inverter/charger is prohibited.
-
Page 5: Installation Instructions
The wiring and installation methods must follow all national and local electrical code requirements. Recommended wire and circuit breaker of PV Breaker Model PV wire size 2P — 63A FBIC3000VA/24V 10mm /8AWG 2P — 32A FBIC3000VA/48V /10AWG NOTE: When the PV modules connect in series, the open circuit voltage of the PV array must not exceed max. - Page 6 Recommended wire and circuit breaker for AC output Model AC wire size Breaker FBIC3000VA/24V /12AWG 2P— 16A FBIC3000VA/48V /12AWG 2P— 16A NOTE: The wire size used for connection is for reference only, use thicker wires to lower the voltage drop and improve the system performance when the distance between the whole solar system components is far.
- Page 7 Step 3: Wiring Determination of installation location: The inverter/charger shall be installed in a place with su cient air flow through the dissipation pad of the controller and a minimum clearance of 150 mm from the upper and lower edges of the controller to ensure natural thermal convection.
-
Page 8: Interface Instruction
Step 6: Connect Accessory Connect the remote temperature sensor cable (model: RTS300R47K3.81A) Connect one end of the remote temperature sensor cable to the interface⑦ and place the other end close to the battery. NOTE: The temperature sensor short-circuited or damaged, the inverter/charger will be charging or discharging at the default temperature 25 C. - Page 9 Indicator Color Status Instruction No utility input Utility connection normal but no On Solid charging Green Utility charging Slowly Flashing Utility charge module fault Fast Flashing No PV input PV connection normal but no charging On Solid Green Slowly Flashing PV charging Fast Flashing PV charge module fault...
- Page 10 3.3 Real-time Interface Icon instruction Icon instruction Utility connected PV connected No Utility No PV Load ON Load OFF Battery capacity level 8 〜25% Battery capacity level 25 〜 50% Battery capacity level 75 〜100% Battery capacity level 50〜75%...
- Page 11 Item Setting Content Solar priority Utility priority ① INPUT Utility & solar Solar Battery ② OUTPUT Utility AC output voltage AC output current ③ Load AC output power AC output frequency Battery voltage Max. charging current ④ Battery (PV charging current+ Utility charging current) Battery temperature Battery SOC PV input voltage...
- Page 12 ② OUT PUT Battery Utility 3.2 Setting Interface 1) Common interface for common user Operation: Step 1: Press the button and hold on 5s at the real-time interface to go to the common interface Step 2: Press the button and hold on 5s at the setting parameter interface and choose the parameters. Step 3: Press the button to set the parameter, and press this button again for confirmaton.
- Page 13 The voltage parameter are at 25 C, 24VDC system, and twice in 48VDC system. NOTE: When Output source priority is Battery and the battery voltage lower than the Low Voltage Disconnect Voltage(LVD adjustable), the system will switch utility to supply power for load. 2) Advanced interface for engineers Operation: Step1: Press the...
- Page 14 3.5 Other Function 1) ) Output voltage & frequency switch When Switch 1 is in "ON" , the output voltage is selected as 230VAC, and on the contrary as 220VAC; When Switch 2 is in "ON" , the output frequency is selected as 60Hz, and on the contrary as 50Hz; NOTE: If the output frequency or voltage of the inverter/charger is to be reset, it is required to turn o the inverter/charger and power on the unit after setting.
-
Page 15: Protection
4. Protection Instruction Protection PV Limit Current When the charging current of the PV array exceeds its rated current, it will be charged at the rated current. NOTE: When the PV modules are in series, ensure that the open circuit voltage of the PV array does not exceed the "maximum PV open circuit voltage". -
Page 16: Maintenance
5.3 Troubleshooting Fault Troubleshooting Battery Over Voltage Check if battery voltage too high, and disconnect solar modules. When the battery voltage resume to or above LVR point (low voltage Battery Over Discharge reconnect voltage), or change the battery by other ways The inverter/charger will automatically turn the system o . -
Page 17: Technical Specifications
7. Technical Specifications Item FBIC3000VA/24V FBIC3000VA/48V System Battery 24VDC 48VDC Voltage Battery Input 21.6〜32VDC 43.2〜64VDC Voltage Range Inverter Output Continuous Output 2400VA Power Output Power (15min.) 3000VA Overload Power (5s) 4800VA 6000VA Max. Surge Power Output Voltage 220VAC±3% Range Output Frequency... -
Page 18: Notes
NOTES... - Page 19 NOTES...
- Page 20 Help Line South Africa: 0861-ELLIES (355437) For branch or agent contact details, please refer to website: www.ellies.co.za...
Need help?
Do you have a question about the FBIC3000VA/24V and is the answer not in the manual?
Questions and answers