
Related Manuals for Hills Heritage Hoist 6-Line

Summary of Contents for Hills Heritage Hoist 6-Line
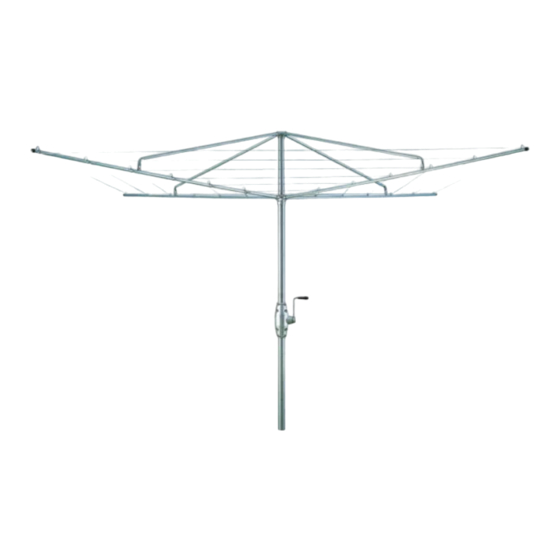
- Page 1 Heritage Rotary Hoist Product Manual Heritage Hoist 6-Line Heritage Hoist 7-Line...
- Page 2 Introduction Congratulations Hoist Pack contents Congratulations on the purchase of your Hills Part name Qty. Heritage Hoist, which will bring you many years Main Standard Secondary Standard It is important that you read this Product Manual thoroughly before installation and use. In this way you will benefit from all the design features...
-
Page 3: Installation
Installation Select a Suitable Location Fig. 2 Minimum recommended clearance on all sides of the Hoist is 1m (3'-3") (Fig. 1). Wind brake Install the Main Standard 1. Dig a 200mm (8") by 800mm (32") hole ( Fig. 2). 2. Dig the hole deeper than 800mm if you would like the clothesline to sit Check the Hoist lower in the ground. - Page 4 Assembly Secondary Standard Assembly Arm and Stay Assembly IMPORTANT: 1. Fit top cap lower assembly 792 to secondary 1. Remove the wind brake and plastic ring standard assembly 795 and fasten securely ring from the top of the Main Standard with screw 204 and nut 409 (Fig.
- Page 5 Assembly Assembly Fig. 4 Cross Fig. 5 Fig. 6 Staple Cross...
-
Page 6: Wire Assembly
Assembly Wire Assembly Note: Each circuit is wired seperately. Wire cutters and pliers are needed to complete this job. 1. Unroll the wire. 2. Repeat step 1 for all other staples working outwards from the centre. Start with the innermost circuit Thread wire through each staple Note: square to each other when tensioning lines. -
Page 7: Handle Assembly
Assembly Handle Assembly 1. Ensure that the bolts and nuts on the Note: Never leave the Hoist with the cross handle case have not worked loose during and wind brake engaged. Use the brake only transportation. when you are pegging out the washing and Re-tighten if needed. -
Page 8: Handy Hints
If there is any damage, parts should be replaced with original Hills spares or the Hoist • The wind brake assists in the pegging and repaired before using again. -
Page 9: Year Warranty
Warranty 10-Year Warranty* For products purchased in Australia: *In addition to other rights and remedies that may be available under any applicable law, Our goods come with guarantees that cannot Cyclone Tools Pty Ltd warrants to the purchaser be excluded under the Australian Consumer of the product (customer) that this Clothesline Law. - Page 10 Customer Service Centre during their local business hours: Australia 1300 300 564 New Zealand 0800 021 027 Email hhl.enquiries@amesau.com Hills Websites hillshome.com.au Hills Home Living hillshome.com.au/need-help/ Hills Consumer Advice...
- Page 11 Notes...
- Page 12 Cyclone Tools Pty Ltd. A.B.N. 89 169 427 061 Issue May 2017 HD10842c...
Need help?
Do you have a question about the Heritage Hoist 6-Line and is the answer not in the manual?
Questions and answers