Table of Contents
Advertisement
Manual
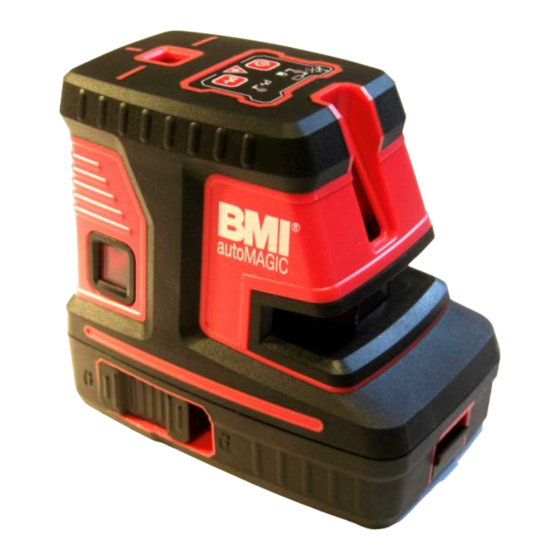
BMI - AutoMagic
Automatic crossline- plus 5 dot - laser
( pulsed laser lines for the use of receiver)
Content
1.
2.
3.
4.
5.
5.1 Checking accuracy of horizontal laser line and laser dots
pointing right, l left and forward
6.
page 2
page 2
page 3
page 3
page 4
page 4
page 4
page 5
page 5
page 6
page 7
page 8
page 9
page 10
1
Advertisement
Table of Contents

Related Manuals for BMI AutoMagic

Summary of Contents for BMI AutoMagic
-
Page 1: Table Of Contents
Manual BMI – AutoMagic Automatic crossline- plus 5 dot - laser ( pulsed laser lines for the use of receiver) Content Introduction page 2 Laser Safety page 2 Power supply page 3 Startup operation and function display page 3 4.1 Activate page 4 4.2 Selection of laser lines / laser-dots... -
Page 2: Introduction
The device has to be kept dry. ( Protection class IP 54). CAUTION: Never insert the device into water! Note that the usage of the BMI – AutoMagic under humid and wet weather conditions may affect the measurements due to the water drops on the laser. -
Page 3: Power Supply
3. Power supply The BMI – AutoMagic runs on customary batteries. (4 pcs, 1,5 V LR6 / AA). Red LED above the activation button starts to blink when the batteries are on low capacity and should be replaced. To change the batteries, open the battery cover, take off the used batteries and replace them. -
Page 4: Activate
4.1 Activate the BMI – AutoMagic Button 1 ON / OFF - Press shortly Shift the slide of the Pendulum –Transport lock to the right The device levels out automatically. The Cross lines of the laser will be illustrated. Red LED above the On / Off – button is on, when the pendulum-transport lock is not disengaged. -
Page 5: Accuracy Check
5. Accuracy Check Before the activation, a drop or a hit we recommend to run a check up of the device; otherwise the manufacturer’s liability is expired. 5.1 Checking accuracy of the horizontal laser line and laser dots pointing right, left and forward Mount the device on the multi-functional adapter. -
Page 6: Checking Accuracy Of Horizontal Laser Line
Section of Max. tolerable measurement Distance A – A1 „S“ 2 mm 10 m 4 mm 15 m 6 mm 20 m 8 mm 5.2 Checking the accuracy of the vertical laser line (1) Select a door frame of at least a 2.5 m open space on side of the door (picture 3). Picture 3 (2) Place the device with a 2.5 m distance from the middle of door frame on point A. -
Page 7: Checking Accuracy Of 90° - Angles Between Laser Beams
Mount the device on the multi-functional adapter. (1) Set up the device in the middle of an approx. 6x6 m room (picture 4). Switch all laser lines (Button 1 press 4x) (2) Let the laser level itself ,then mark the intersection of laser lines A and all dots ( B, C, D and E) (3) Turn device about 90°... -
Page 8: Checking The Rectitude Of The Horizontal Laser Lines
5.4 Checking the accuracy of horizontal laser line Mount the device on the multi-functional adapter and on a tripod Set up the device in the middle of an approx. 6x6 m room (picture 4). Switch all laser lines (Button 1 press 4x) Mark directly the laser line front intersection point with A on wall 1 Turn the device around in 90°steps, mark each of horizontal laser dots (D,E,F) and both ends of horizontal laser line ( B,C) near point A. -
Page 9: Checking Accuracy Of The Plumb Beams
5.5 Checking accuracies of plumb beams (up and down) Mount the device on the multi-functional adapter and on a tripod (1) Set up the device on a tripod 1m above ground in a room of 2,5m height (picture 6). Turn on the plumb line (button 1, press 3x) (2) Mark the laser point on the ground with A, the point on the ceiling with B (3) Turn the device on the tripod by 180°, move tripod until plumb down points directly on point A again. -
Page 10: Technical Data
6. Technical Data of the BMI – autoMAGIC Laser type: red diode laser, wavelength 630 bis 670 nm ≤ 1 mW; Laser class 2 M Output: (EN 60825-1) Levelling range: ± 4° Accuracy horizontal/vertical: ± 3 mm / 10 m Plumb beam, up: ±...
Need help?
Do you have a question about the AutoMagic and is the answer not in the manual?
Questions and answers