Advertisement
Advertisement
Table of Contents

Subscribe to Our Youtube Channel
Related Manuals for GBF PL591BC4 Series

Summary of Contents for GBF PL591BC4 Series
- Page 2 WELCOME Congratulations and thank you for purchasing the GBF 4 wire smart intercom system for 2 to 8 unit apartment buildings. Our factory engineers were the first to enable monitoring multiple security cameras through mobile handheld devices, and now have used that expertise to bring you a full-featured Multi-unit Doorbell system that allows you to monitor and interact with visitors at your door, from anywhere on your mobile device using a Wi-Fi or data connection.
-
Page 3: Inside The Box
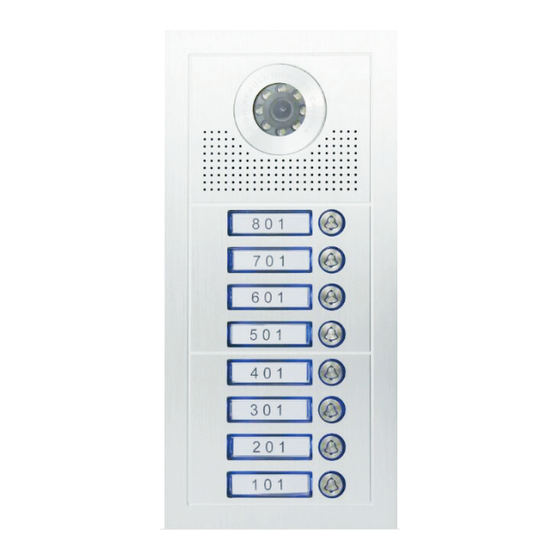
4-Button outdoor station (PL591BC4(4)) SYSTEM OVERVIEW The GBF 4-Wire Intercom system utilizes a minimum of two connected devices; an Outdoor Station containing an intercom, camera, and call button, and a SkyBox, which is the link between the Outdoor Station and the Internet. -
Page 4: Installation
1. Installation * For your convenience, perform the initial configuration of the doorbell connecting it to a power supply nearby the user’s home internet router. From this way, it is possible to check the full operational function before place the parts of the product. -
Page 5: Wiring Diagrams
Assembling the outdoor station: Gently place the excess wire inside the hole behind the outdoor station. Assemble the outdoor station inside the rain cover mount, placing the top first. Then fix the two screws on the bottom of the rain cover mount using the Allen key. Notes: - The maximum distance between the outdoor station and the farthest monitor must be 70m. - Page 8 General System Wiring Diagram 2. Skybox configuration Downloading the App To configure and receive calls from the Outdoor Station you need to download the ControlCam2 Application. Available on Play Store (Android) and App Store (iOS).
- Page 9 ControlCam2 Notes: The ControlCam2 app is free to use. Keep the ControlCam2 app updated. The application is subject to changes whit no prior notification. Preparing the App to be used 1. Make sure your smartphone cellular data is turn off and is connected to your 2.4G Wi-Fi network.
- Page 10 With the device powered on, in three seconds please hold the ‘reset’ button on Skyboxes for 1 minute, a long beep will be heard. That means the factory reset is performed successfully. Then, you can continue configuring your device, using the smart phone. 2.1.1 Configuring a new device using Android 1.
- Page 11 2. Make sure your smartphone cellular data is turn off and is connected to the 2.4G Wi-Fi network in which the device (Skybox) will work on. 3. Inside the app, click on the “add” button. 4. Choose the “Doorbell1” option, then choose the ‘Hotspot Connection’...
- Page 12 6. A list of all devices in the network will appear, click on the desired one. 7. On the ‘Add Device screen’ will appear the information from that device. 8. insert the password (default password is ‘1234’), change the device’s name to the desired name, and press ‘Save’. (Do not change the GID identification).
- Page 13 3. Operating the Indoor Monitor Note: In case of the system has more than one Indoor Monitor: the connector J2 must be connected only in the farthest Indoor Monitor (in relation to the Outdoor Station) and disconnected in the others; and the connector J1 must be connected in the Indoor Monitor closest to the Outdoor Station and disconnected in the others.
- Page 14 - Receiving a Call from the Outdoor Station: When a visitor presses the “Bell” button on the outdoor station, your indoor monitor(s) will turn on the screen with the outdoor station image and will ring. Press the ‘Talk’ button to answer the call and start a conversation with the visitor.
-
Page 15: Recording Videos
When the indoor monitor receives a call, it saves automatically a screenshot. Follow the steps to access and delete these files. While in standby mode, press ‘Talk’ button to access the storage of images. Scroll through the images using ‘Unlock’ and ‘Transfer’ buttons. Delete an image pressing ‘Monitor’... -
Page 16: Adjusting Date And Time
- Adjusting ringer and talk volumes: At any time, use the volume scrolls to adjust the ringer and talk volumes to the desired level. - Adjusting indoor monitor’s screen settings: During any mode, press ‘Talk’ button and hold for three seconds to access the configuration menu. -
Page 17: Advanced Settings
- Clearing the indoor monitor’s storage: During any mode, press ‘Talk’ button and hold for three seconds to access the configuration menu. Pressing the ‘Talk’ button, scroll over the menu until the ‘Delete All’ option. Press the ‘Unlock’ button to access the option. Use the ‘Unlock’... - Page 18 Access the ‘Device’s setting screen’ by clicking on the ‘engine’ button on the device’s image. Changing device’s name, username and password When desired you can change the device’s username and password, or after another user has changed, it is necessary to change on the other users.
- Page 19 It is possible to change the access password (which the device request to the app each time it is accessed). 1. In the ‘Advanced Settings screen’ click on ‘Modify Device Password’. 2. Enter the ‘device password’ (current), then insert the ‘new password’ and the ‘password confirmation’.
- Page 20 During a call or monitoring mode, click on the ‘locker’ button to activate the gate opener 1. Press the ‘locker’ button on ‘device’s home screen’ to unlock the door. 2. If the ‘One-Key Unlock’ is not turned on, a popup message will ask you to enter the unlock password (default is ‘1111’).
-
Page 21: User Account Configuration
App Mode The second tab of the ControlCam2 ‘Home Screen’ shows the app modes which you can choose the best option for you. Silent Mode – does not show any notification on the smartphone screen. However, the app continues storing the device's alarms. Global Ring-in Mode –... - Page 22 1. From the device ‘Account screen’, click on ‘Logout’. 2. You will be redirected to the login screen and will need to insert username and password to reconnect. For more product information, please watch GBF smart 4 wire multi units doorbell intercom introduction video at: www.youtube.com/watch?v=FCwflit7P5g&t=61s...
Need help?
Do you have a question about the PL591BC4 Series and is the answer not in the manual?
Questions and answers