Table of Contents
Advertisement
Quick Links
Advertisement
Table of Contents

Subscribe to Our Youtube Channel
Summary of Contents for Astro-Gadget EQStar+
- Page 1 EQStar + Equatorial mount control system User guide AstroGadget 2018...
- Page 2 1. PURPOSE AND OPPORTUNITIES EQStar control system, further CS, designed to automate the control of the equatorial mount, and can be used in stand-alone mode and in a control mode using a computer or mobile device (phone, tablet, etc.). On a PC, then the CS works with any astronomical programs that support the ASCOM platform (http://www.ascom-standards.org/).
- Page 3 Fig.1 CS in the PC control mode. Fig.2 CS in the MD control mode.
- Page 4 Fig.3 CS in astrophotography mode. Fig.4 CS in offline mode.
- Page 5 2. KIT Packages contains: EQStar equatorial mount control unit Joystick for a stand-alone mount control DB9-USB cable for connection of EQStar to PC Set of cables for the motors connection Wi-Fi adapter for mount control from the mobile device ...
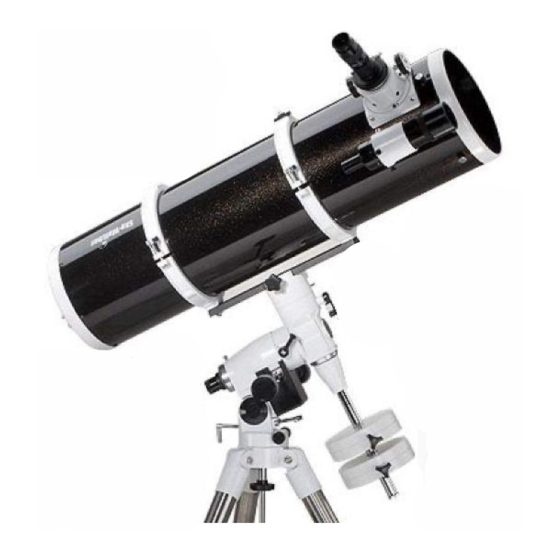
- Page 6 3. GETTING STARTED ON THE EXAMPLE MOUNT EQ5 3.1. PC control Install as shown in Fig. 6, the drive motors of the axes on the mount. Fig. 6...
- Page 7 3.2 Connect the motors with standard cables to CS as shown in Fig. 6a Fig. 6a 3.3 Install the driver virtual com-port from a CD software After you install the equipment in system will be new device - Silicon Labs CP210x USB to UART Bridge (COMx).
- Page 8 Caution: The EQStar setting may not work if you do not have the Framework 4.0 and vs2013 redistributable x86 installed on your computer. 3.8 In order to control the mount with MD on it should set planetarium program. For example SkySafary, Orion StarSeek, DSOPlaner or the like. 4.
- Page 9 The parameters of the guiding in both modes are set from the panel EQMOD Applications (http://eq-mod.sourceforge.net/docs/EQASCOM_Guiding.pdf). For the ASCOM PulseGuide mode, not required additional blocks and cables. Enough as an auto guide, use ASCOM EQMOD app. Further actions for guiding follow the documentation for EQMOD. It is also possible to stand-alone guide through the ST-4 port without using a PC.
- Page 10 the direction of the polar star. Trumpet the telescope should be directed to the area of the polar star. 5.3 Check the date, time and location of the observation position using the utility EQStar settings panel, which must be installed before the start observations at MD. The installation file is on the original CD.
- Page 11 The settings of the WiFi module can be changed from the WEB interface as shown in the figure 7a. Fig. 7a In the planetarium program on the mobile device (for example in SkySafari) , select the connection method by "WiFi", and write down the ip address and port in the required fields.
- Page 12 After a successful connection, you must bind the telescope to the visible star. To do this, select the star of the binding by touching its image on the screen and press the "Goto" button on the control panel of the planetarium program. The CS will begin the process of pointing at the selected star.
- Page 13 object. The very same object will be in the field of view of the telescope and now you can proceed to its observation. In the process of guidance from the object to the object, the accuracy of the guidance may be lost. The reason for this may be the errors of the polar axis, errors in the mechanics of the telescope, etc.
- Page 14 Technical characteristics: Mount type: equatorial Power supply requirements: 12V, 3A, 5.5mm 2.1mm plug The center pin of the power connector is positive Compatible type of stepper motor (not included in the KIT): bipolar Current of the winding of the stepper motor: adjustable, 0.8 A (max) ...
Need help?
Do you have a question about the EQStar+ and is the answer not in the manual?
Questions and answers