Advertisement
Quick Links
Advertisement

Subscribe to Our Youtube Channel
Related Manuals for Aurora Reax RXT Series

Summary of Contents for Aurora Reax RXT Series
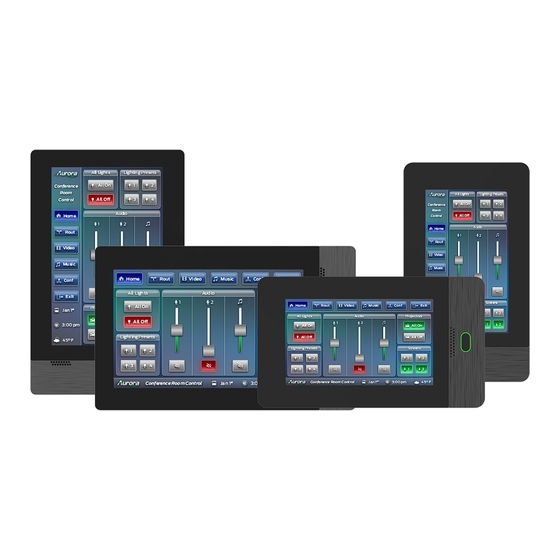
- Page 1 RXT-Series RXT-7 ● RXT-10 7”/10” ReAX™Touch Panel/Control System...
- Page 2 ● Overheating : A void stacking the Aurora product on top of a hot component such as a power amplifier. ● Risk of Fire: D o not place unit on top of any easily combustible material, such as carpet or fabric.
-
Page 3: Table Of Contents
TABLE OF CONTENTS INTRODUCTION………………………………………..………………………………………………………………………………3 About………………………………………..……………..……………………………………………………………………3 INITIAL BOOT……………………..………………………………………..…………………..………………………………………4 Setup……..………………………………..……………..………………………………………………………………..……4 Configuration Using Android…..………..……………..………………………………………………………………..……7 APPENDIX 1 Changelog……….………………………………………………………………………..…..………………………12 APPENDIX 2 Warranty……………………………………………………...……..……………………..…..……………………..13... -
Page 4: Introduction
About Thank you for choosing the Aurora Multimedia ReAX™ RXT-Series control unit for your AV application. You are about to use the World’s first ReAX™ JavaScript-based Touch Panel/Control System, ideal for conference rooms, educational facilities, digital signage and more. Device setup is easy and Core Studio, our tool for creating code and interfaces, is available for download on our customer portal free of charge. -
Page 5: Initial Boot
INITIAL BOOT When powering your RXT-Series device for the first time, the device should proceed to the following screen: Setup Among the myriad of useful and relevant information, the ‘Setup URL’ will be listed as the last row. Default IP address is 192.168.1.100, so setup URL would be: ... - Page 6 The default username is ‘admin’ and the default password is also ‘admin’. Upon successful login, you’ll be directed to the setup page links. Choose ‘Setup’. If you accidentally hit a different button, you can always navigate to the ‘Setup’ page via page tabs on the next page.
- Page 7 In the ‘Network Settings’ page, you will see options to enable or disable DHCP. Ask your Network Administrator and/or Control Systems Programmer which solution is best in your application. There are certain advantages of disabling DHCP (e.g. use of device as remote host, implicit agreement on a certain range of IP addresses). Scenarios where it is best set as ‘Disable’...
-
Page 8: Configuration Using Android
Configuration Using Android If you are unable to access the ‘Setup URL’ for some reason, or if you wish to find the IP address of the device after it has been loaded with an interface, it is possible to configure network settings at a system level. While in ‘Kiosk Mode’... - Page 9 Choose ‘Close Kiosk’ to return to the Android Home Screen. On the Home Screen, swipe up on the caret symbol to access the app drawer.
- Page 10 Choose the ‘Settings’ app (it looks like a gear graphic). Under the ‘Wireless & networks’ header, choose ‘More’.
- Page 11 Select ‘Ethernet’. Here, you will find the Network Configuration. Append ‘/setup’ after the IP on your browser (i.e. http://x.x.x.x/setup) to access the Firmware Page.
- Page 12 You can also set up a static IP here or revert the device to DHCP. If you wish to set up a new static IP, make sure to select the ‘dhcp’ radio button to clear settings. Select ‘static’ afterward and enter in the desired IP address and other parameters. Go back to the home screen, but do not open the Kiosk app yet.
-
Page 13: Appendix 1 Changelog
APPENDIX 1 Changelog: 2019-03-27: Assembled Quick Start guide as of FW 1.2.2. 2019-04-01: Improved screenshots. -
Page 14: Appendix 2 Warranty
Limited 5 Year Warranty Aurora Multimedia Corp. (“Manufacturer”) warrants that this product is free of defects in both materials and workmanship for a period of 5 years as defined herein for parts and labor from date of purchase. This Limited Warranty covers products purchased in the year of 2019 and after.
Need help?
Do you have a question about the Reax RXT Series and is the answer not in the manual?
Questions and answers