Advertisement
Quick Links
Advertisement

Related Manuals for Mercku Tech M2 Bee

Summary of Contents for Mercku Tech M2 Bee
- Page 1 Set-up Guide MESH Node...
- Page 2 Thank you for choosing the Mercku M2 router Set-up in 3 steps...
- Page 3 1. Connect to the power and WAN cables Red light indicates that there is power. When the device has a internet connection, the light will turn green.
- Page 4 2. Connect to Wi-Fi Use your mobile device or computer to search for and connect to the MERCKU-XXXX Wi-Fi network (no password required). MERCKU-XXXX Wi-Fi-XXXX Wi-Fi-XXXX MERCKU-XXXX is generated from the device’ s serial number - to find this, please locate at the bottom.
- Page 5 3. Open browser or app Visit mywifi.mercku.tech through a browser to complete setup. Or scan the QR code to download the app to complete the setup and manage the network.
- Page 6 Thank you for choosing the Mercku M2 Bee node Set-up in 1 step Light Reset Pins You need a working M2 router to use the M2 Bee mesh node. Need help setting up your M2 router? Please scan this QR code:...
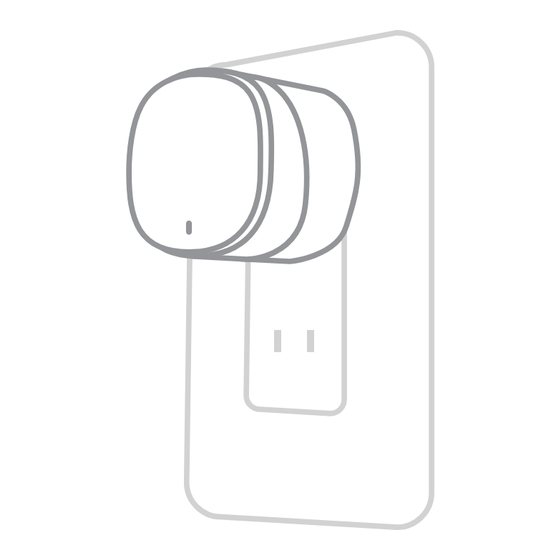
- Page 7 After you install the M2 Wi-Fi router, you will only need to plug in the Bee nodes and the mesh system will be created automatically.
- Page 8 After the mesh system is created successfully, the Bee node’ s indicator light will turn green and stop blinking. If the Bee node’ s indicator light blinks, it means that the signal is weak. Please move the Bee node closer to the other nodes (Bees or M2s) in Too far the mesh network.
- Page 9 Download the Mercku app Control your mesh network from anywhere, anytime...
- Page 10 If you want to connect the Bee node to a different M2 Wi-Fi router, from a separate package, please follow the instructions from the link below: www.mercku.tech/help Need help? www.mercku.tech/help...
Need help?
Do you have a question about the M2 Bee and is the answer not in the manual?
Questions and answers