
Subscribe to Our Youtube Channel
Summary of Contents for Kitvision DPF8BKK
-
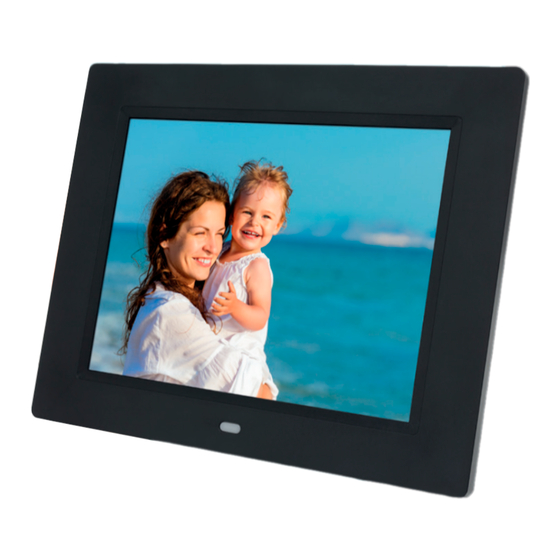
Page 1: Digital Photo Frame
User manual kitvision.co.uk 8" Digital Photo Frame JB. 2956 © Kitvision ™ 2013. Christchurch, Dorset. BH23 4FL... - Page 2 Whether it’s jumping out of an aeroplane or your child’s first birthday, our lives are made up of special moments which shouldn’t be forgotten. With Kitvision photo frames you can showcase, share and cherish each one. We’ve been specialising in digital imaging for more than a decade;...
- Page 3 Please read this manual carefully before use. Getting started Box contents Main features • 8" Digital Photo Frame • Supported picture format: JPEG • AC/DC adaptor • Supported audio formats: MP3 and WMA • Remote control • Supported video formats: MPEG1, MPEG2, MPEG4, AVI and M-JPEG • User manual • Supported memory cards: SD/SDHC/MS/MMC • USB connection: mini USB Setting up your Digital Photo Frame • Built-in flash memory support 1. E xtend the digital photo frame bracket on the back of the frame to the widest position for greatest • Supports auto slideshow when inserting cards stability, then plug one end of the included AC adaptor into a standard 110–240 V AC electrical outlet • Supports viewing pictures in thumbnail mode...
- Page 4 Functions Unit Using your remote control 1. Power 2. Up – Power on/off 3. Left – Play music 4. Down – Watch photos 5. Menu – Watch movies 6. Enter 7. Right – – Return to previous page Note: When the unit is powered on, – Left press and hold the enter button (6) for 2-3 seconds to enter into calendar –...
- Page 5 Instructions for use Copy and delete function In nine picture mode, use to select the picture you want to When the unit is switched on, it will show the startup picture. copy to the built-in memory, then press MENU to enter copy interface Press ENTER to access the built-in memory. and press ENTER to confirm. In nine picture mode, use to select the picture you want to Card and USB delete, then press MENU to enter the delete interface and press ENTER to confirm.
- Page 6 Setup Display Description Press Setup and use to select the item you want to set up. Press ENTER and then to select between 00 (lowest) and 40 (highest) Contrast Press to show the sub menu and press to select, then press ENTER to confirm. Press ENTER and then to select between 00 (lowest) and 40 (highest) Brightness Saturation...
- Page 7 Connecting to external equipment Care for your Digital Photo Frame You can connect the unit to external equipment by using a USB cable: Precautions and maintenance 1. Turn on the Digital Photo Frame, then connect it to your computer with the USB cable. • For indoor use only 2. T he unit will be automatically detected and will display “USB Device Connected” when you are using • To avoid risk of fire or electric shock, do not expose the unit to moisture or condensation Windows 2000/XP. You can then copy files between the built-in memory and the Digital Photo Frame. • To avoid overheating, do not block the ventilation holes on the back of the Digital Photo Frame • Keep the Digital Photo Frame out of direct sunlight When you have finished the copy/delete operation, you will need to restart the Digital Photo Frame.
- Page 8 Specifications Troubleshooting Type Digital Photo Frame Problem Solution Screen size 8" There is no power Check that the plug is inserted correctly Ratio The remote control is not working Check whether the battery has power (the battery can be used Resolution 800 x 600 pixels for half a year in normal conditions). Replace with a new battery if necessary Memory card compatibility SD/SDHC, MMC, MS Photo JPEG, PNG The card or USB is not recognised Check that there are files stored on the card or USB device. Empty devices cannot be read Video MPEG1/2/4, AVI/M-JPEG The file is not playing Check that the file format is compatible with the player Audio MP3, WMA Built-in speakers The display is too bright or too dark Adjust the brightness or contrast in the setup menu Operating voltage There is no colour or it is light Adjust the colour and contrast in the setup menu Consumption There is no sound Check that the volume is turned up and that the player is not Working temperature...
Need help?
Do you have a question about the DPF8BKK and is the answer not in the manual?
Questions and answers