Table of Contents
Advertisement
Quick Links
Advertisement
Table of Contents

Summary of Contents for Mami VeriCAM 4
-
Page 1: User Manual
USER MANUAL VeriCAM 4 3G / WiFi Outdoor Waterproof Security Camera... -
Page 2: Before You Begin
BEFORE YOU BEGIN 1. Before the product is installed, please read the operation manual carefully. 2. Please unpack all boxes carefully and identify that all the parts are present. 3. Make sure you use only the recommended power supplies. Damage caused to the camera or receiver by incorrect voltage or wiring is not covered by the warranty. -
Page 3: Camera Contents
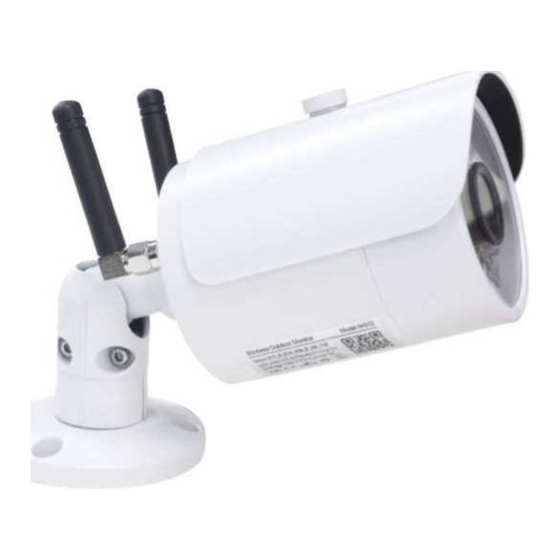
2. Camera Contents VeriCAM 4 Antennas Wireless Camera & Bracket 3x Screws & Wall Plugs 5V DC Power Adaptor 3. Camera Parts Camera Sunshield Power IR LEDs FRONT BACK... -
Page 4: Installation And Setup
4. INSTALLATION & SETUP 1. Select a suitable position on the wall or ceiling to install the camera and map out the holes for the bracket. 2. Drill a hole in the middle of the area on the wall or ceiling where the camera is to be mounted, to allow the power and video cable to be fed through. -
Page 5: Basic Operations
5. Basic Operations 1. Get Power supply 2. Install Application: Search for “VeriCAM Manager” in Google Play or the App store. Open the App on your Android or iOS device, the In-App instructions will walk you through how to connect the device to your phone. 3. - Page 6 4. Add device 1) Click to add device 5. Scan QR code or input UUID After code capture tick and continue...
- Page 7 6. Choose Mode a) Wi-Fi Mode or b) 3G Mode b) If 3G SIM card is inserted, select the status accordingly, go to page g directly. a) If no SIM card is inserted, follow steps below. 7. Add local WiFi * Red LED flashes quickly while device is searching for WiFi connection.
- Page 8 8. Click “Ready for next step” to get the QR code 9. Face the phone screen to the camera *Once you hear “Scanning Successful” press ”Next”...
- Page 9 10. Binding Camera * Red LED flashes slowly when connection is successful 11. Binding successful, you can start using...
- Page 10 3G Mode: * click “The red light flashing” when Red LED is flashing...
-
Page 11: Specifications
6. Specifications GSM 850/900/1800/1900 WCDMA band .2.5.8 Frequency WCDMA quad band 2100/1900/850/900MHZ Image sensor 1/3" Megapixel CMOS sensor Image resolution HD720P Camera lens Aperture F2.0,121° wide angle Video compression format H.264 Infrared LED <tb Max.l5fps Wireless connection WiFi (IEEE802.11b/g/n) Memory 512MB+4GB Micor SD Max.64GB (FAT32)
Need help?
Do you have a question about the VeriCAM 4 and is the answer not in the manual?
Questions and answers