Table of Contents
Advertisement
Quick Links
User Manual
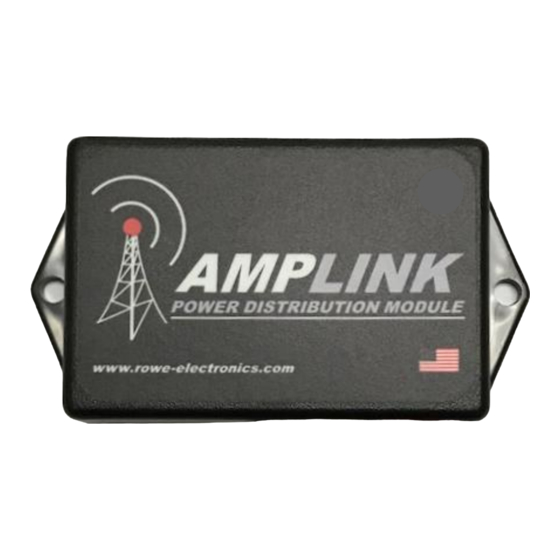
The Amplink PDM is built on the strong reputation of the original PDM60 with added and improved
features to make 12V power distribution even easier.
Package Contents
· 1 - Amplink Power Distribution Module
· 1 - Ground bus kit with cover
· 6 - ¼" ring terminal – for use on accessory ground wires connected to the ground bus
· 1 - 6MM bolt & nut - used for connecting all accessory ground wires to the main ground bus
· 6 - Posi-Lock Connectors – for easy and secure connections of 14 or 16ga wires
· 3 - Posi-Tap Connector – for easy connection to any 18ga wire for triggering
Specifications
Operating Voltage: 6-20V for 12V systems
Total Current Capacity: 60 Amp maximum continuous
Outputs: 6 (20A Max) High side outputs
Inputs (Triggers): 3, voltage or ground configurable inputs
Operating Temperature: -40 to 185°F / -40 to 85°C
Connections: Sealed 18 inch hardwire leads
Water Protection: Fully encapsulated waterproof
Weight: 10 oz / 284 g
Dimensions: 3.0 x 2.0 x 0.9 in. / 76.2 x 50.8 x 22.9 mm
Page 1 of 8
Advertisement
Table of Contents

Related Manuals for Rowe Amplink PDM

Summary of Contents for Rowe Amplink PDM
-
Page 1: Package Contents
User Manual The Amplink PDM is built on the strong reputation of the original PDM60 with added and improved features to make 12V power distribution even easier. Package Contents · 1 - Amplink Power Distribution Module · 1 - Ground bus kit with cover ·... - Page 2 Connect directly to the positive pole of the vehicle battery. Always connect the + before connecting ground. For additional protection a high amperage fuse (not included) can be added between the Amplink PDM and the battery. To extend the length we recommend using 8 awg automotive crosslink wire. Black 18 awg internal ground wire Connect directly to the battery ground or suitable ground point like the ground buss cable included.
- Page 3 The app is designed to be simple and straight to the point. It’s intended to be a tool for programming and monitoring the output status only. The app has four pages: Monitor – shows the status of each of the 6 outputs, when paired to the Amplink PDM Setup – access each output individually to setup the behavior Triggers –...
- Page 4 Ensure your Amplink PDM is powered on as indicated by the green LED If this is your first time connecting a Bluetooth device to the Amplink PDM proceed to step 3, or skip to step 9 if you’ve already setup your device to pair with the Amplink.
- Page 5 The app will always open to the Monitor page. The colored bars match the wire color of the corresponding output on Amplink PDM. The output status is indicated by either a green dot for ON, red dot for fault, or gray dot for OFF. There is nothing to tap or change on the Monitor page.
- Page 6 Ignition trigger only. Outputs 1-6 will turn on and off with ignition. Connect the Red (+) wire to the battery before the black ground. battery Ignition switched +12V source Configure the Amplink PDM using the App Triggers Back Outputs Output Configuration...
- Page 7 Output 1 will turn on when the ignition is on and the horn button is pressed. battery Ignition switched +12V source Horn Trigger 2 button Horn +12V Configure the Amplink PDM using the App Triggers Back Back Outputs Output Configuration Output Configuration Trigger 1 Voltage (+ve)
- Page 8 This warranty covers parts and our labor for those parts to be replaced or repaired at a service facility we designate. Please contact your dealer or Rowe Electronics, Inc. Specific directions will be provided. If we determine the problem is covered under warranty, we will either repair or replace the product.
Need help?
Do you have a question about the Amplink PDM and is the answer not in the manual?
Questions and answers