Advertisement
Quick Links
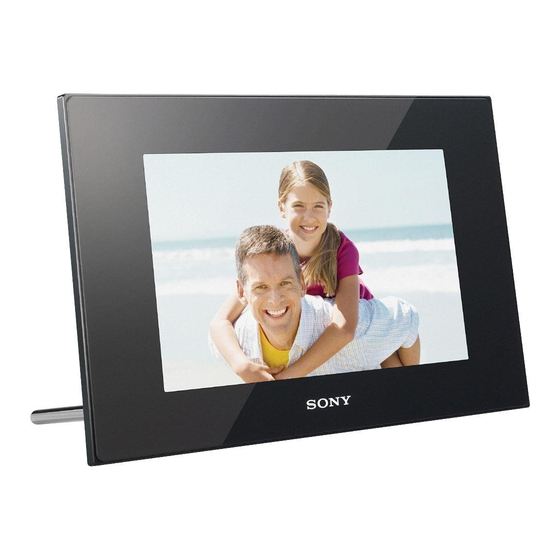
DPF-X800/X1000, DPF-V800/V1000
Digital Photo Frame
Read This First
Welcome to the Sony DPF-X800/X1000, DPF-V800/V1000
Digital Photo Frame.
This leaflet explains preparations and basic viewing procedures.
To enjoy a variety of viewing options or customize your photo frame,
please read the operating instructions also supplied.
© 2009 Sony Corporation printed in China
4-129-220-12(1)
Checking the contents of the package
(The illustrations are of the DPF-X1000. The locations and names of buttons and connectors
of the DPF-X800, DPF-V1000/V800 are identical to those of the DPF-X1000, although the
LCD screen size and shape is different.)
Digital photo frame (1)
AC adaptor (1)
AC power cord (1)
Stand (1)
Operating Instructions (1)
Card slot cover (1)
Read This First (this manual) (1)
Connector cover (1)
Warranty (1)
(In some regions, the warranty is not supplied.)
Remote control (1)
1
Preparing the remote control.
The supplied lithium battery (CR2025) has already been inserted into
the remote control.
Pull out the protective sheet before use as shown in the figure.
Protective sheet
2
Preparing the photo frame.
Screw the stand supplied with the photo frame into the screw hole
firmly until the stand stops turning (when you use the photo frame
as a photo stand).
3
Connecting to the AC power source.
1
Insert the plug of the AC adaptor into the DC IN 8.4 V jack on the
rear of the photo frame.
2
Connect the AC power cord to the AC adaptor and the wall outlet.
To the DC IN 8.4 V jack
AC adaptor
Plug
To wall outlet
4
Turn the photo frame on.
1
Set to the POWER switch to ON.
The standby indicator turns green and the Sony logo on the
front panel lights up.
5
Set the current time.
1
Press MENU.
2
Press to select the
(Settings) tab.
3
Press to select [Date/time settings] and then press
.
6
Insert a memory card into the slot.
1
Insert a memory card firmly into the corresponding slot.
The access lamp flashes when the memory card is inserted
correctly. Reinsert the memory card after checking the label
side of the memory card if the access lamp does not flash.
The status of each memory card is as follows.
"Memory Stick"
"Memory Stick Duo"
CompactFlash card
SD memory card
xDPicture Card
Tips
Keep the POWER set to ON, when you use the alarm function or the auto power on/off function.
The value of the following settings are returned to their factory settings if you turn the photo frame to
OFF, and leave it off for a long time.
the setting value of [Date/time settings]
the setting time of the alarm function and the auto power on/off function
4
Set the current time following the guidance on the screen.
Note
All memory cards have a back-side and front-side, and an insertion direction. Refer to the following
illustration and insert the memory card while you take note of its shape and the appropriate slot.
It may cause malfunction if you insert the card in the wrong direction.
We recommend that attach the slot cover
supplied with this photo frame when you
insert the memory card and leave it inserted
for a long time.
2
The slideshow of the memory card you inserted starts
automatically.
You can enjoy a variety of slideshow styles. ()
Advertisement

Related Manuals for Sony DPF-V800


Summary of Contents for Sony DPF-V800
- Page 1 Remote control (1) Preparing the remote control. Turn the photo frame on. Set to the POWER switch to ON. The standby indicator turns green and the Sony logo on the front panel lights up. Protective sheet Set the current time.
- Page 2 Store the stand in the storage slot when you display the photo frame on the wall. When the photo frame is rotated to the portrait orientation, the Sony logo doesn't light up. The photo frame does not detect and rotate the orientation of images when [Auto display orientation] on the (Settings) tab is set to [OFF].