
Related Manuals for Confidence XJCFT-0100

Summary of Contents for Confidence XJCFT-0100
- Page 1 Confidence nfidence nfidence Fitness Fitness Magnetic Treadmill Magnetic Treadmill Magnetic Treadmill Owner’s Manual Owner’s Manual...
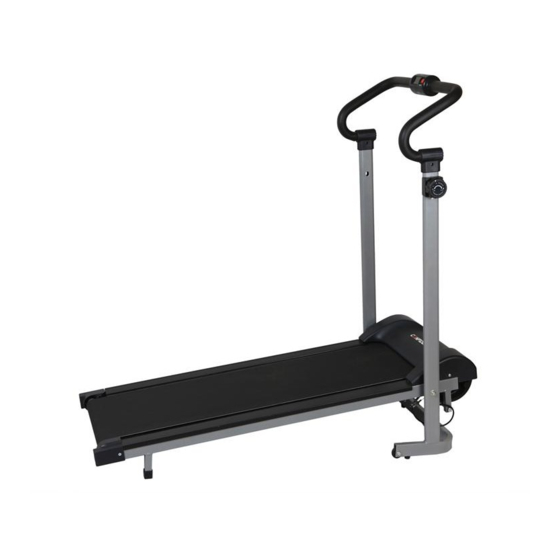
- Page 2 Less risk of bone fractures from osteoporosis. The CONFIDENCE Magnetic Treadmill is a product for people who want to walk or jog at home, the treadmill works equally well for low and high intensity training. A compact and smart model...
-
Page 3: Safety Information
The Confidence Magnetic Treadmill is only intended for use in dry areas. • The Confidence Magnetic Treadmill is to be kept away from all wet or damp areas. • Do not use or have any metal objects about your person when on the Confidence •... -
Page 4: Exploded View
Exploded View To adjust the running belt if it is off centre, use the Allen key supplied and insert into part 12 left to adjust the running belt to the left hand side and part 12 right to adjust the running belt to the right hand side. -
Page 5: Parts List
Parts List Part Qty No Part Main Frame Tension Control Knob Left and Right Upright Handle Bar Cover Handle Bar Foam Grip Running Board Console Running Belt Middle Sensor Wire Side Rails Phillips Screw St 4.0*12 Clamp Wire Plug Locking Pin M10 Toe Caps Phillips Screw Rear roller... - Page 6 Assembly Instructions Step 1 Open the treadmill till the left & right upright is vertical. Step 2 Fasten the locking pin (30) into the main frame (1)
- Page 7 Step 3 Connect the computer wire with middle sensor wire (28) then fasten the console (27) on the handle bar (3). Step 4 Put the tension control knob (24) on the right upright (2), fasten it with the Philips screw (43) and flat washer (44).
- Page 8 Step 5 Cover the toe caps (8) on the main frame (1), fasten them with the Philips screw (42) to complete the assembly.
- Page 9 Step 6 Fold the treadmill and lock it in place with the locking pin (30) after exercise.
-
Page 10: Key Functions
Exercise Monitor Instruction Manual Settings Time 0.00 – 99.59 mins Speed 0.00 – 999.00 Mph Distance 0.00 – 999.00 miles Calorie 0.00 – 999.9 Calories Key Functions Mode – This key allows you to select and lock onto a particular function. •... - Page 11 Confidence Fitness Fitness Fitness Fitness UK & Europe www.thesportshq.com Units 3 & 4 Lower Park Farm Storrage Lane Alvechurch, Worcestershire B48 7ER United Kingdom Telephone: 01527 598388 www.golfoutletsusa.com 72320 Manufacturing Road Thousand Palms, CA 92276 Telephone: 1-800-603-0004 AUS/NZ www.oo.com.au 25-55 Rothschild Ave,...
Need help?
Do you have a question about the XJCFT-0100 and is the answer not in the manual?
Questions and answers